
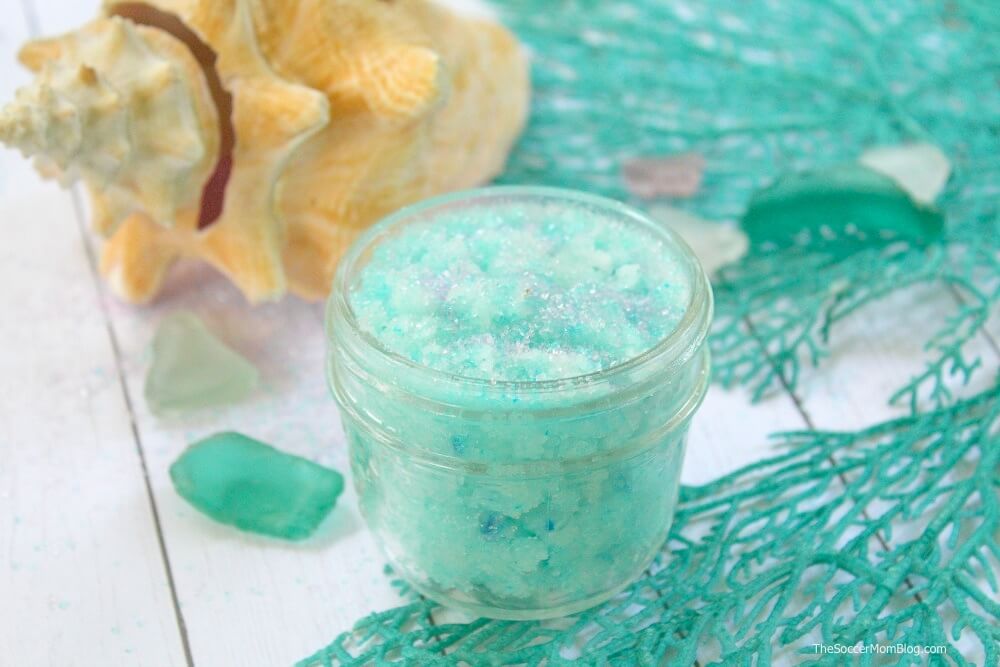
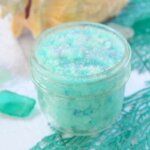
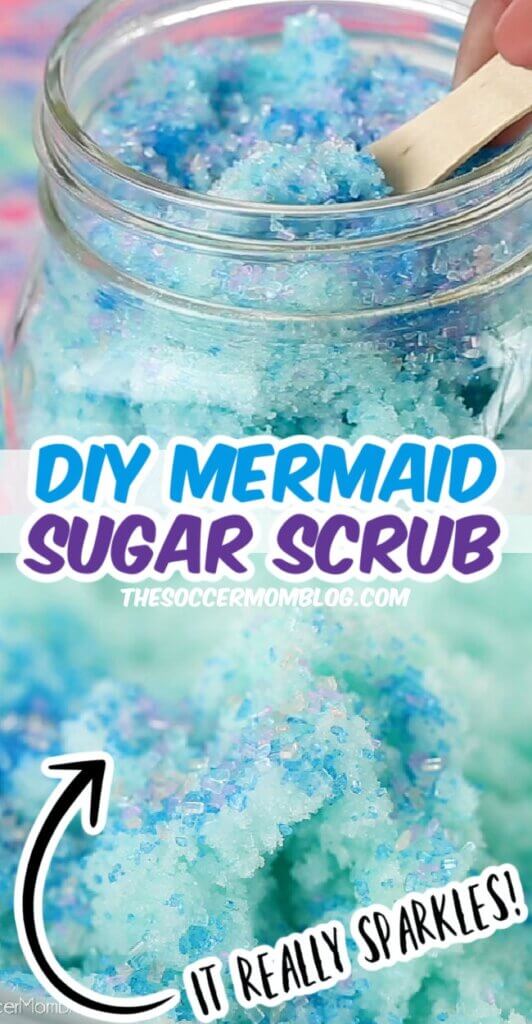
This sparkly DIY Mermaid Sugar Scrub will have your skin feeling softer in no time! Made with simple ingredients, it’s a gentle way to exfoliate and makes a cute DIY gift idea!
DIY Sugar Scrub – Mermaid Style!
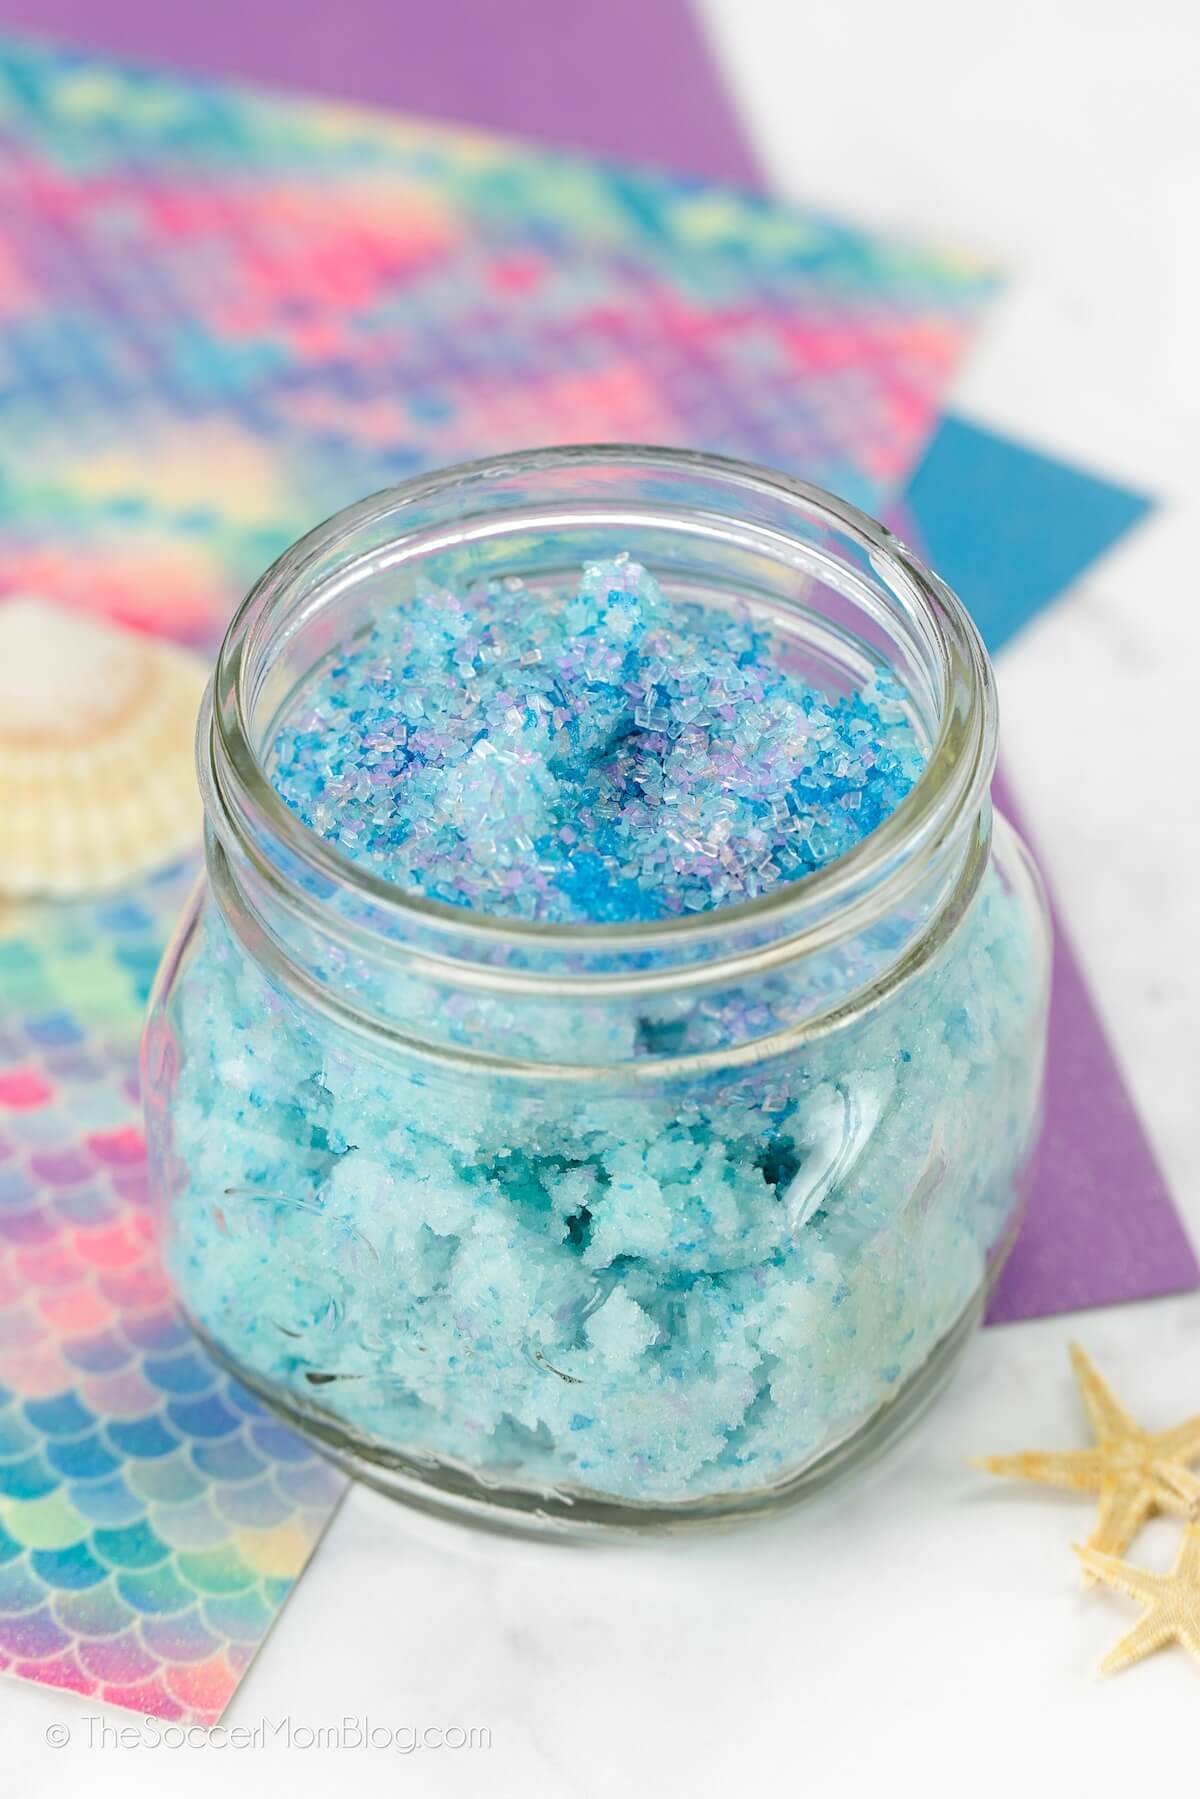
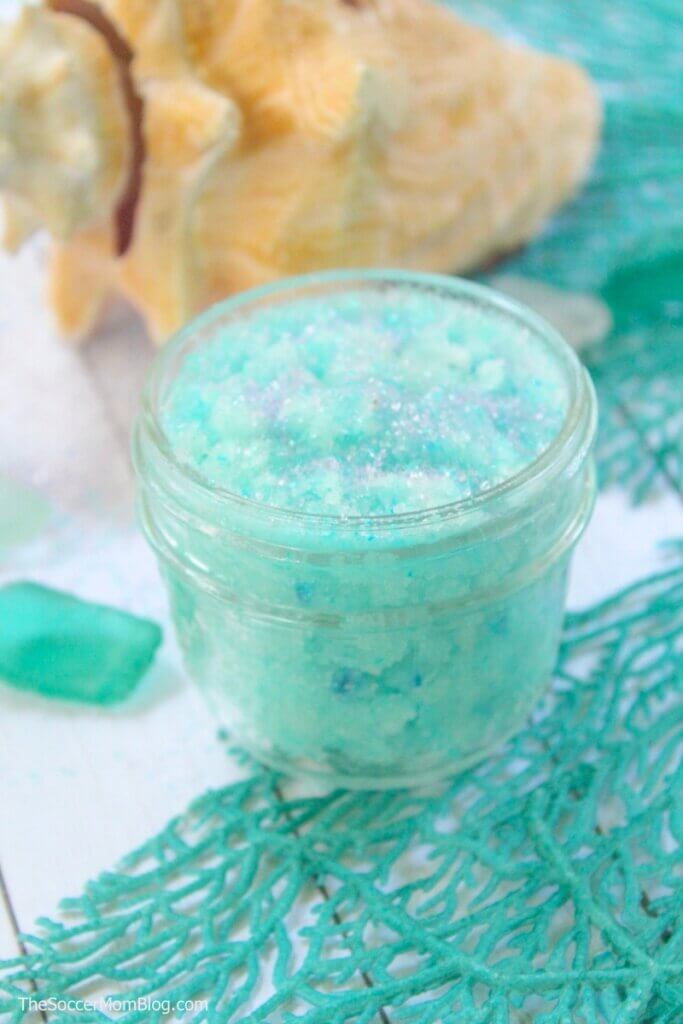
We all secretly want to feel like Ariel from The Little Mermaid sometimes. This sparkly, scented DIY Mermaid Sugar Scrub recipe will leave you feeling like a mermaid, even if you aren’t anywhere near the ocean!
The beautiful blue and purple sugar sprinkles combine to create a look like the swirling ocean, and the scents of coconut and lavender will transport you to the beach!
This DIY sugar scrub recipe is easy to make at home with simple kitchen ingredients, and is safer way to exfoliate than many chemical concoctions!
All you need are 4 simple ingredients and 5 minutes! Makes a great homemade gift idea!
Related: For more bath time fun, try our homemade soap crayons recipe!
What is a Sugar Scrub?
A sugar scrub is a skin care product designed to gently and naturally cleanse and exfoliate the skin. The sugar granules slough away dead skin cells, revealing soft, smooth skin beneath — that’s also where the name comes from.
Sugar scrubs are a safe alternative to plastic microbeads, which used to be a common ingredient in body and face washes. Microbeads are banned in many countries now due to the fact that they pollute the environment.
Sugar dissolves naturally in water, so it does not cause issues with our water supply. It’s also much gentler on skin.
How to Use Sugar Scrub
Use 1-2 times per week to remove dead skin cells and prevent rough, dry skin.
Sugar scrubs are best used on the body, especially rough patches on elbows, knees, and feet. Dermatologists don’t recommend using sugar scrubs on the face, as the large particles might be too rough for sensitive facial skin.
To use: In the shower, cleanse and rinse skin as normal. Gently massage sugar scrub into wet skin, then rinse and pat dry.
Sugar scrubs are also an excellent way to exfoliate the lips — try our Homemade Vanilla Honey Lip Scrub recipe!
Affiliate links provided for your convenience in recreating this sugar scrub recipe; read our disclosure policy here.
Mermaid Sugar Scrub Ingredients
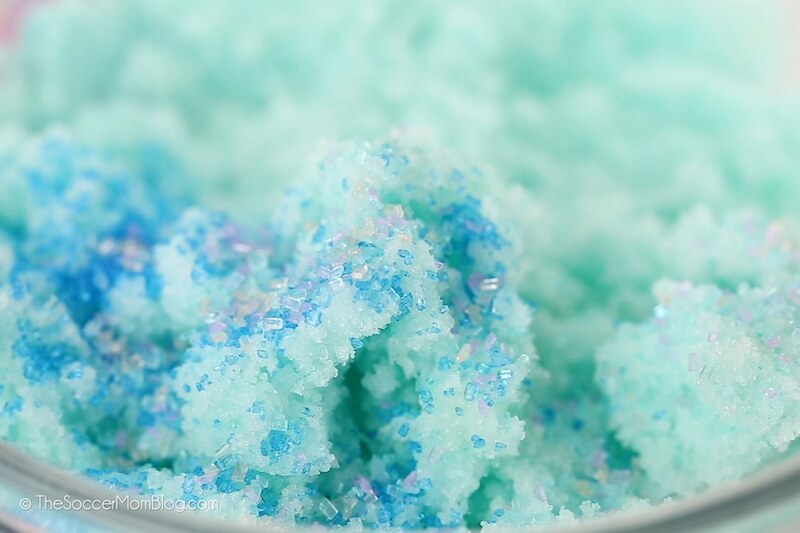
- Granulated White Sugar — The sugar granules are what work magic to exfoliate dead, dry skin cells!
- Coconut Oil — This is the base for our sugar scrub, and also serves to moisturize the skin. Coconut oil is one of my favorite ways to heal dry skin naturally!
- Blue and/or Green Food Coloring or Soap Dye — Just a couple drops for a fun mermaid experience!
- Blue and/or Purple Sugar Sprinkles (optional) — For a shimmery effect! These are also exfoliants like the white sugar.
- Lavender Essential Oil (optional) — For a calming spa experience. Lavender is revered for its relaxing properties and promoting restful sleep.
We also added these “Under the Sea” glitter sprinkles to our scrub for a beautiful mermaid color effect. So pretty!
How to Make Sugar Scrub (Pro Tips!)
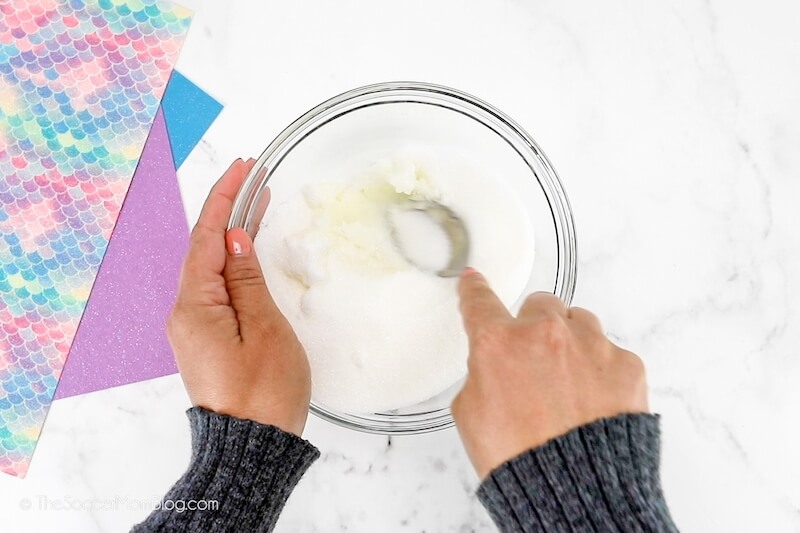
Start by combining coconut oil and sugar in a mixing bowl.
- If your sugar scrub seemss too runny, simply add more sugar.
- If the scrub is dry and crumbly, add more coconut oil until you a spread-able consistency.
Next, add food coloring. Start with 1-2 drops and mix well. You can always add more as desired, but if you add too much right away, you’ll have a scrub that is super dark and could stain the skin.
It may take a few minutes to work all of the food color into the scrub so that it is evenly distributed.
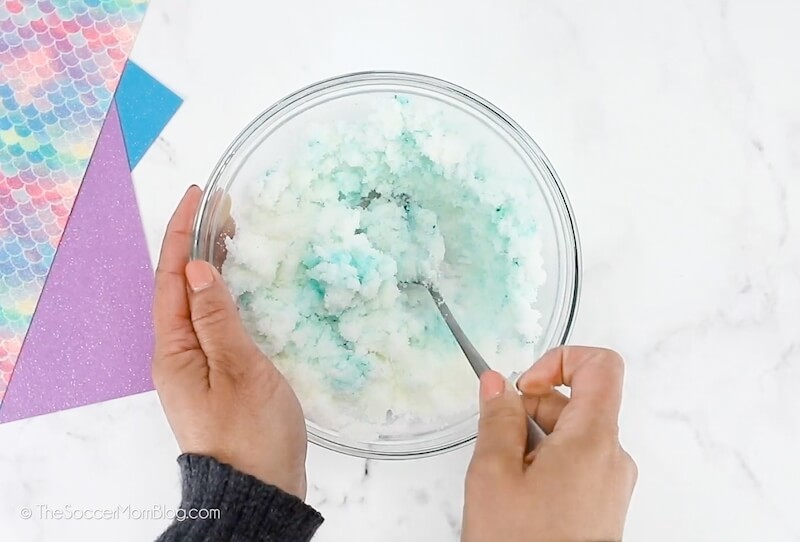
Now it’s time to add the sprinkles! A pinch of sugar sprinkles or sanding sugar adds color and helps exfoliate. However, the scrub will work just as well without this decorative sugar, should you not have any on hand.
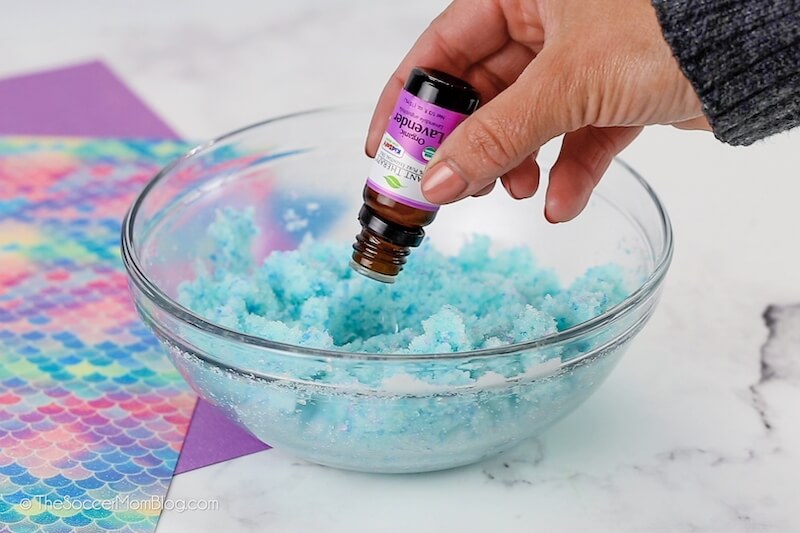
BONUS: Essential oils, such as lavender, creates a calming, aromatherapy enriched experience. We added a couple drops of lavender to our recipe. Feel free to use your favorite essential oil, or none if you prefer a subtle coconut fragrance.
How to Store
Always store your sugar scrub in an air-tight container to prevent drying out or contamination. With careful storage, a homemade sugar scrub can last up to 6 months.
You can keep your scrub at room temperature (for easier spreading) as long as it is in a sealed container.
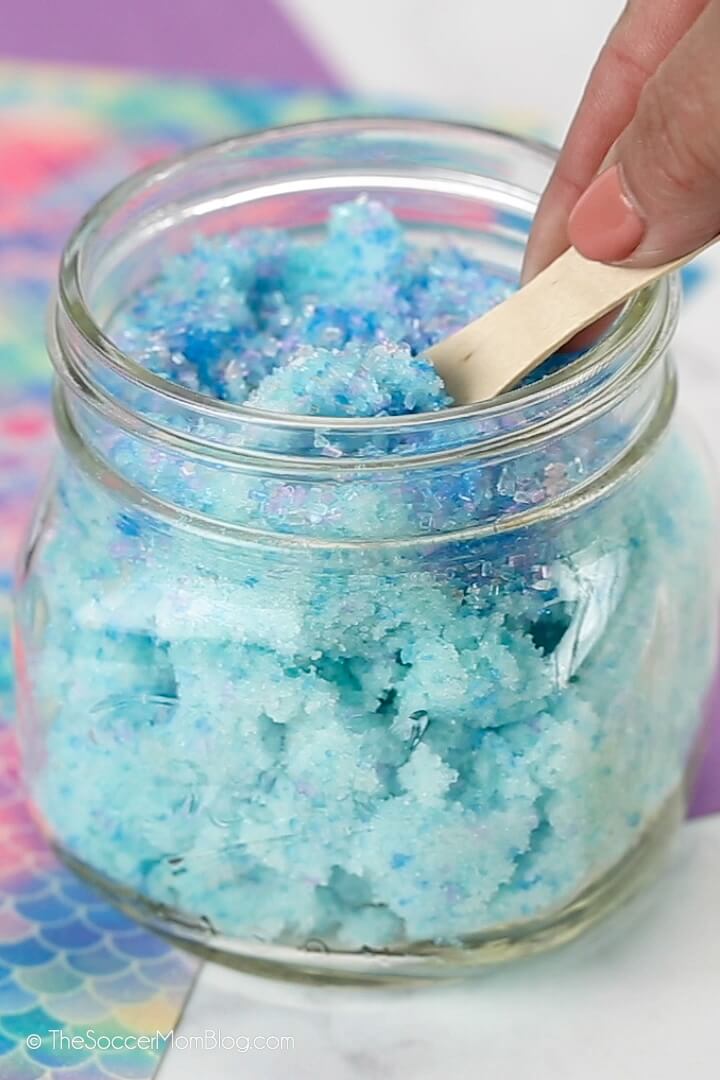
Our recipe makes about two small mason jar’s worth. If you want to make a bigger batch with a classroom or for gifting, simply multiply the ingredients using the same ratios we used. Honestly, you can’t really “mess up” as you can easily adjust the ingredients as needed until you have the perfect consistency.
How Long Do Sugar Scrubs Stay Good?
This depends on how you use them. I recommend using a clean spoon or even a wooden craft stick to scoop the scrub for each use, as opposed to scooping with your fingers. This avoids contaminating the jar of scrub with any dirt or germs on your skin.
At room temperature, in a sealed container, sugar scrubs can last for a couple months. They can last up to 6 months in the fridge.
To be safe, give your scrub a quick sniff to make sure it still smells good before using. If it smells “off” then it’s time to toss it!
Mermaid Sugar Scrub Recipe (Printable Copy)
If you like this recipe, please rate it! We’d also love to hear what you think in the comments below!
Want to Save This Recipe?
Enter your email & I'll send it to your inbox. Plus, get great new recipes from me every week!
By submitting this form, you consent to receive emails from The Soccer Mom Blog
Mermaid Sugar Scrub
Ingredients
- 1 Cup White Sugar
- 1/4 Cup Cold Pressed Coconut Oil
- 2-3 drops Blue Food Coloring or soap dye
- Blue and/or Purple Sugar Sprinkles
- 5-7 Drops Lavender Essential Oil optional
Instructions
- Start by combining the coconut oil and white sugar in a large mixing bowl. Stir together to create your sugar scrub base. If your scrub feels too runny, add a bit more sugar. If it feels dry or crumbly, add more coconut oil.
- Stir in 2 drops of blue food coloring for a light blue tint.
- Stir in blue or purple sugar sprinkles for more color and extra exfoliation benefits.
- Optional: Add lavender essential oil for a calming aromatherapy experience.
- Store in small mason jars or other airtight container.
Video
Pin this recipe on Pinterest:
More of our favorite homemade beauty products:
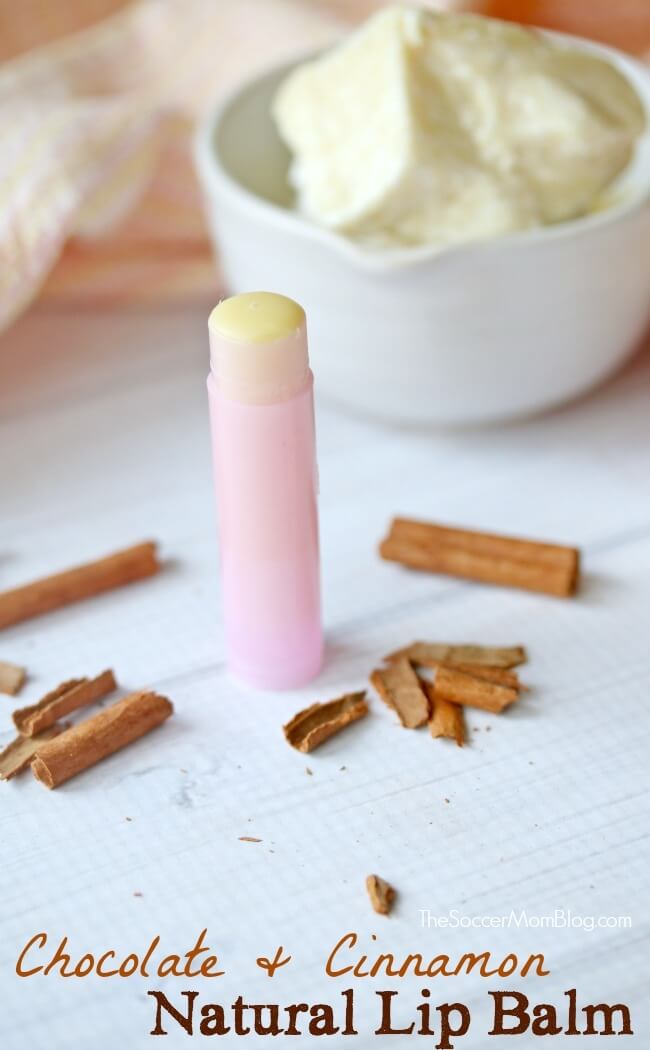
Chocolate & Cinnamon Natural Lip Balm Recipe
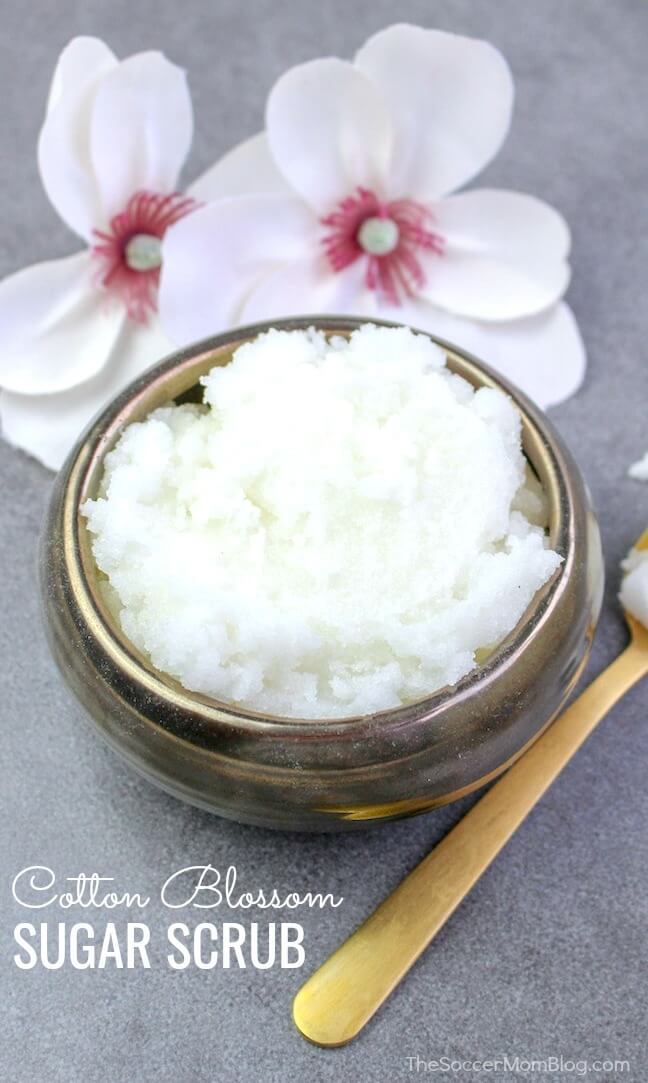
Cotton Blossom Sugar Scrub Recipe

- Paper Chain Octopus Craft - April 24, 2024
- Amish Sugar Cookies - April 19, 2024
- Marshmallow Playdough - April 18, 2024
Helen says
Hi Stacy. .
I was wondering if using a more coarser sugar would be fine as well, or do you think i should stick with fine granules and not deviate…thank you.
Stacey aka the Soccer Mom says
I think a coarse sugar would work great and exfoliate well! Let me know how it goes!
Kathy Craig says
My granddaughter is allergic to coconut, I was wondering what I could use in place of the coconut. Thank you for your help. I’m just starting out and don’t know this stuff yet. 😆
Stacey aka the Soccer Mom says
Hi Kathy, you could use another mild oil — such as grapeseed oil, sweet almond oil, or even olive oil (though the other options may smell better!)
Sharon says
So so sweet and lovely thanks
Corina says
Is better to mix the coconut oil with essential oils and the colour before adding the sugar 😉
Nina Paul says
Hi! Can I use normal coconut oil instead of cold pressed one?
Stacey aka the Soccer Mom says
Should be fine!
Mary says
Hello!
We just tested this out for a party tomorrow, and we had to work really hard to get it even remotely close to the consistency you show. Did you melt or warm the coconut oil at all?
Stacey aka the Soccer Mom says
You shouldn’t have to melt it, but since coconut oil is affected by temperature, that could have made a difference. Is the weather cold where you are? Anything below room temperature will make the coconut oil more solid.
Erica says
My preschool class and I made these for Mother’s Day gifts. Instead of bowl, we used a freezer bag to squish and mix. Made it even easy for the 2 year olds and didn’t make a huge mess! Plus it didn’t break my pocketbook. Thank you
Stacey aka the Soccer Mom says
I love to hear that! Thank you for letting me know and for the freezer bag tip!
Nicole says
Hi Stacy! Would something like a peppermint extract be used in place of essential oils. Im doing this receipe for my daughters birthday and they are 5/6 but just figuring if an extract make it smell good and be less toxic if they decide to try to eat it lol
Stacey aka the Soccer Mom says
Peppermint extract could work! I also love the smell of almond extract and that could work too.