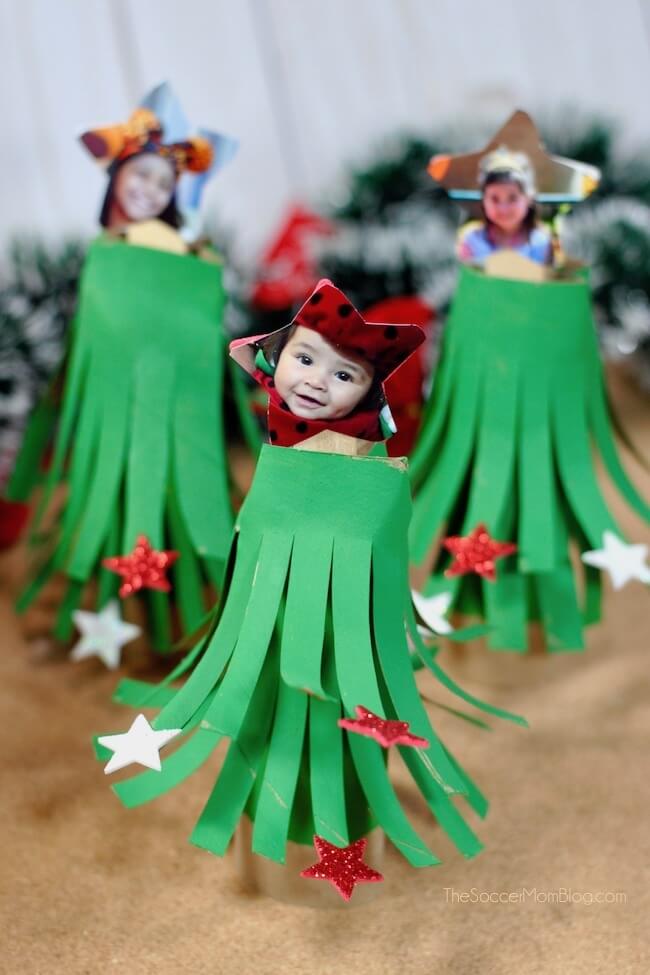
Who knew toilet paper rolls could be so cute?! This cardboard tube Christmas tree craft is fun and easy holiday decoration or kid-made gift idea!
Cardboard Tube Christmas Tree Craft
Don’t throw away those toilet paper rolls!
Toilet paper and paper towel rolls are a versatile crafting supply, and they’re completely free!
The radio started playing Christmas music today, so I felt like it was officially acceptable to start making Christmas crafts! These cardboard tube Christmas trees turned out super cute and are super easy to make.
You only need basic supplies (listed below) that you likely have at home. Just in case, I provided links to some of the supplies we used.
I love love love how these turned out and already have them displayed on our bookshelves – the first Christmas decoration of the season!
Related: Click here to see a HUGE collection of over 100 Easy Christmas Crafts for Kids!
Supply List
For your convenience in recreating our cardboard tube Christmas tree craft, we’ve included shop-able ad links to some of the products used. Read our full disclosure policy here.
- 3 toilet paper roll sized cardboard tubes
- Christmas green craft paint
- Scissors
- Child’s photo
- Assorted sized glitter foam star stickers
- Craft stick
- Pencil
How to Make Toilet Paper Roll Christmas Trees
First, watch our quick video tutorial to see exactly how we made our easy cardboard tube Christmas trees. Then keep reading for full photo step-by-step instructions.
Click video to play:
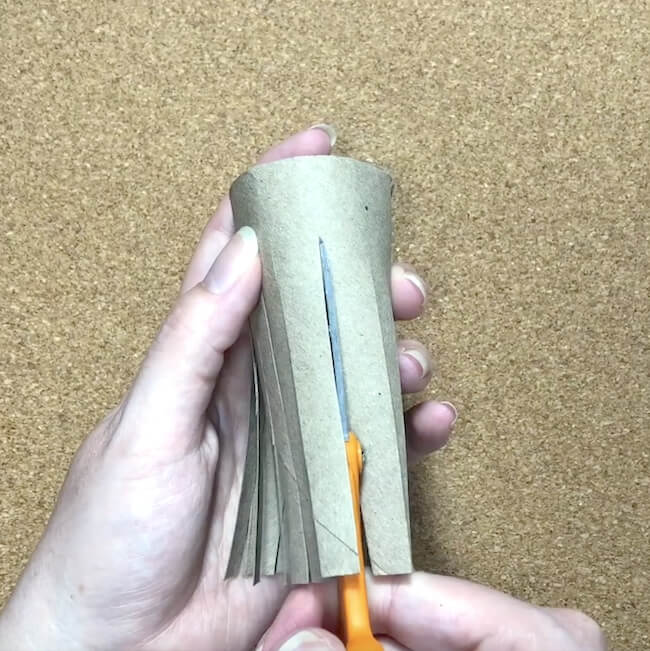
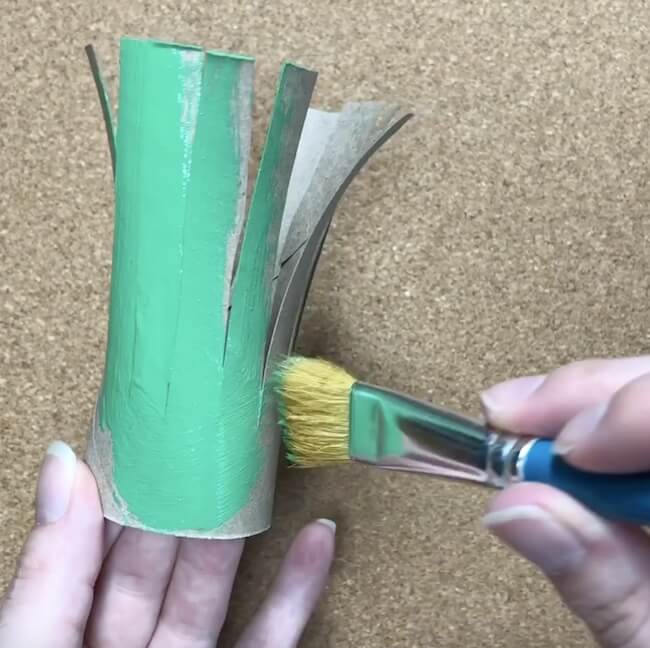
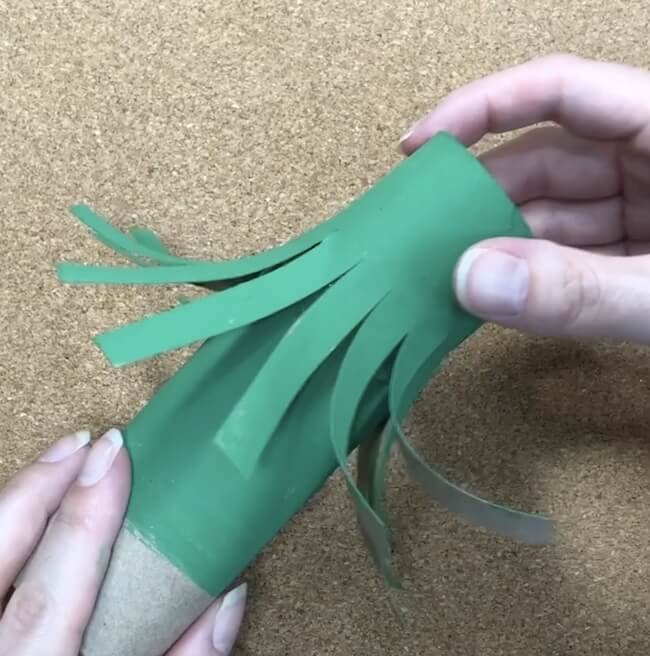
Start by cutting slits into two of the cardboard tubes, with each cut about 1/3″ apart, stopping about 1 inch from one end of the tube. You don’t want to cut it completely through. Leave one of your cardboard tubes uncut.
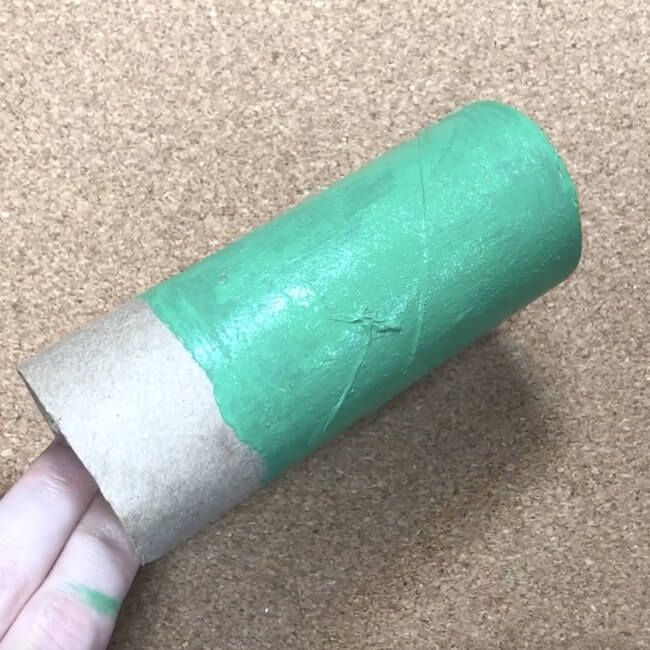
Paint the uncut cardboard tube green, leaving about 1 inch at the bottom unpainted.
Paint the cut cardboard tubes completely green. Place them on their uncut side to dry – this will help the ends to curl.
Once all of the paint is completely dry, stack your cardboard tubes into a Christmas tree. The uncut tube will be at the bottom, with the unpainted end as the tree trunk.
Place one of the cut tubes on top of your trunk, with the uncut portion at the top. Use glue to secure these two tubes together.
Place the remaining cut tube on top, securing with glue.
Now that you’ve made a cardboard tube Christmas tree…
It’s time to decorate!
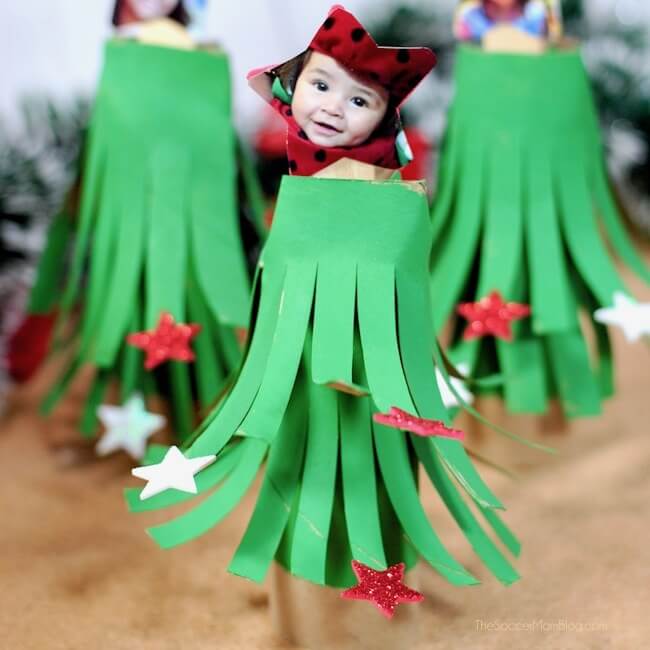
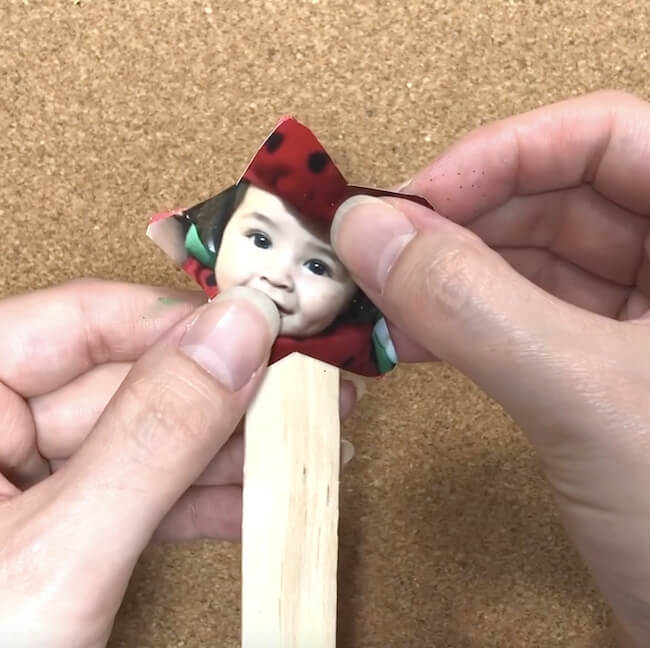
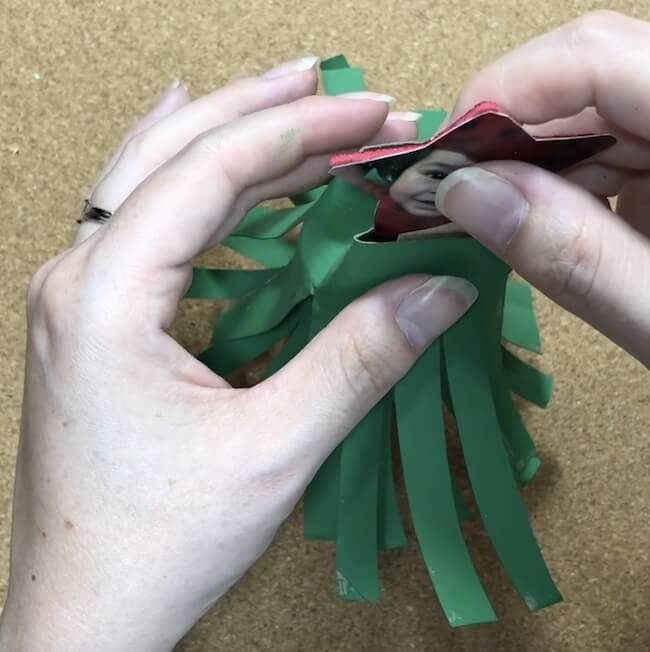
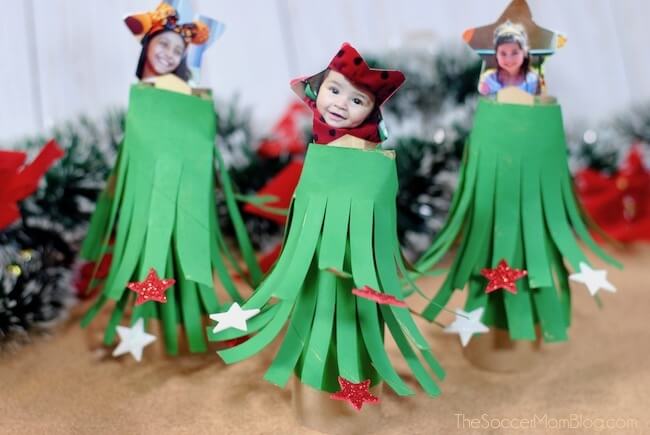
Cut out a child’s photo into the shape of a star – about one and a half to two inches across. Glue the star-shaped photo to a craft stick, then glue the craft stick to the inside of your cardboard tube Christmas tree, so the star sits on top of the tree.
TIP: We used large glitter star stickers to trace a star shape onto the photos AND we used the star stickers to fasten our cut-out photos to the craft stick. You can use stickers like us, or glue as described above, if you don’t have star stickers.
We attached glittery star stickers to the ends of some of our “branches.” You could also use buttons or other types of stickers for your ornaments.
Cut out a child’s photo into the shape of a star – about one and a half to two inches across. Glue the star-shaped photo to a craft stick, then glue the craft stick to the inside of your cardboard tube Christmas tree, so the star sits on top of the tree.
We made one for all three girls:
Get holiday kids craft ideas delivered right to your inbox!
Sign up for our Soccer Mom Blog weekly inspiration newsletter and you’ll get more craft ideas, more slime recipes, more mom hacks delivered right to your inbox. It’s free!
[convertkit form=4956161]
More of our favorite Christmas crafts for kids:
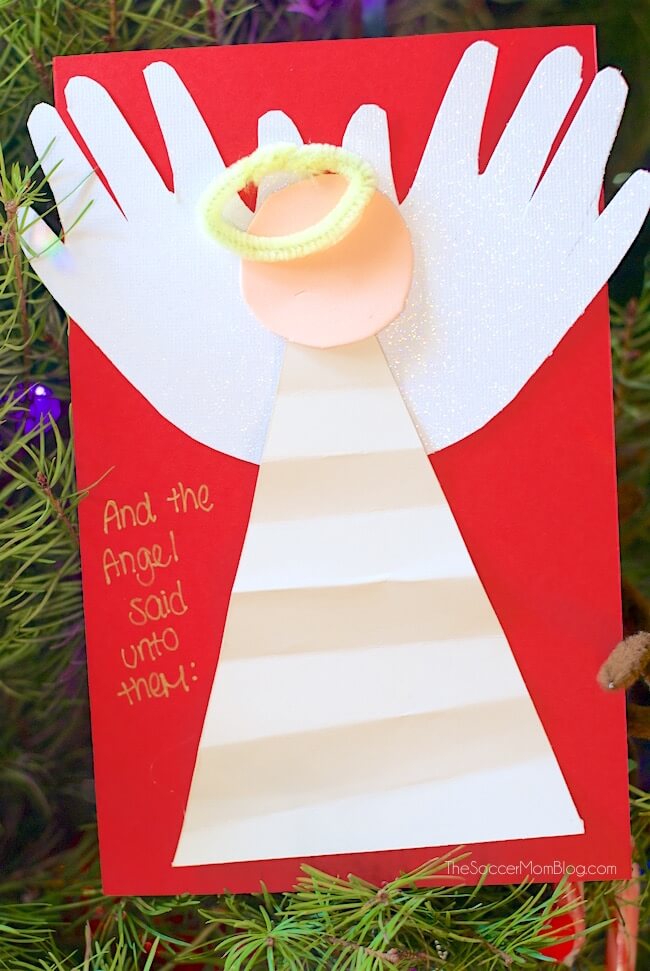
Kid-Made Handprint Angel Christmas Card
- Marshmallow Playdough - April 18, 2024
- Homemade Fruit Leather Recipe - April 17, 2024
- 7-Layer Dip Cups - April 16, 2024

Leave a Reply