I’m teaming up with SYLVANIA Automotive for National Car Care Month to bring you these handy DIY tips to make your car headlights brighter. Affiliate links are provided for your convenience.
When was the last time you replaced the headlights on your car?
If you can’t remember, then it’s probably time to change them! Headlights dim over time and are at risk for burnout (don’t they always seem to go out at the most inconvenient moments?)
Or, do your headlights look dingy and yellow, even after a car wash?
Headlights are one of the things on our cars that we don’t give much thought to, unless they burn out. However, a few simple updates can ensure you’ve got the brightest headlights possible, and a safer ride for your family.
Related: How Often Do You REALLY Need to Change the Oil in Your Car??
How to Make Headlights Brighter
This DIY headlight maintenance guide will show you how to:
- Clean oxidized (yellow) headlights
- Choose the right headlight bulbs for your car
- Change headlights yourself, without a trip to the mechanic
What Causes Headlights to Yellow?
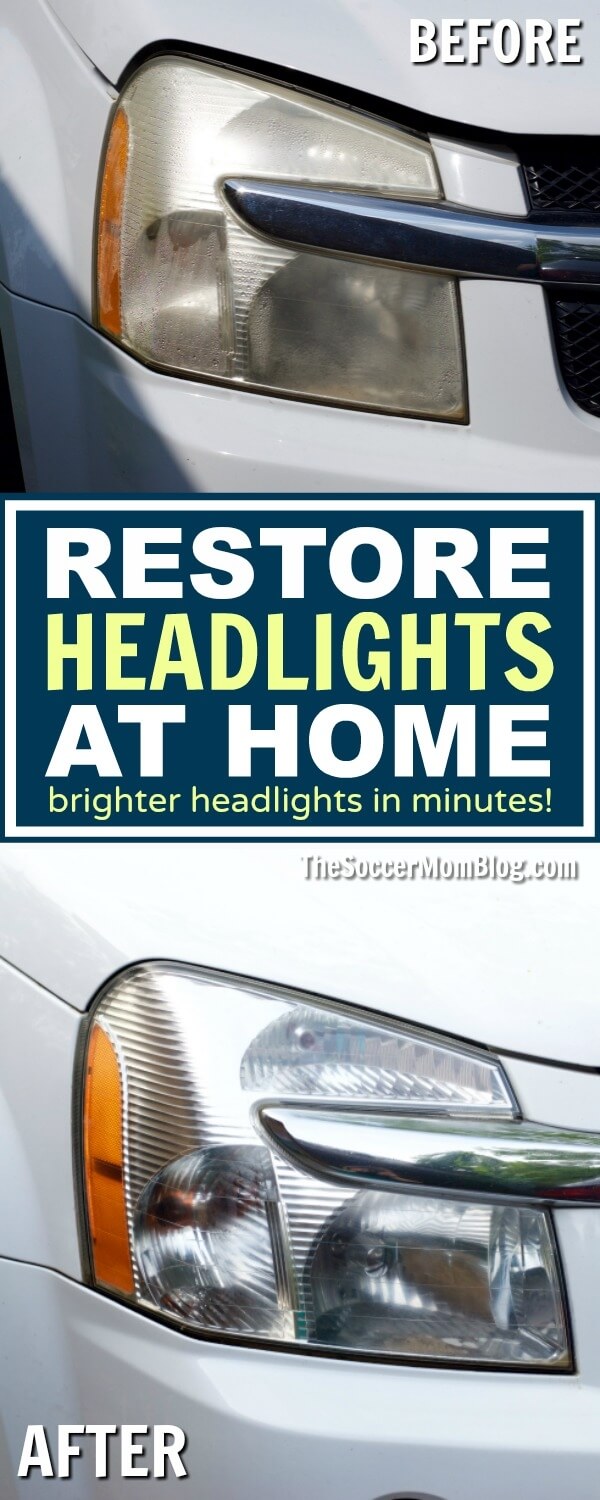
Many headlights are made of polycarbonate plastic, which becomes cloudy after years of exposure to the UV rays in sunlight and the elements.
Not only does this yellowish tint look yucky, it can also cause your headlights to appear up to 66% dimmer.
How to Clean Oxidized Headlights: Toothpaste Method
Believe it or not, there is a simple household item that can help wipe away the outer layer of buildup: toothpaste.
It sounds wacky, but we tried this one and it makes a big difference!
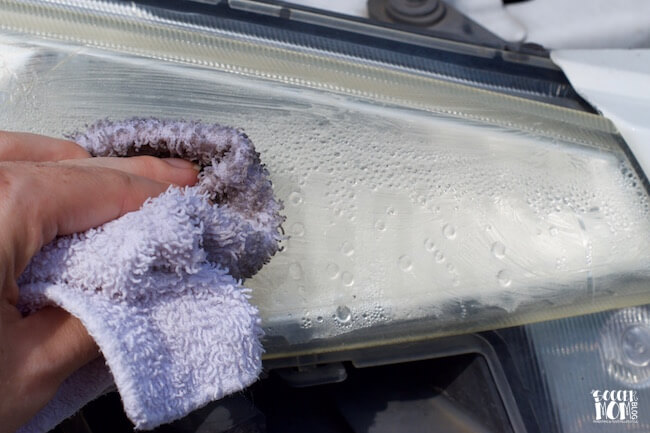
Wipe toothpaste on headlight cover using an old rag in a circular motion. Scrub for 3-5 minutes and you’ll see the filth on your rag instead of your headlights! Finally, wipe clean with a damp cloth.
Note: Take care to avoid chrome, paint, etc. when cleaning headlight covers.
Pro Trick: Sylvania Headlight Restoration Kit
While cleaning hacks like toothpaste can wipe away surface buildup, to restore the clarity of your headlight and ensure long-term UV protection you’ll need a headlight restoration kit.
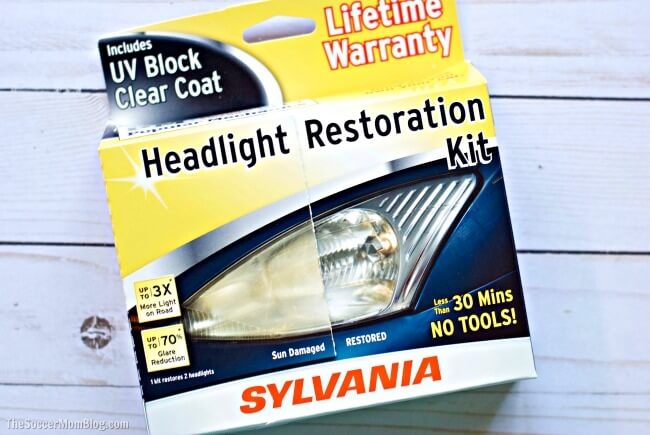
This Sylvania headlight restoration kit is a do-it-yourself product that allows you to improve the condition of your headlights at home.
Benefits of a Sylvania Headlight Restoration Kit
-
Restores clarity
-
Increases visibility and safety
-
Improves appearance and increases value
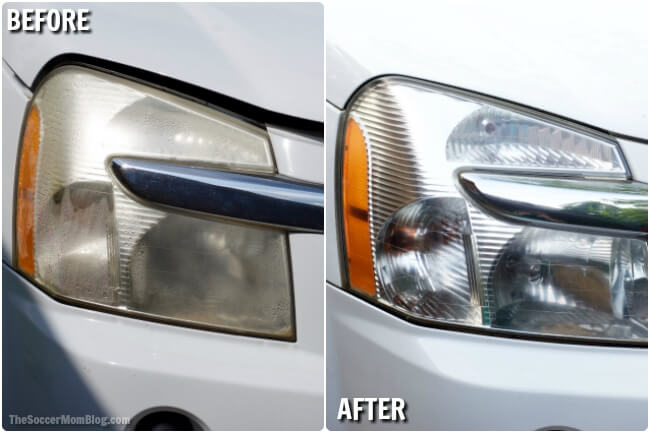
The difference is amazing! This is after one use of the Sylvania headlight restoration kit.
How to choose the right headlights for your car
The next step in getting the brightest headlights for your car is to find the right bulb. Different headlights are better suited to certain driving conditions.
SYLVANIA offers headlight options to meet a variety of needs:
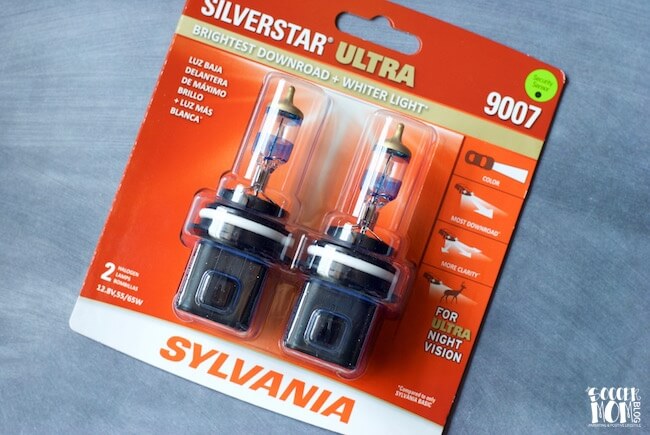
- SilverStar® ULTRA — Provides the brightest downroad visibility and clarity for safer night driving. (This is what we chose for our vehicle because it helps you see road signs better in low lighting).
- SilverStar® zXe – Get the look of HID headlights without the price tag! Mirrored reflectors and cobalt blue bulb coating create a stunning white light.
- SilverStar® — Offers more downroad visibility and a whiter light than your basic headlight. An excellent first step in your car safety upgrades.
Is your car your pride and joy? SilverStar® zXe completes the look with show-shopping HID-style bright white light.
Do you want to feel more confident driving at night? SilverStar® ULTRA offers maximum visibility so you can see farther down the road and better distinguish items beside the road.
How to Replace Car Headlights Yourself
Save a trip to the mechanic and a little money by changing your car’s headlights yourself.
In most cases, headlight replacement is a fairly easy task, requiring only a few minutes and simple tools.
Once you’ve found the right headlight bulbs for your car, visit the SYLVANIA Car Care Kiosk for an instructional video showing you how to complete the replacement. The SYLVANIA Car Care Kiosk is an awesome resource that allows you to fill in the make and model of your car, providing a selection of video repair guides. (Even more than replacing headlights!)
Headlight Replacement Tips:
- Be sure to replace both headlights at the same time. Since headlights dim over their lifetime, a new bulb paired with an old bulb will create an uneven field of vision, which can be a major distraction on the road for both drivers and oncoming traffic.
- Do not touch a bulb with your bare hands. The natural oils on your skin (not to mention grease from working on a car) can cause the bulbs to break at high temperatures, like when in use.
- Always wear gloves and safety glasses when performing any car repair. Gloves also protect your headlight bulbs from coming into contact with the oils and dirt on your hands (see above).
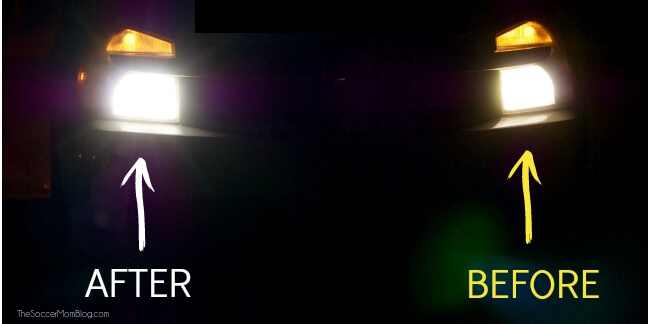
Take a look at our results after cleaning and replacing our headlights:
This is one photo of both headlights on at the same time. We cleaned/replaced one side first – leaving the other side untouched – for comparison. What a difference!
Check out the SYLVANIA Car Care Kiosk for more DIY car maintenance tips and videos.
More of our favorite home cleaning hacks:
More car safety & travel tips:
7 Shockingly Common Car Seat Mistakes
- Amish Sugar Cookies - April 19, 2024
- Marshmallow Playdough - April 18, 2024
- Homemade Fruit Leather Recipe - April 17, 2024


Lissa Crane says
Good to know! Thanks!