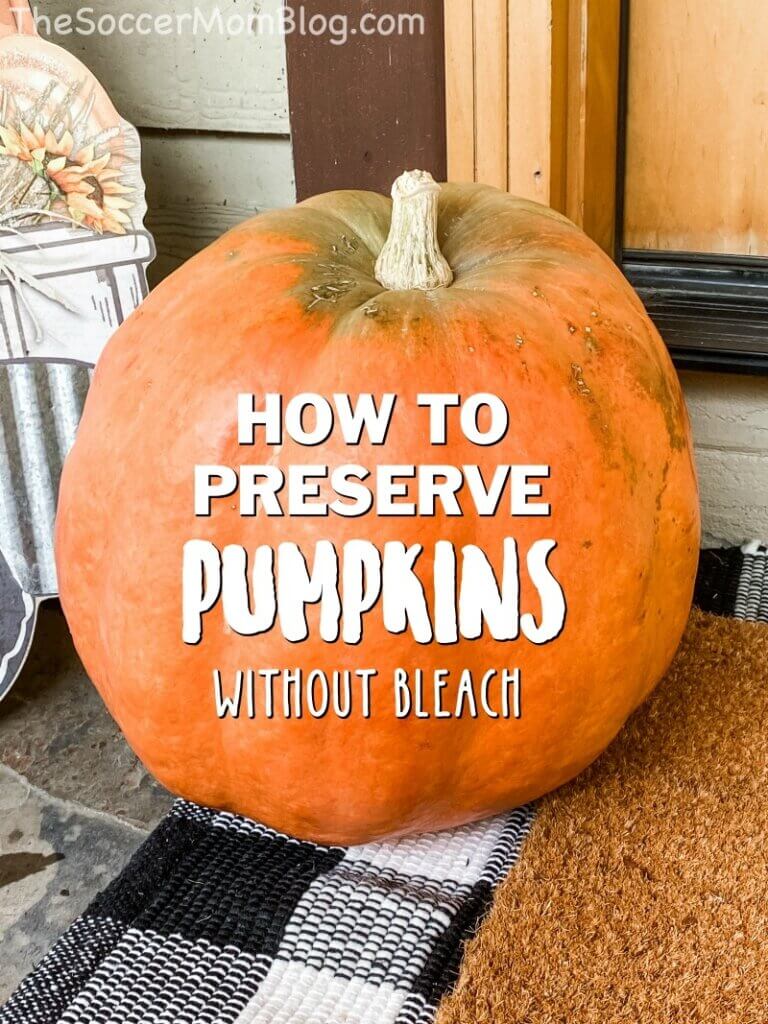
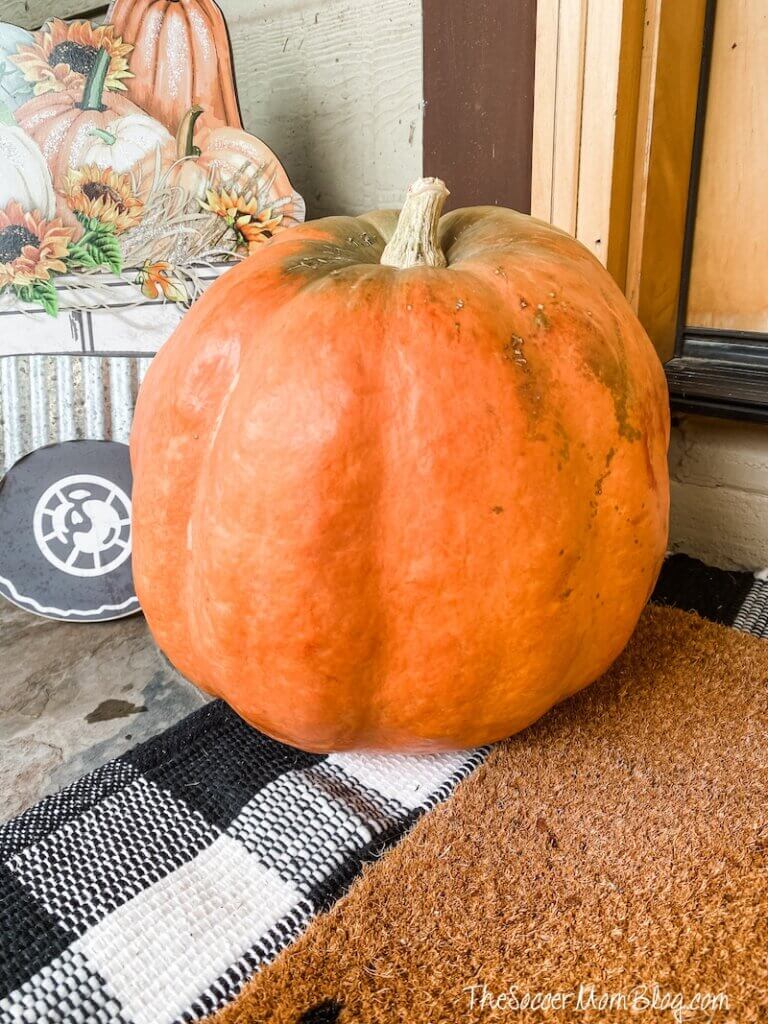
Want your pretty pumpkins and gourds to last all season long? With this simple trick they can stay good for 1-3 months! We’ll show you a quick and easy way to preserve decorative pumpkins…and it doesn’t require toxic bleach so it’s wildlife friendly!
How Long Do Pumpkins Last?
Here in Houston, it’s really humid year-round. Once I had a Jack-O-Lantern dissolve into a moldy mess practically overnight! What a disaster!
Even little decorative pumpkins (that I didn’t carve) usually ended up moldy and gross within a couple weeks.
There are different ways to preserve pumpkins and decorative gourds to make them last longer. If you dry out the gourds to preserve them, they can last for years!
However, I wanted a quick and easy way to keep my pumpkins fresh to at least last the season while I’m displaying them.
With this simple method, your gourds and pumpkins can last up to 1-3 months!
Why Do Pumpkins Go Bad So Fast?
When you carve a pumpkin, the inside is exposed to oxygen, which starts the process of breaking things down. It also allows for contamination from bacteria and mold.
But what about uncarved pumpkins? They seem to go bad pretty quickly too!
One reason is that there is bacteria on the surface and it makes its way into the pumpkin through cuts and scrapes where the protective skin is broken.
Humidity also plays another part — especially in places that are warm and humid like where we live on the Gulf Coast!
All fresh pumpkins will go bad at some point, but the good news is that we can slow down this process!
How to Preserve Pumpkins with Bleach
If you’ve been searching the internet for a way to keep your decorative gourds and carved pumpkins fresher longer, you’ve probably noticed a lot of the tips involve washing in bleach.
Bleach is definitely effective at killing mold and bacteria that cause pumpkins to rot, and thus making them last longer.
It’s not an exact science, but generally you want a 10 to 1 ratio of water to bleach.
Why You Might Not Want Use bleach:
There are a couple reasons that we avoid using bleach for this process. First, it’s messy. If you’re not careful, you can ruin your clothes or other things in your bathroom or kitchen. (Or wherever you’re cleaning your pumpkins).
Second, if you live in an area with a lot of wildlife (like us), they may try to nibble your pumpkins. Obviously, we don’t want our pumpkins to get eaten by animals, but hey, it happens.
Also, if you throw a pumpkin away, when it breaks down, the bleached material will also be easily accessible to animals who may think it is a tasty treat.
Pumpkins that have been treated with bleach may be harmful to wildlife. And we don’t want to harm our animal friends!
What To Use Instead of Bleach
One of my favorite natural cleaning tools is simple distilled white vinegar. I use it to wash may produce when I bring it home from the store.
Turns out, vinegar is a great way to wash and preserve pumpkins too! Not only will vinegar not stain your clothes, it is non-toxic.
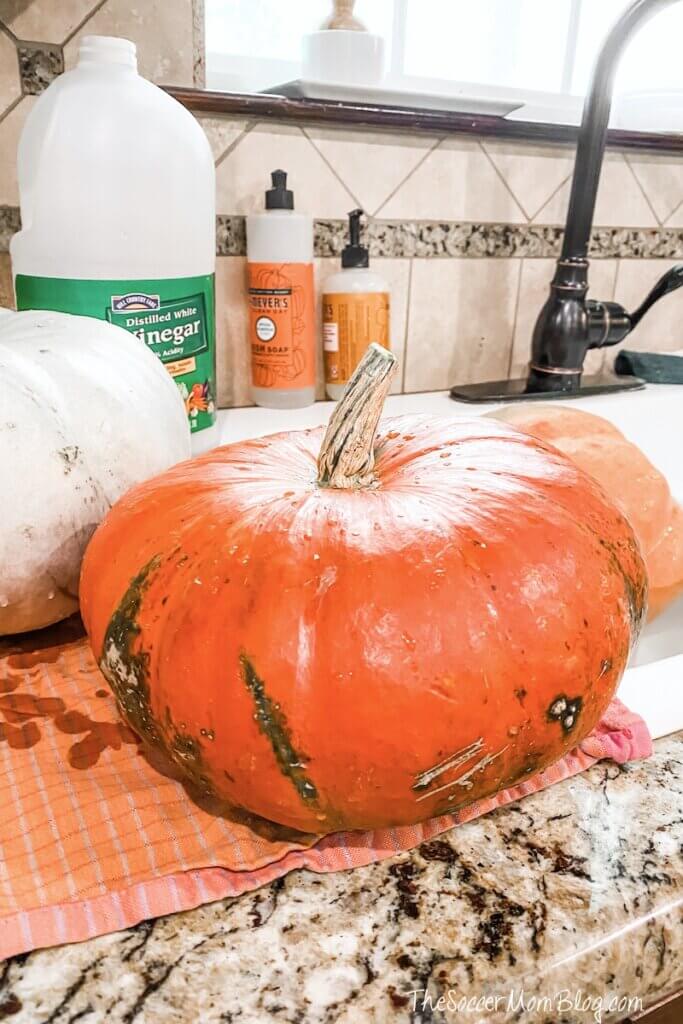
Here’s what you need to preserve decorative pumpkins:
I’ve provided this quick list of shop-able supplies for your convenience; disclosure policy here.
- Large kitchen sink or utility sink
- Water
- White distilled vinegar
- Petroleum jelly (optional)
How to Preserve Pumpkins with Vinegar
First, fill your kitchen or utility sink with water.
Next, add 1/2 to 1 cup of distilled white vinegar. For larger sinks you may want to use a full cup. Again, this isn’t an exact science, but you should be able to smell the vinegar.
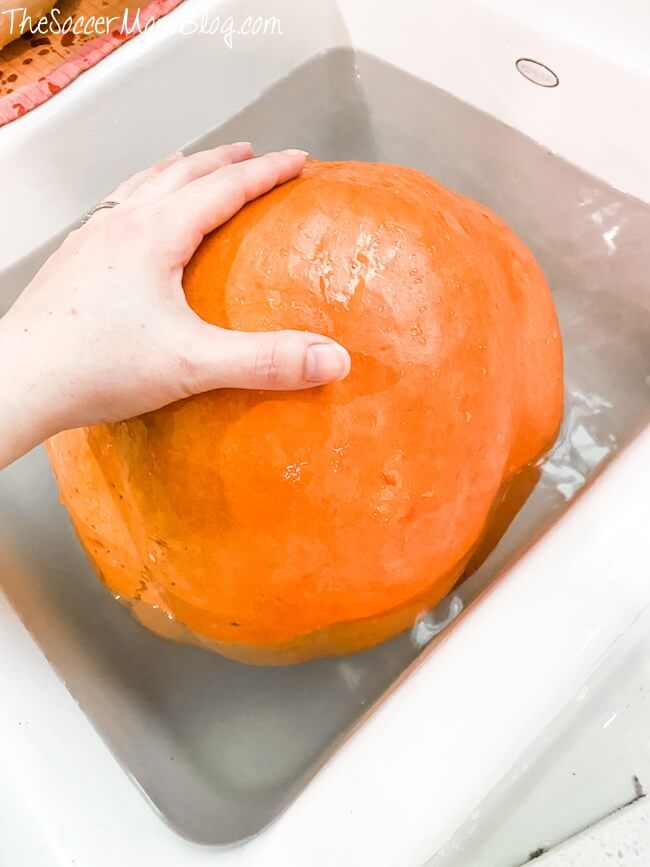
Dunk your pumpkins in the water and wash away any dirt.
While washing, check for any cuts or open scrapes on the pumpkins, as we will seal those afterwards.
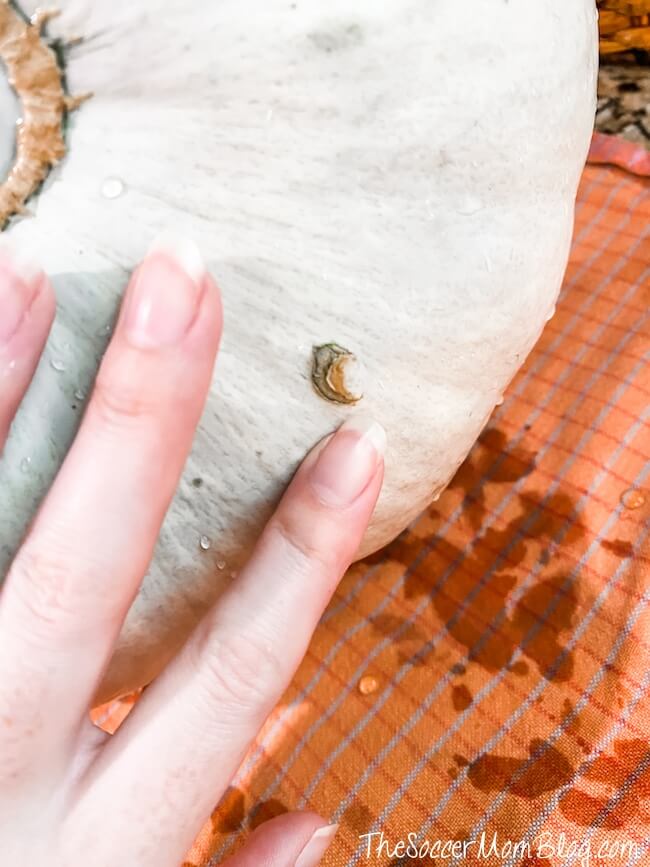
Allow your pumpkins to soak for 10 minutes, then flip them over and soak 10 more minutes.
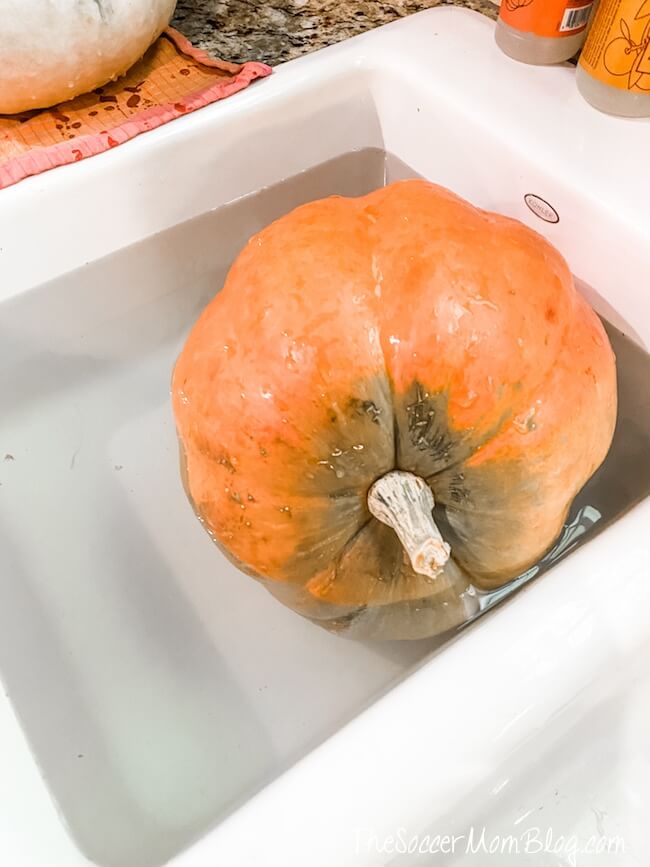
Rinse and set your pumpkins out to dry.
When the pumpkins are completely dry, coat any scrapes or cuts with petroleum jelly. This prevents bacteria from getting inside the pumpkin through these openings and making it go bad faster. If your pumpkins are in good shape you can skip this step.
Before Everything Else, Pick the Right Pumpkin
Another way to make sure that your pumpkins last longer is to choose them wisely when purchasing.
Look for pumpkins with no visible injuries, bruising, or soft spots. These may indicate that the pumpkin is already starting to turn.
If you’re going to carve the pumpkin, wait until as close to Halloween as possible to do so. As soon as you cut into the pumpkin, you’re greatly speeding up the process of decay.
More of our favorite fall & Halloween decor ideas:
- Mason Jar Pumpkins
- Upcycled Laundry Jug Jack-o-Lanterns
- Mickey & Minnie Pumpkins (Cute Dollar Store Craft)
Printable Instructions
Want to Save This Recipe?
Enter your email & I'll send it to your inbox. Plus, get great new recipes from me every week!
By submitting this form, you consent to receive emails from The Soccer Mom Blog
How to Preserve Decorative Pumpkins without Bleach
Equipment
- Sink
Ingredients
- 1 cup distilled white vinegar
- water
Instructions
- Fill kitchen or utility sink with water.
- Add 1/2 to 1 cup of distilled white vinegar. The ratio should be approximately 10 to 1 (or you should be able to smell the vinegar).
- Place pumpkins in the water and wash away any dirt.
- Allow your pumpkins to soak for 10 minutes on each side.
- Rinse and dry pumpkins completely to display.
- Coat any scrapes or cuts with petroleum jelly.
Video
You might also like:
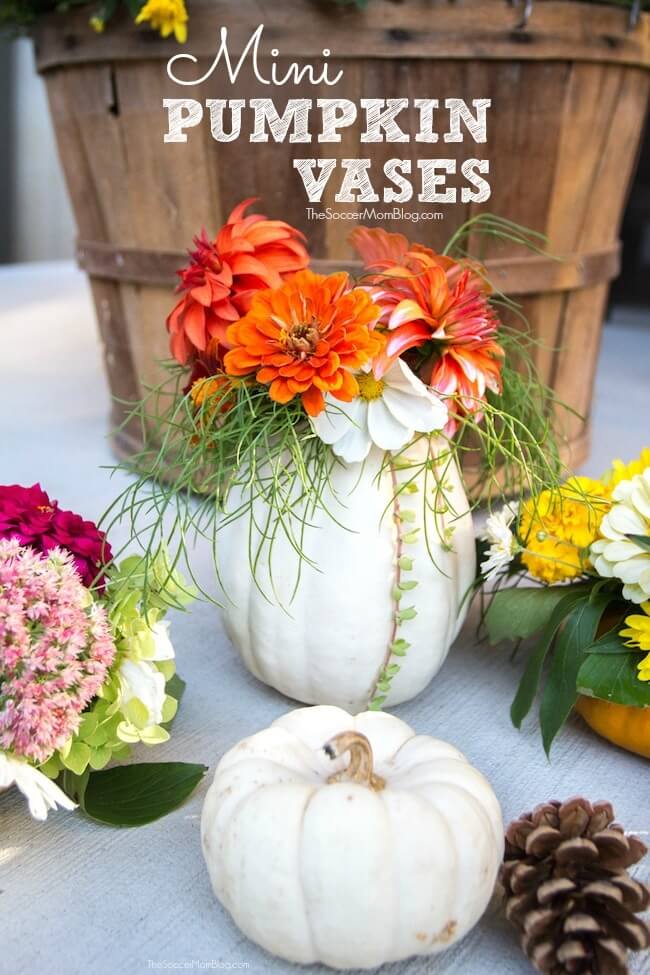
Mini Pumpkin Vases made from Real Pumpkins
- Paper Chain Octopus Craft - April 24, 2024
- Amish Sugar Cookies - April 19, 2024
- Marshmallow Playdough - April 18, 2024

Lyss says
Thanks for this post! I live over in San Antonio and was afraid to get pumpkins because of how crazy Texas weather always is. Great post, love the alternative method to using bleach.
Jeannie Degeorge says
Can you set pumpkins on concrete, or does it cause them to go bad faster?
Stacey aka the Soccer Mom says
I always set mine on the ground on my porch, which is concrete topped with slate tiles. They seem to do ok!