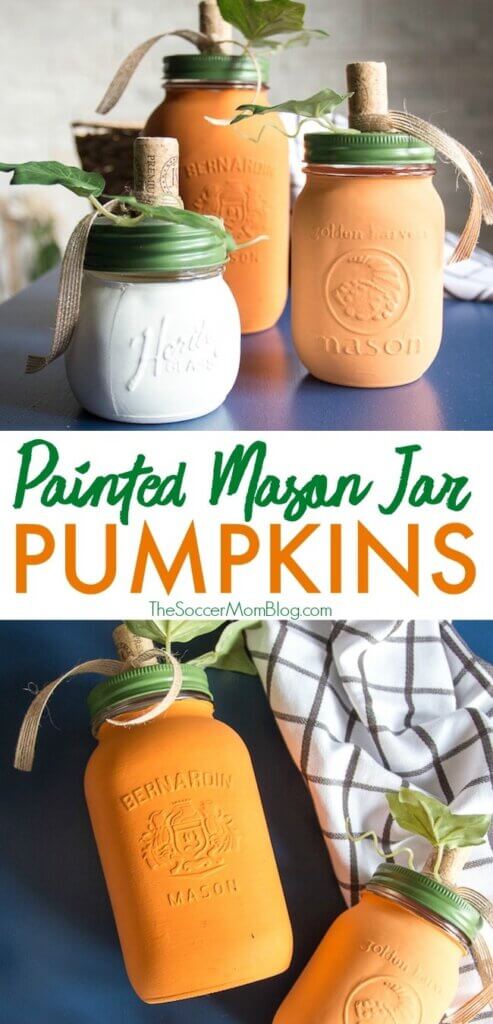
Pumpkin Mason Jars
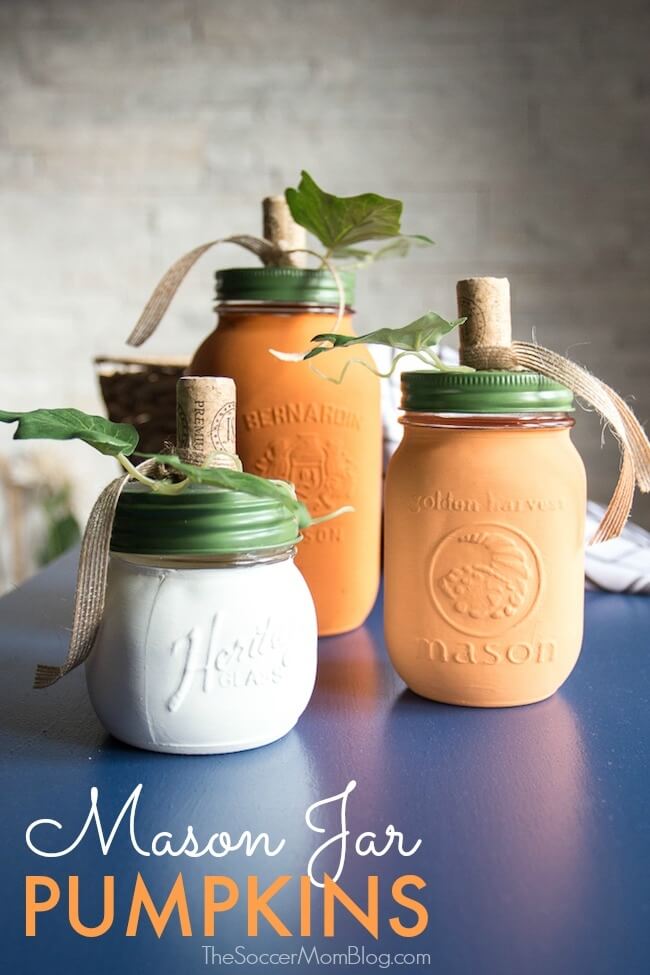
These DIY Painted Pumpkin Mason Jars are a gorgeous addition to your farmhouse fall decor and so easy to make! You’ll use them year after year!
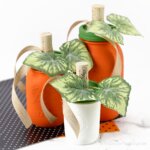
DIY Mason Jar Pumpkins
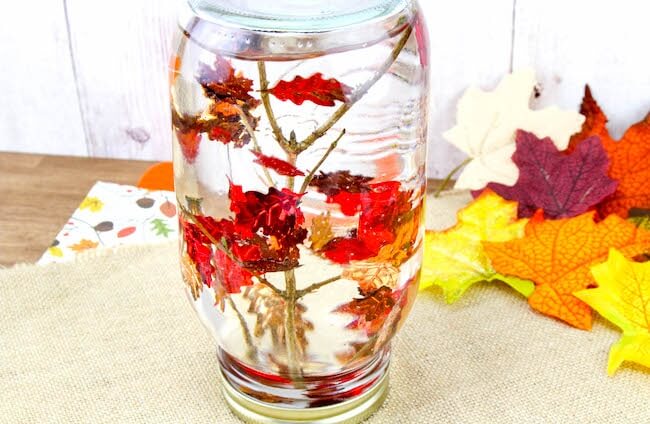
I’m on a mason jar kick lately — they’re such a versatile crafting supply! We’ve already made these falling leaves “snow globes” and these Patriotic Mason Jar Lanterns. Oh and of course traditional Christmas Lights Snow Globes!
Whenever I go to Target or Hobby Lobby, I’m SO tempted to buy all of the gorgeous fall decor items. Seriously, I would bring them all home if I could, but my bank account would not appreciate it!
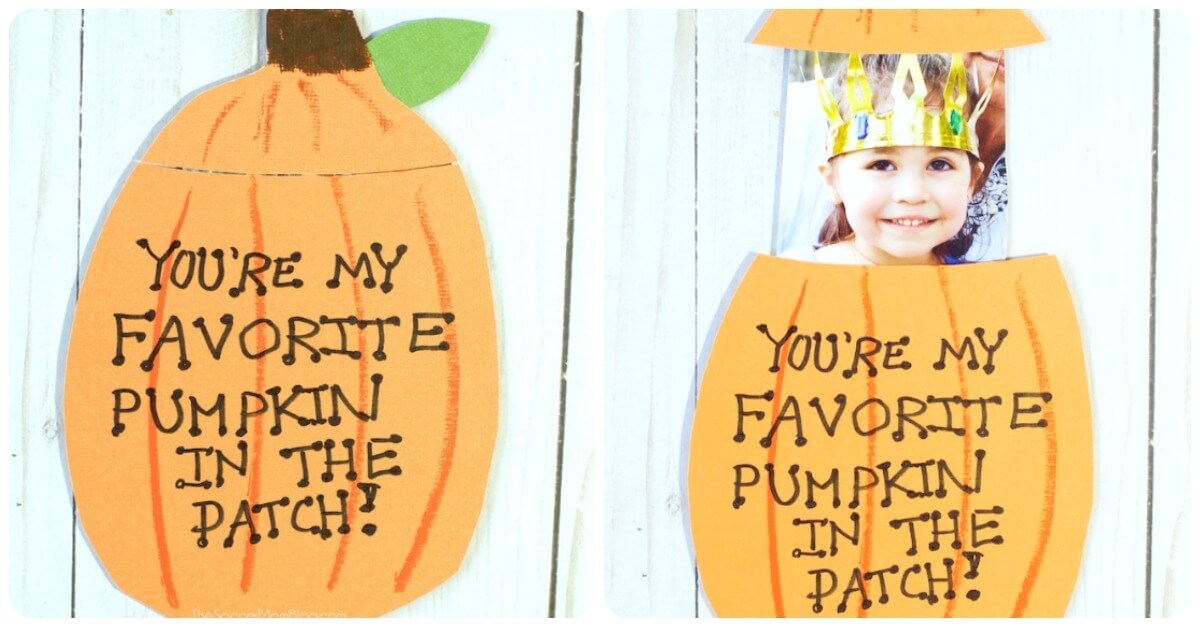
Related: See ALL of our favorite Kids Pumpkin Crafts here (there’s more than 70!)
Instead, I’ve been making my own fall decorations, which has been a lot of fun (and a bit more budget friendly too).
These mason jar pumpkins are super easy to make, and I just love how simple, but chic they look nestled on a bookshelf or end table. They even make a unique centerpiece for Thanksgiving!
Keep reading for a full supply list, video instructions, and tips!

What You Need to Make Painted Pumpkin Jars
(makes 3 mason jar pumpkins)
For your convenience in re-creating these mason jar pumpkins, I’ve included shop-able ad links to some of the supplies used. Our disclosure policy is available here.
- Glass mason jars, 3 different sizes with lids
- Americana Decor Chalky Finish Paint in “Heritage” Orange
- Americana Decor Chalky Finish Paint in “Lace”
- DecoArt Americana Acrylic Paint in “Hauser Medium Green”
- Paintbrush
- 3 wine corks
- Glue gun and clear hot glue sticks
- Artificial ivy leaves
- Decorative jute ribbon or twine
- Scissors
How to Make Mason Jar Pumpkins
TIP: Before you start, protect your work surface with a sheet of newspaper or other drop sheet.
First, clean mason jars and dry thoroughly. Remove the lids and set aside.
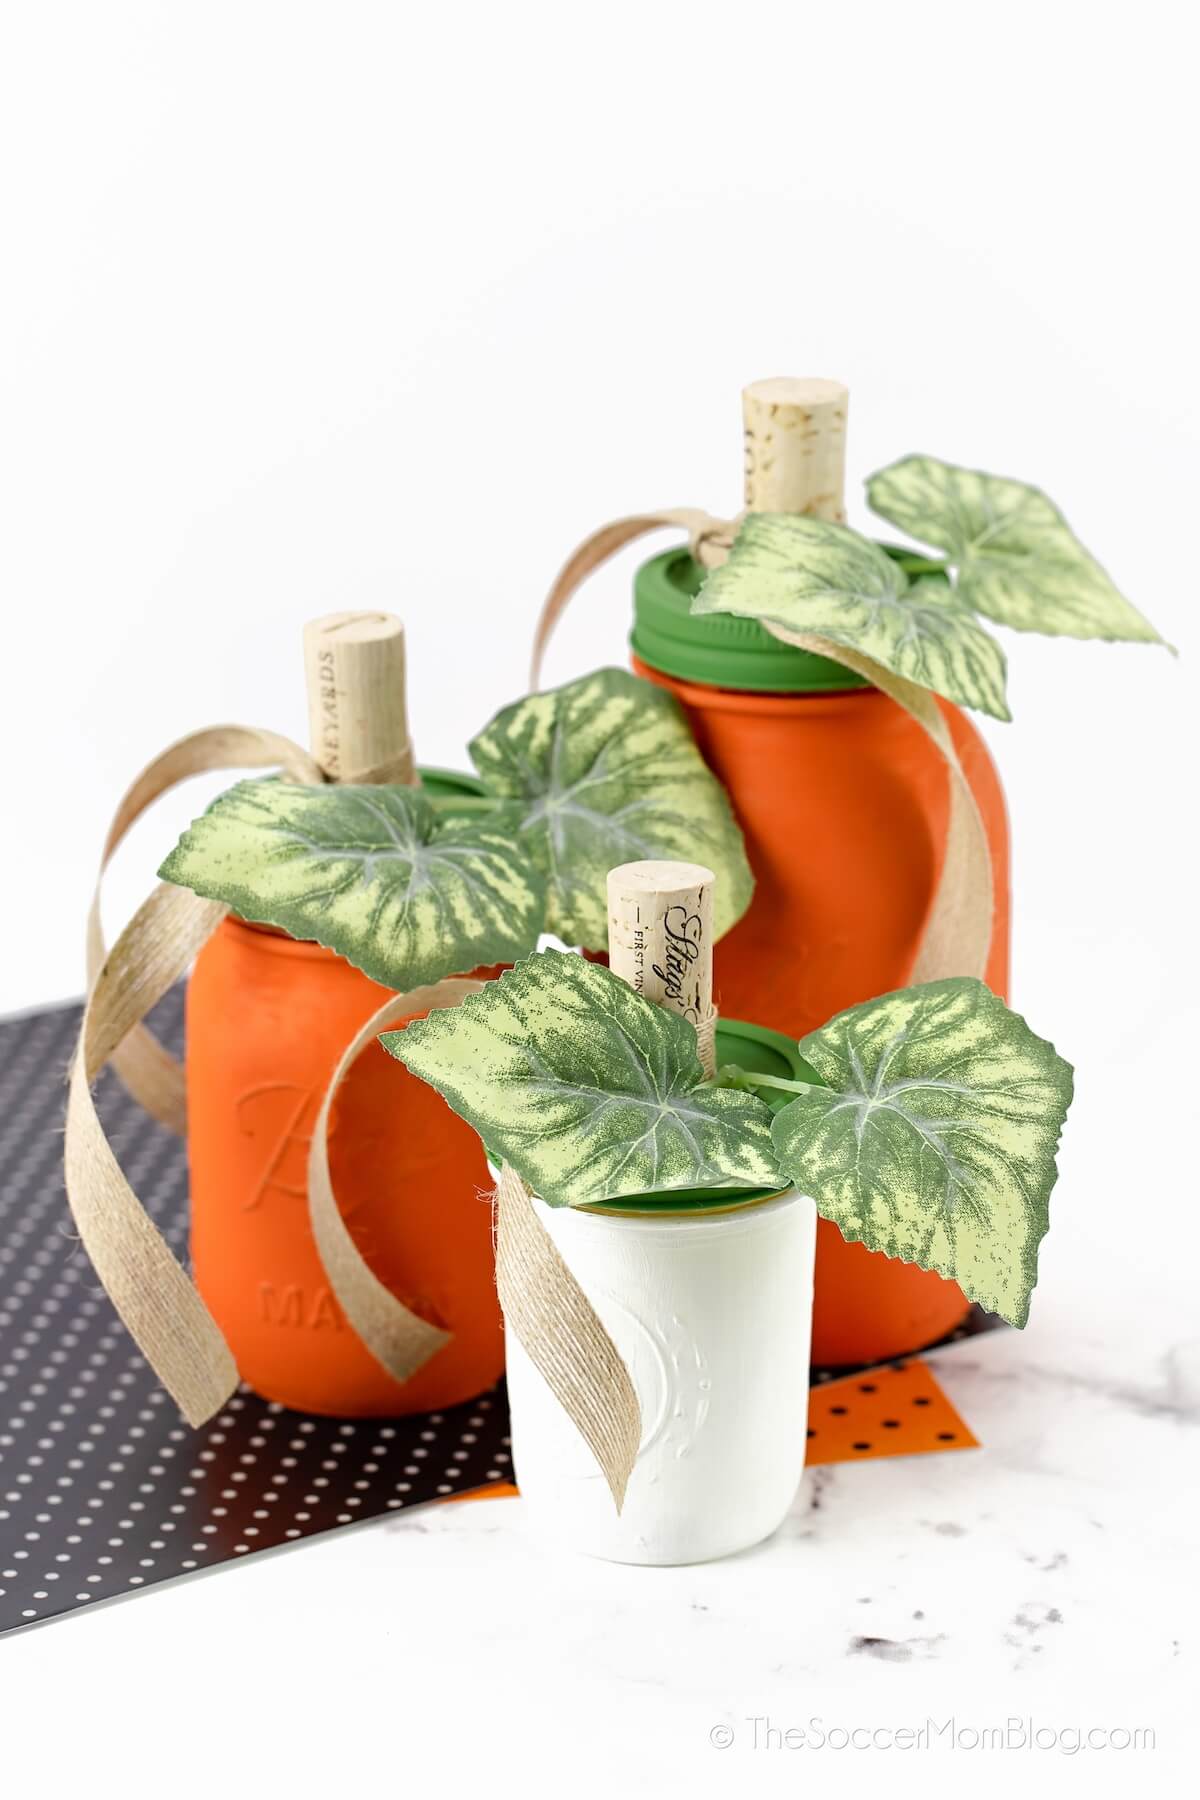
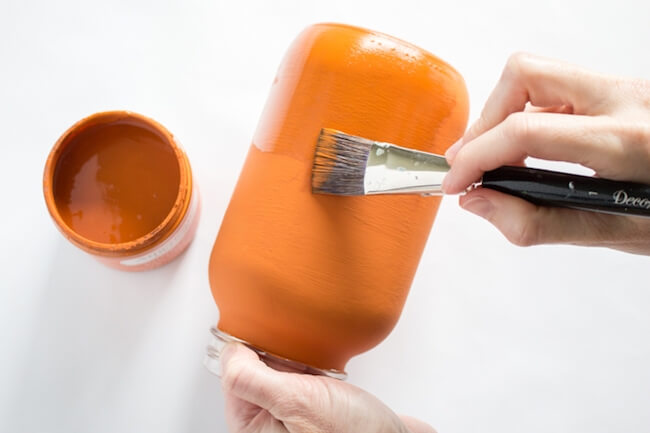
Choose one jar to be your dark orange pumpkin. Use Americana Decor Chalky Paint in “Heritage” to coat the surface of this jar, leaving the rim unpainted so you’ll be able to put the lid back on later. Apply two coats if needed, to achieve an even color.
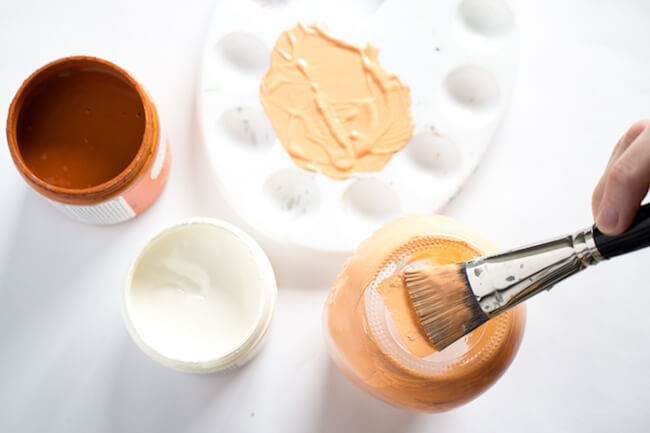
TIP: You can also make your own orange chalk paint (like we did in the video above) by mixing regular orange acrylic craft paint with white chalk paint. Use just a little bit of white for your dark orange pumpkin, as you’ll use a 50-50 ratio for the light orange pumpkin.
Select another jar to be your light orange pumpkin. For this color, mix equal amounts of Americana Decor Chalky Paint in “Heritage” (orange) and “Lace” (white), then paint the surface of the mason jar. Be sure to leave the top rimmed section unpainted.
Use the remaining mason jar for your white pumpkin. Dip brush in Americana Decor Chalky Paint “Lace” color and coat the entire surface of the jar, except for the rim.
Allow jars to dry and apply a second coat of paint if needed.
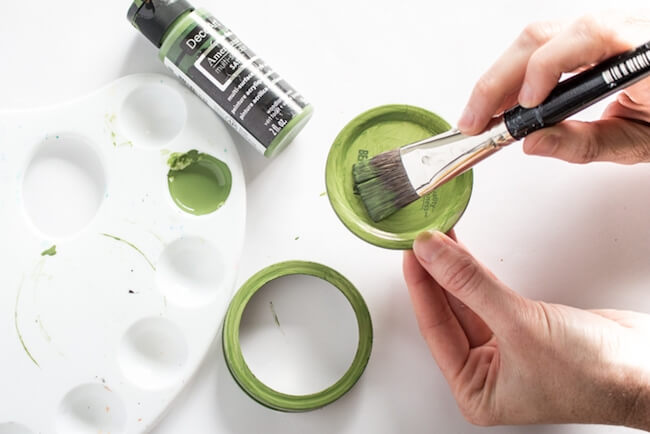
While jars are drying, paint all of the lids with green acrylic craft paint. Allow to dry and add a second coat if needed.
Cut a small trimming of the artificial leafy foliage (we used artificial ivy).
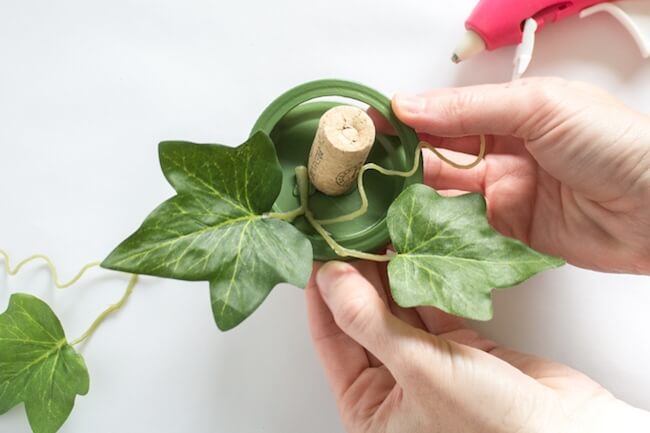
Heat up hot glue gun and apply a good amount of glue to the bottom of a wine cork. Working quickly and carefully, press the wine cork onto the center of the lid and hold in place until glue is dry.
Apply a small line of glue along one side of the base of the wine cork and carefully attach the foliage.
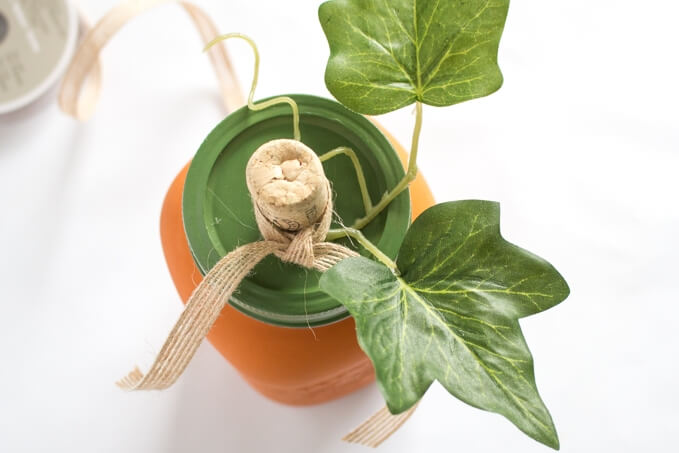
Place your lid back on the mason jar.
Finally, tie a piece of twine or jute ribbon around the base of the wine cork (we used about 6-8″ of ribbon).
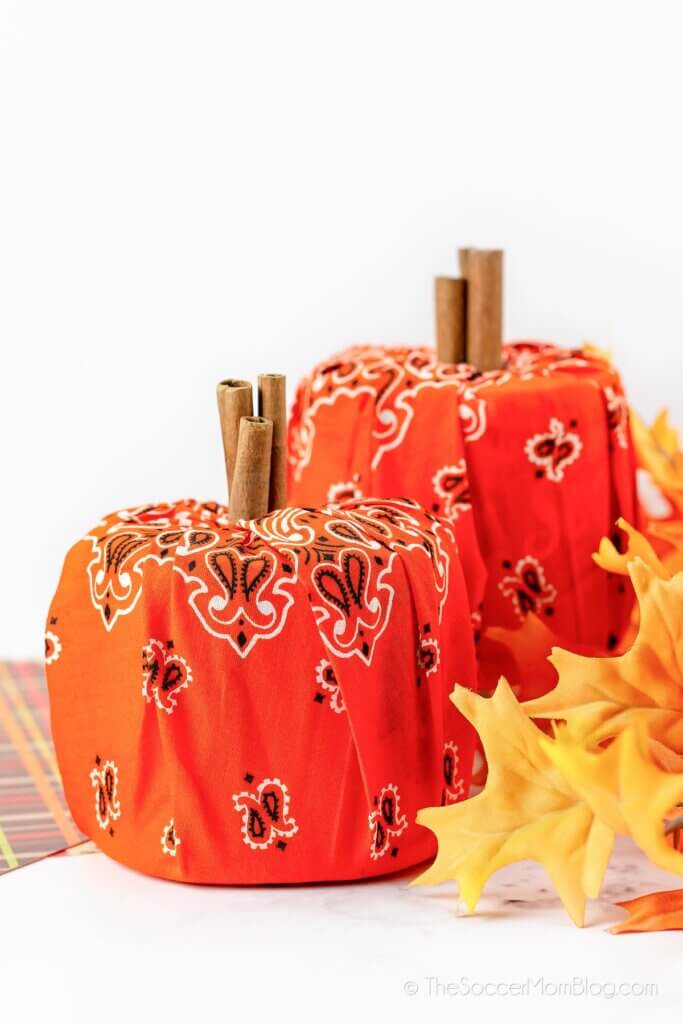
Related: Check out our cute and easy toilet paper pumpkins too!
Pumpkin Mason Jars Printable Instructions
Want to Save This Recipe?
Enter your email & I'll send it to your inbox. Plus, get great new recipes from me every week!
By submitting this form, you consent to receive emails from The Soccer Mom Blog
Mason Jar Pumpkins
Ingredients
- Glass mason jars 3 different sizes with lids
- Americana Decor Chalky Finish Paint in "Heritage" Orange
- Americana Decor Chalky Finish Paint in "Lace"
- DecoArt Americana Acrylic Paint in "Hauser Medium Green"
- Paintbrush
- 3 wine corks
- Glue gun and clear hot glue sticks
- Artificial ivy leaves
- Decorative jute ribbon or twine
- Scissors
Instructions
- Clean and dry jars and remove lids.
- Use Americana Decor Chalky Paint in "Heritage" to coat the surface of one jar, leaving the rim unpainted so you'll be able to put the lid back on later. Apply two coats if needed, to achieve an even color.
- Mix equal amounts of Americana Decor Chalky Paint in "Heritage" (orange) and "Lace" (white), then paint the surface of the second mason jar.
- Paint the third pumpkin with white chalk paint.
- Allow jars to dry and apply a second coat of paint if needed.
- While jars are drying, paint all of the lids with green acrylic craft paint. Allow to dry and add a second coat if needed.
- Cut a small trimming of the artificial ivy or foilage.
- Use a hot glue gun to secure a wine cork to the top of each lid. Hold in place until glue is dry.
- Apply a small line of glue along one side of the base of the wine cork and carefully attach the foliage you cut earlier.
- Place the lids back on you mason jars.
- Tie a piece of twine or jute ribbon around the base of the wine cork (we used about 6-8" of ribbon). Secure with hot glue.
Video
Be sure to pin our painted pumpkin jars on Pinterest:
More of our favorite fall crafts:

- Beach Day Rice Krispie Treats - June 23, 2026
- Pickled Jalapeños Recipe - June 15, 2026
- Homemade Nesquick Mix - June 11, 2026