Keep reading for an easy video and photo step-by-step tutorial to make beautiful, rustic Hand Lettered Wood Slice Christmas Ornaments.
Rustic Hand Lettered Wood Slice Ornaments
Every year my mom, sister, myself, and the girls get together to make Christmas ornaments. One year we made Orange Pomander Ornaments (inspired by one of my favorite Christmas books). Another year we made Candy Cane Ice Skate Ornaments.
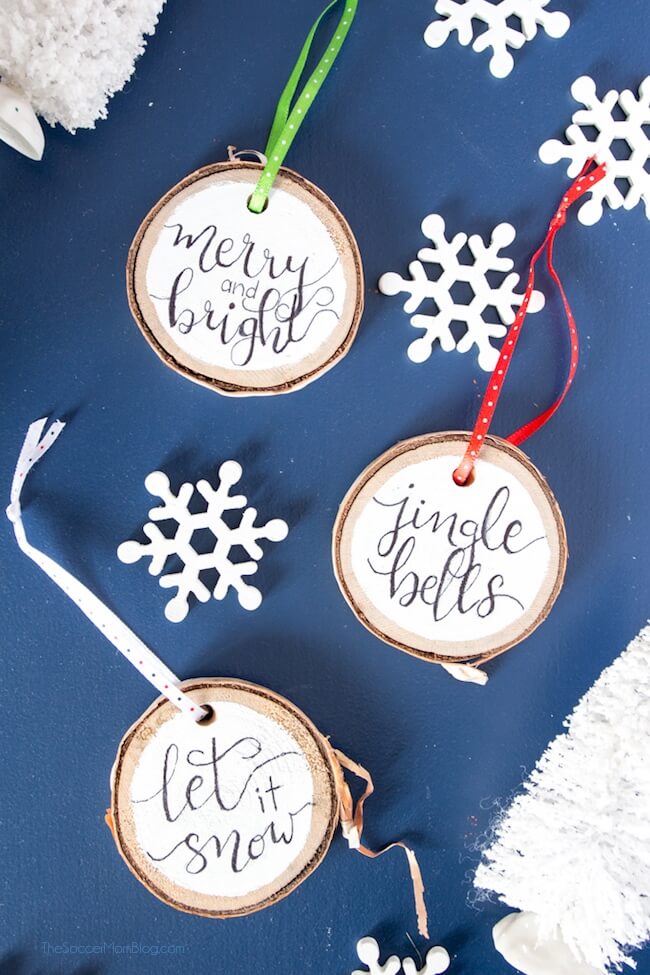
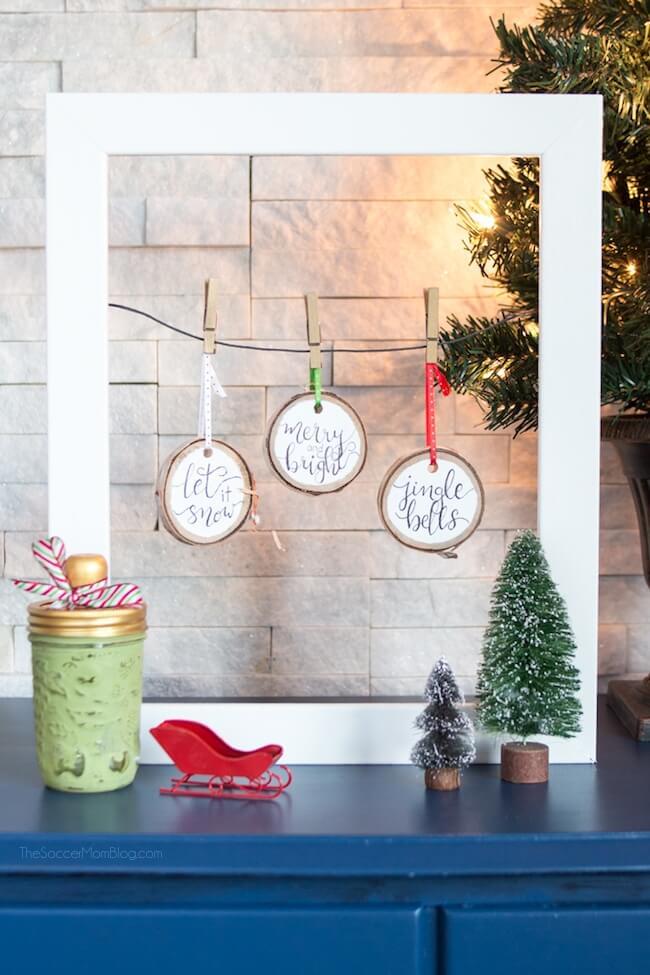
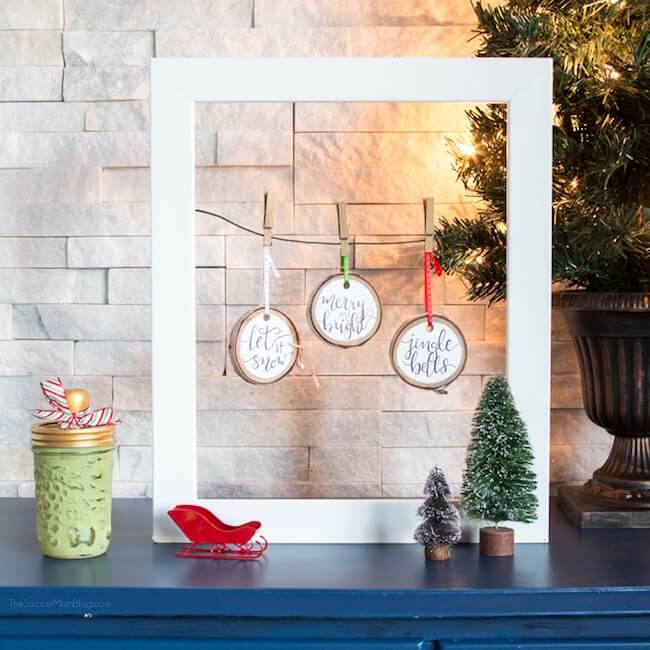
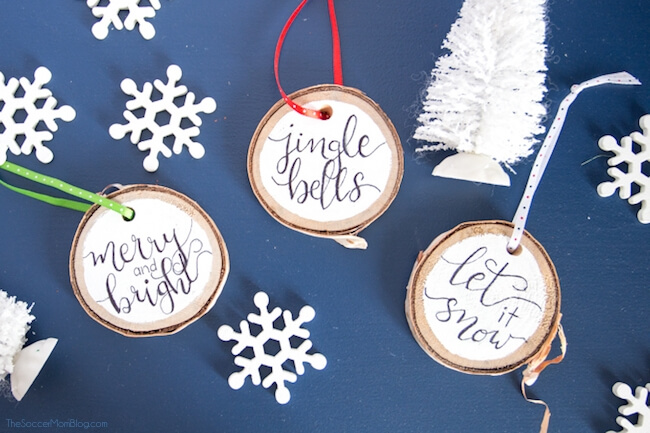
This year, one of my ideas is to make hand lettered wood slice Christmas ornaments. The ones pictured here have classic Christmas sayings such as “Merry and bright,” “Jingle Bells” and “Let it snow.”
However, you could write children’s names, favorite bible verses, or anything really!
I love these wood slice Christmas ornaments because they look both elegant and rustic at the same time. They look like something you could purchase on Etsy or even a trendy Christmas boutique, but they’re super easy to make yourself!
Kids can even make these wood slice Christmas ornaments — that’s why I think they are perfect for an ornament making party.
Related: You might also love our Baby Bottle Photo Ornaments!
Related: You might also love these Snowman Wood Slice Ornaments too!
Calligraphy Christmas Ornaments Supply List
For your convenience in re-creating our Hand Lettered Wood Slice Christmas Ornaments, I’ve included shop-able ad links to some of the products used. Our full disclosure policy is available here.
- Round wood slices (about 3” in diameter, ⅜’ thick, drilled with hole)
- Downloadable lettering template (optional)
- Pencil
- DecoArt Americana Chalky Finish Paint in “Everlasting” (white)
- Fine paint brush
- Fine tip black Sharpie permanent marker
- Decorative ribbon of your choice, ⅛” wide
How to Make Hand Lettered Wood Slice Ornaments
First, watch our quick video demo below to see how we made our mini Hand Lettered Wood Slice Christmas Ornaments. Then keep reading for full photo step-by-step instructions.
Click video below to play:
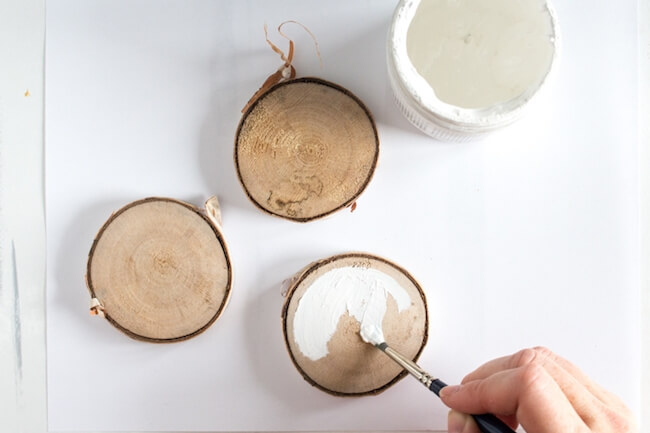
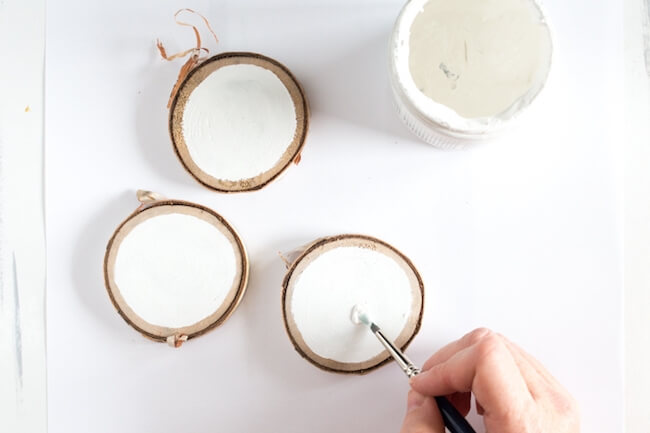
First, paint the surface of each wood slice with white chalk paint, leaving the outer edge of each wood slice unpainted so that there is a thin border. Allow to dry and then repeat on the other side each wood slice, if desired.
TIP: In the supply list above, I linked to pre-drilled wood slices that are perfect for ornament-making. However, you can also purchase plain wood slices and drill yourself. I just think it’s easier when it’s already done for you, especially if making this craft with kids.
While your painted wood slice ornaments dry, plan out what you will be writing on each wood slice.
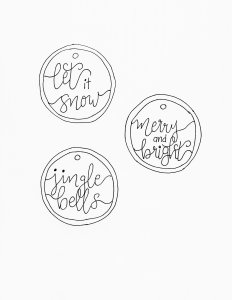
You can use our pre-made printable template as a guide, or you can freehand your own Christmas phrases. Practice writing these with a pencil on a separate piece of paper until you are happy with the designs.
Click template for to open free printable copy in a new browser window:
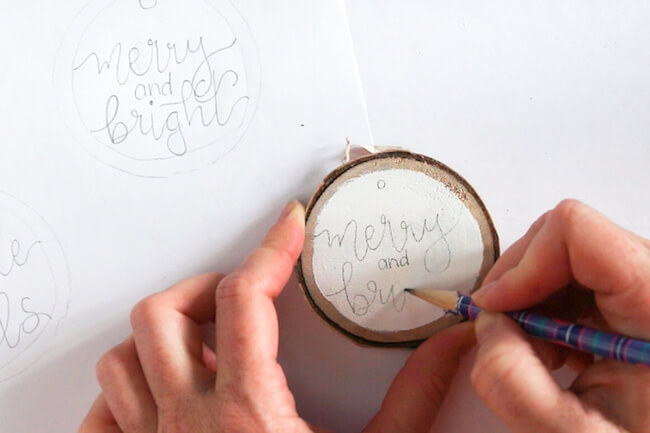
With your pencil, copy the phrases you drew on the practice sheet onto each wood slice. Make any corrections as needed until you are happy with the designs.
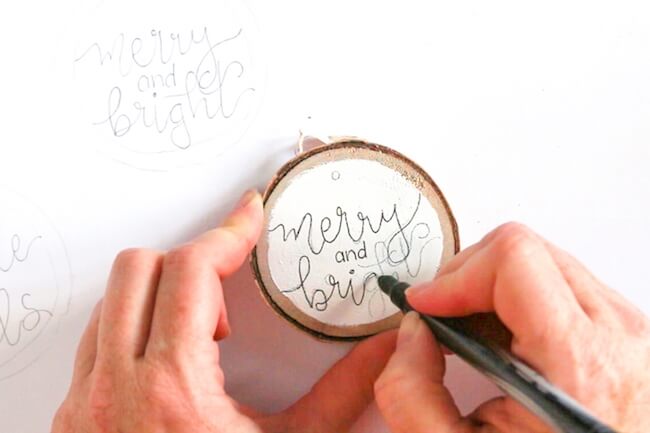
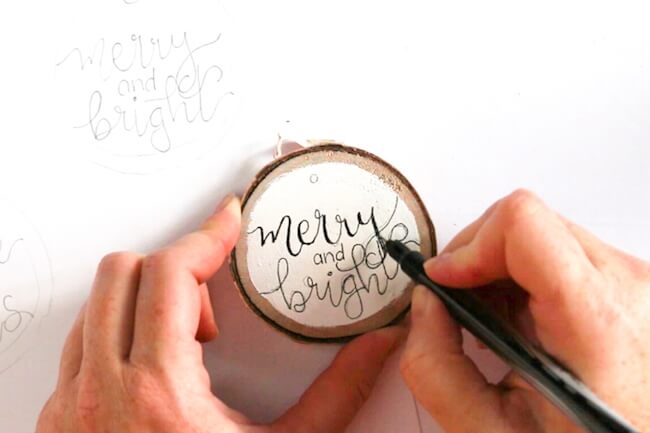
When you have your final designs drawn on each wood slice ornament in pencil, carefully, trace over the pencil marks with the fine tip permanent black marker.
Go back and thicken all the “downstrokes” on the letters, leaving the “upstrokes” thinner.
Allow your calligraphy ornaments to dry overnight before carefully erasing any remaining pencil marks. Overnight should be plenty of time to dry, but if the paint or marker smudges at all when you try to erase, allow to dry longer.
Thread a decorative ribbon through the hole at the top of each wood slice ornament for hanging.
Related: Click here to see a HUGE collection of over 100 Easy Christmas Crafts for Kids!
Get holiday craft ideas delivered right to your inbox!
Sign up for our Soccer Mom Blog weekly inspiration newsletter and you’ll get more craft ideas, more slime recipes, more mom hacks delivered right to your inbox. It’s free!
[convertkit form=4956161]
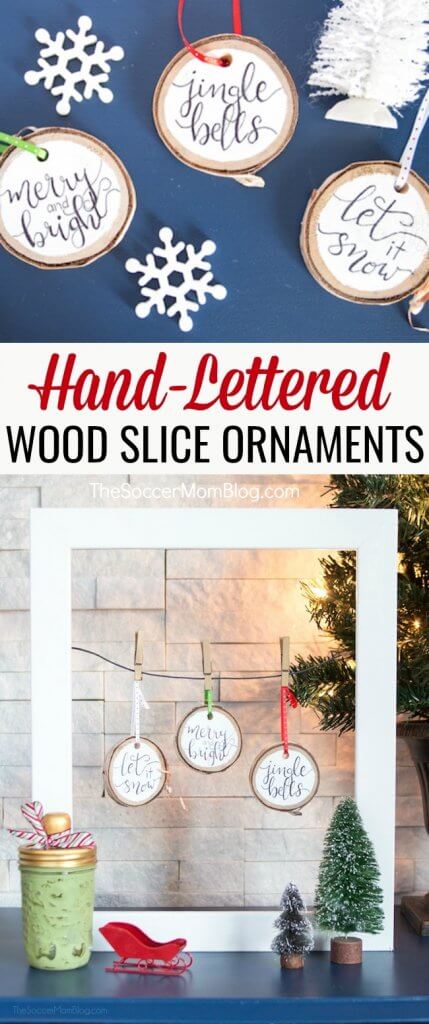
Be Sure to Pin our Hand Lettered Wood Slice Christmas Ornaments on Pinterest:
More of our favorite DIY Christmas craft and holiday decor ideas:
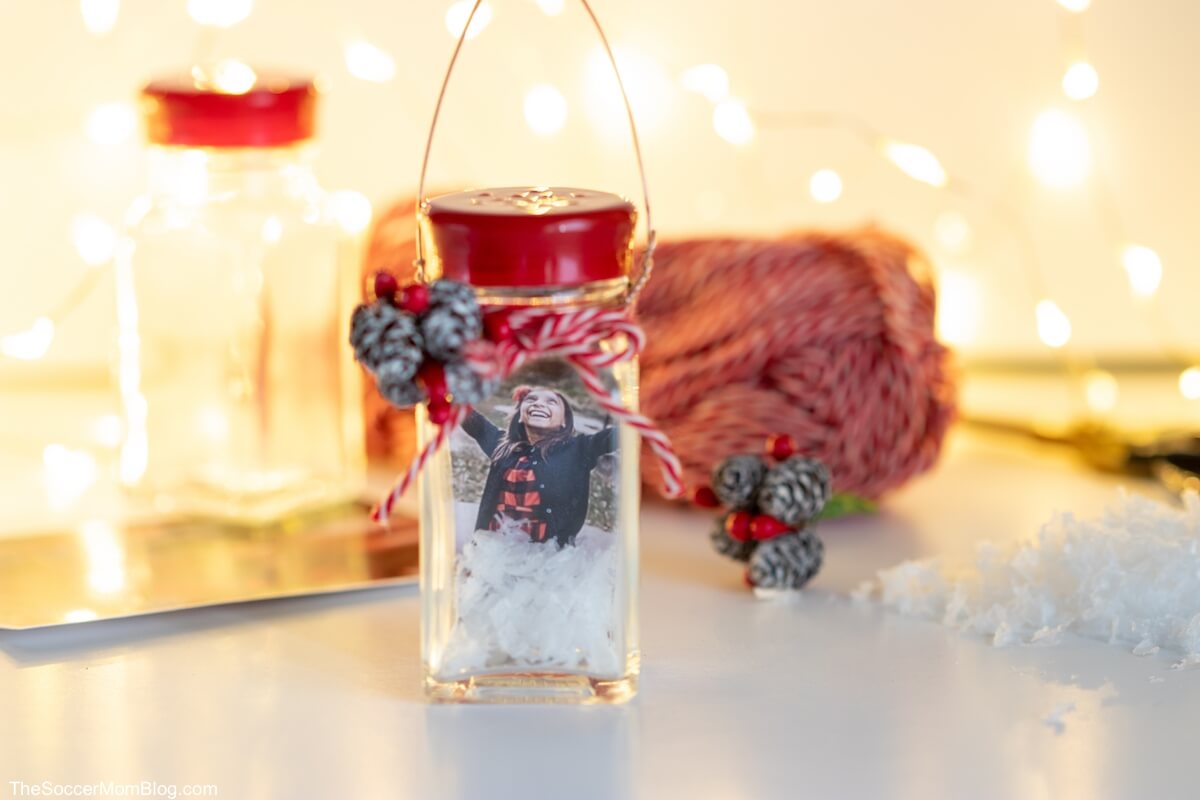
Salt Shaker Snow Globe Ornaments
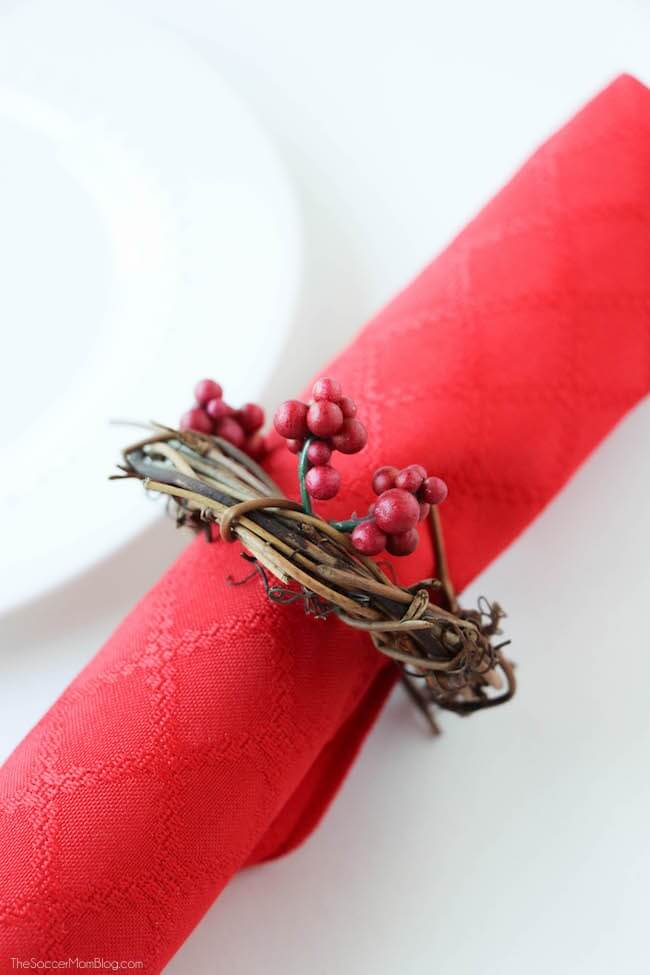
5-Minute Christmas Wreath Napkin Rings
- Paper Chain Octopus Craft - April 24, 2024
- Amish Sugar Cookies - April 19, 2024
- Marshmallow Playdough - April 18, 2024

Leave a Reply