
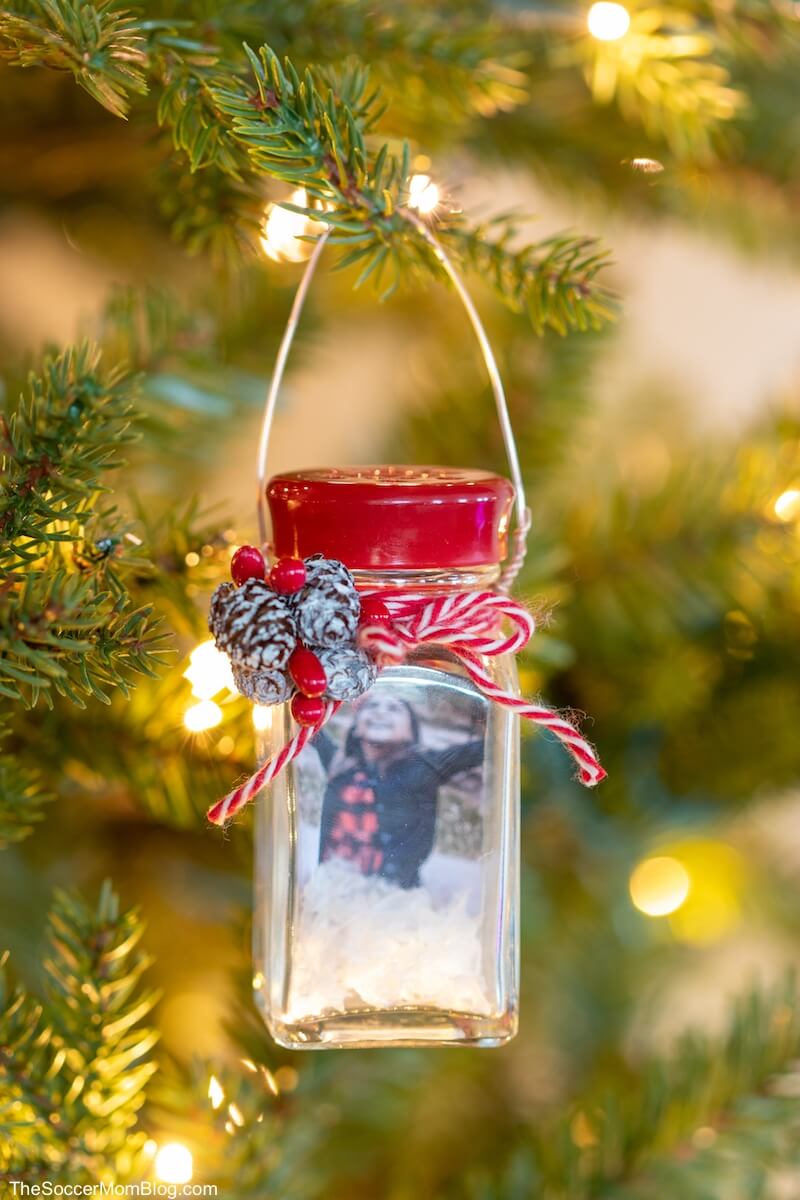
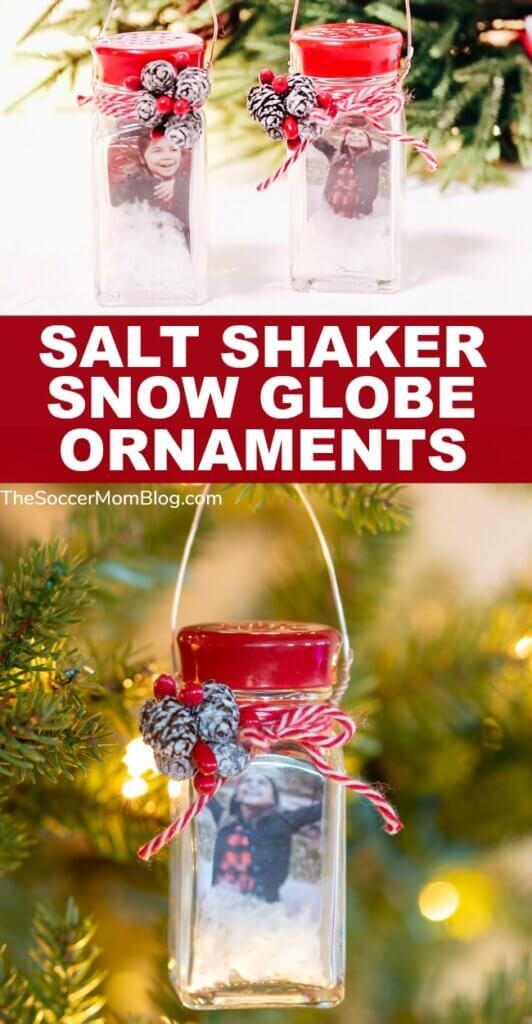
Salt Shaker Snow Globe Ornaments
These Salt Shaker Snow Globe Ornaments are a uniquely beautiful handmade Christmas ornament and holiday keepsake. This DIY picture snow globe ornament is perfect to make in the classroom as a take-home gift for parents or at crafting parties!
Salt Shaker Picture Snow Globe Ornaments
One of our favorite family Christmas traditions is an ornament making party. Ever year we create a simple DIY Christmas ornament — we especially love to make personalized ornaments with photos, handprints, etc.
Growing up, my family never had a picture-perfect Christmas tree. It was a hodge-podge of homemade ornaments, paper ornaments we brought home from school, and vintage ornaments handed down through the generations. I absolutely loved it!
Now that I have my own family, I want to have a Christmas tree just like the one I did as a kid. I love that we are building our own unique collection of ornaments!
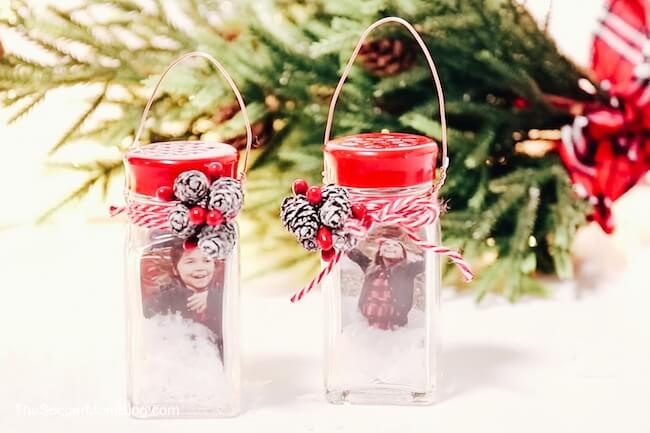
These salt shaker snow globe ornaments turned out even prettier than I imagined! Though they are homemade, these salt shaker photo ornaments are beautiful enough for ANY Christmas tree!
Related: Click here to see all of our favorite easy Christmas crafts for kids!
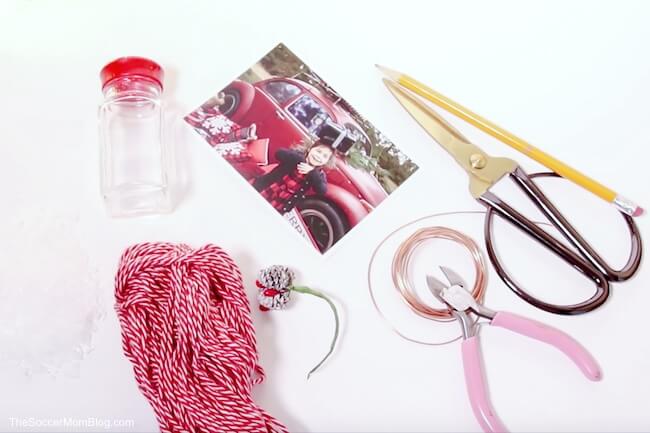
What You Need to Make Snow Globes with Salt Shakers
Note: I’ve included affiliate links for your convenience in finding supplies used to make our snow globe ornament craft; disclosure policy available here.
- Salt shakers – We used simple glass salt shakers, you can paint the lids Christmas colors if you like.
- Child’s photo
- Pencil
- Scissors
- Artificial snow – This fake snow we found on Amazon is lightweight and sparkly, perfect for this snow globe christmas ornament!
- Copper craft wire – You’ll want something in the range of 18-20 gauge so it is bendable.
- Wire cutters
- Red and white cotton twine string
How to Make Salt Shaker Snow Globe Ornaments
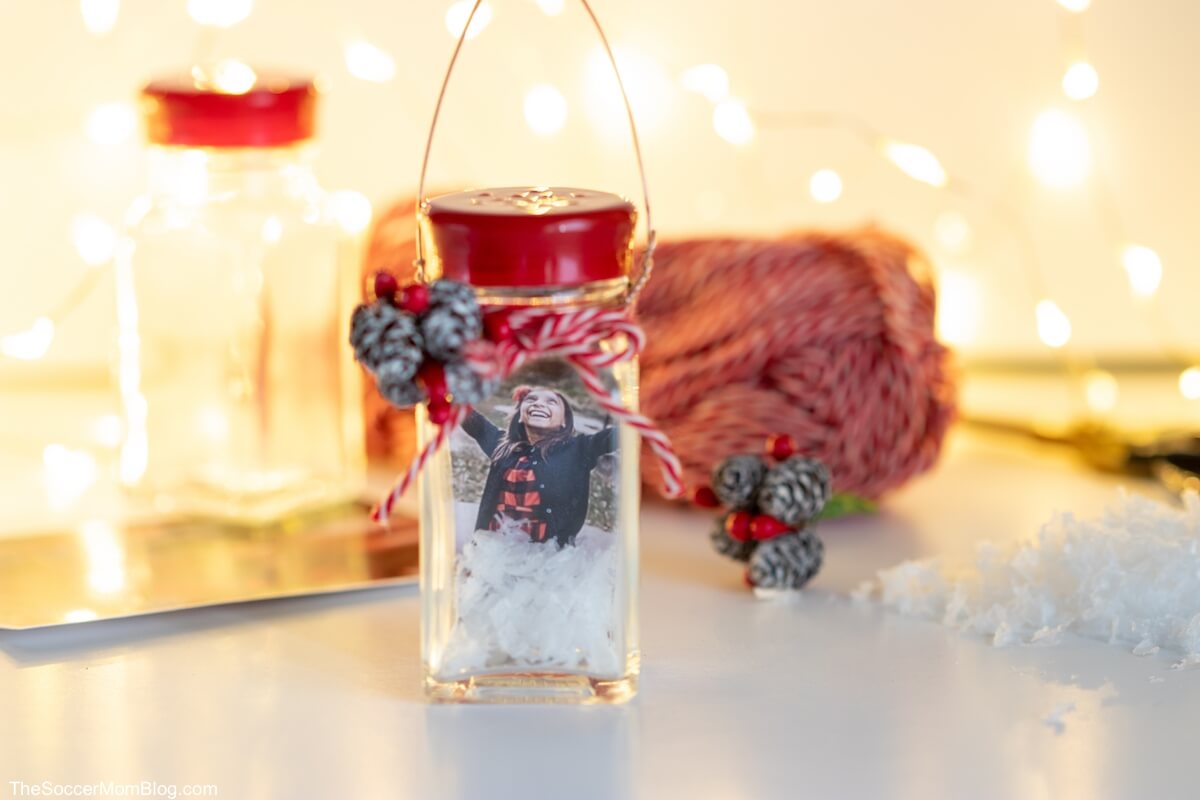
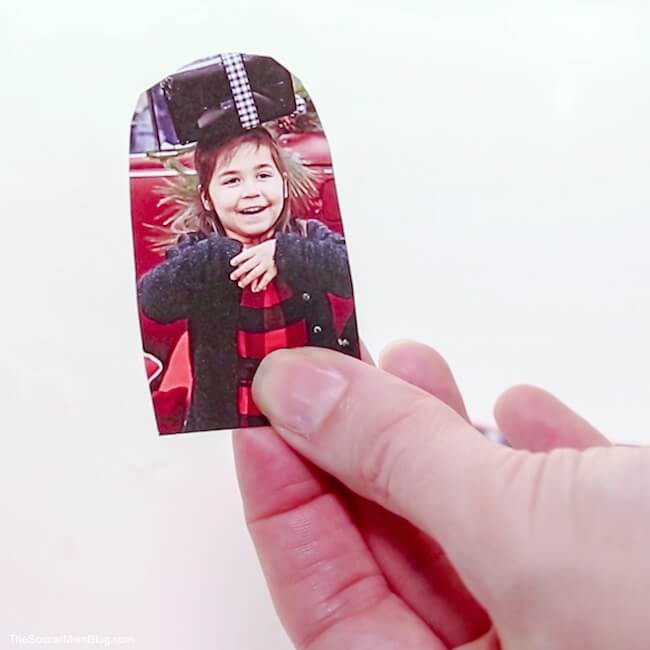
Cut child’s photo into the shape of your salt shaker. We traced the salt shaker itself so that the photo will be a little larger and will stay in place without glue. Open the lid and curl the photo slightly to slip inside the salt shaker – the photo will pop into place.
Put a pinch of fake snow into the salt shaker so that it is about 1/2″ deep on the bottom. Put the lid back on the salt shaker.
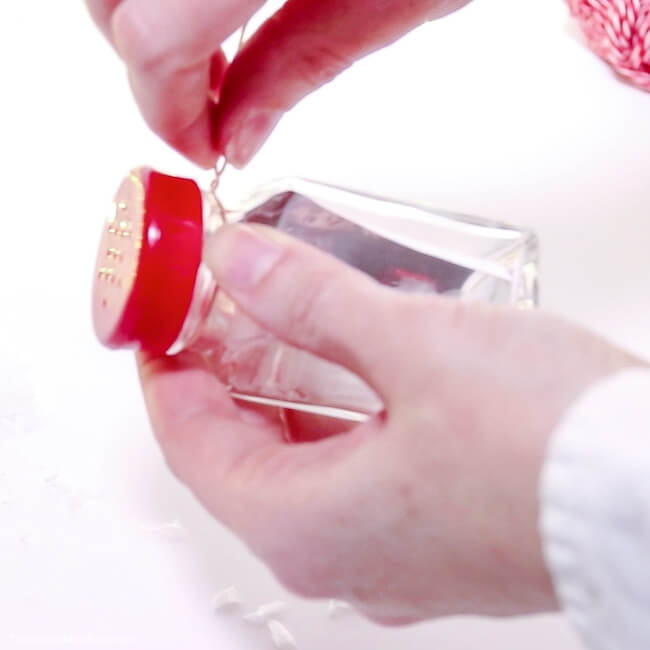

Cut a piece of craft wire, about 6″ in length. Wrap one end of the wire around the neck of the salt shaker and twist to secure. Take the other end of the wire and make a loop over the top of the lid, then secure the very end of the wire to the piece that is already around the neck of the salt shaker. This will make a sturdy loop with which to hang your ornament on the tree.
Add Christmas decorations and decorative string bow to complete your salt shaker ornament.
Can You Use Any Salt Shakers?
Sure! When choosing a salt shaker, you want it to be wide enough to fit a small photo inside. However, you don’t want it to be super thick and heavy because it will weigh down Christmas tree branches.
Our salt shakers came with red lids, but you can also spray paint regular silver lids in Christmas colors such as red, green, or even gold.
You can order Salt shakers from Amazing to make and have them delivered to your front door (to save time). It could also be fun to check out your local antique shops to look for unique finds!
More Homemade Christmas Ornaments
- Craft Stick Christmas Ornaments
- Paper Straw Christmas Ornaments (3 designs)
- Cricut Paper Snow Globe Ornaments
- Hand Lettered Wood Slice Ornaments
- 101 Kids Christmas Ornament Ideas
Snowglobe Ornaments – Printable Instructions
Want to Save This Recipe?
Enter your email & I'll send it to your inbox. Plus, get great new recipes from me every week!
By submitting this form, you consent to receive emails from The Soccer Mom Blog

Salt Shaker Snow Globe Ornaments
Equipment
- Pencil
- Scissors
- Wire cutters
Ingredients
- Salt shakers
- Child's photo
- Artificial snow
- Copper craft wire
- Red and white cotton twine string
Instructions
- Trace and cut child's photo into the shape of your salt shaker. Open the lid and slip photo into salt shaker - it should pop into place and stay put.
- Put a pinch of fake snow into the salt shaker so that it is about 1/2" deep on the bottom. Put the lid back on the salt shaker.
- Cut a piece of craft wire, about 6" in length. Wrap one end of the wire around the neck of the salt shaker and twist to secure. Take the other end of the wire and make a loop over the top of the lid, then secure the very end of the wire to the piece that is already around the neck of the salt shaker. This will make a sturdy loop with which to hang your ornament on the tree.
- Add Christmas decorations and decorative string bow to complete your salt shaker ornament.
Video
Pin Our DIY Snow Globe Ornament on Pinterest:
More of our favorite DIY Christmas ornaments:
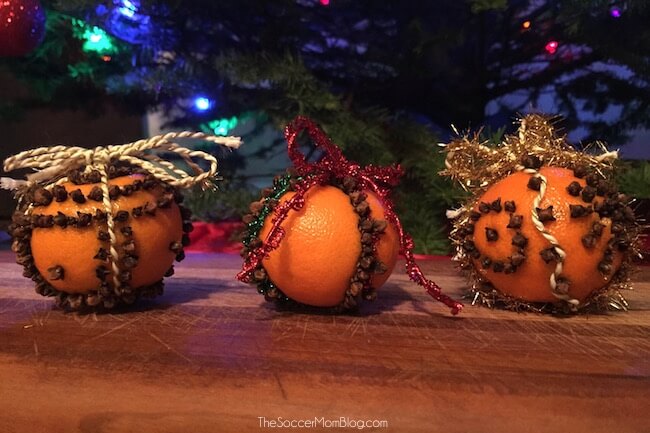
Orange Pomander Ornaments – They smell delicious!!
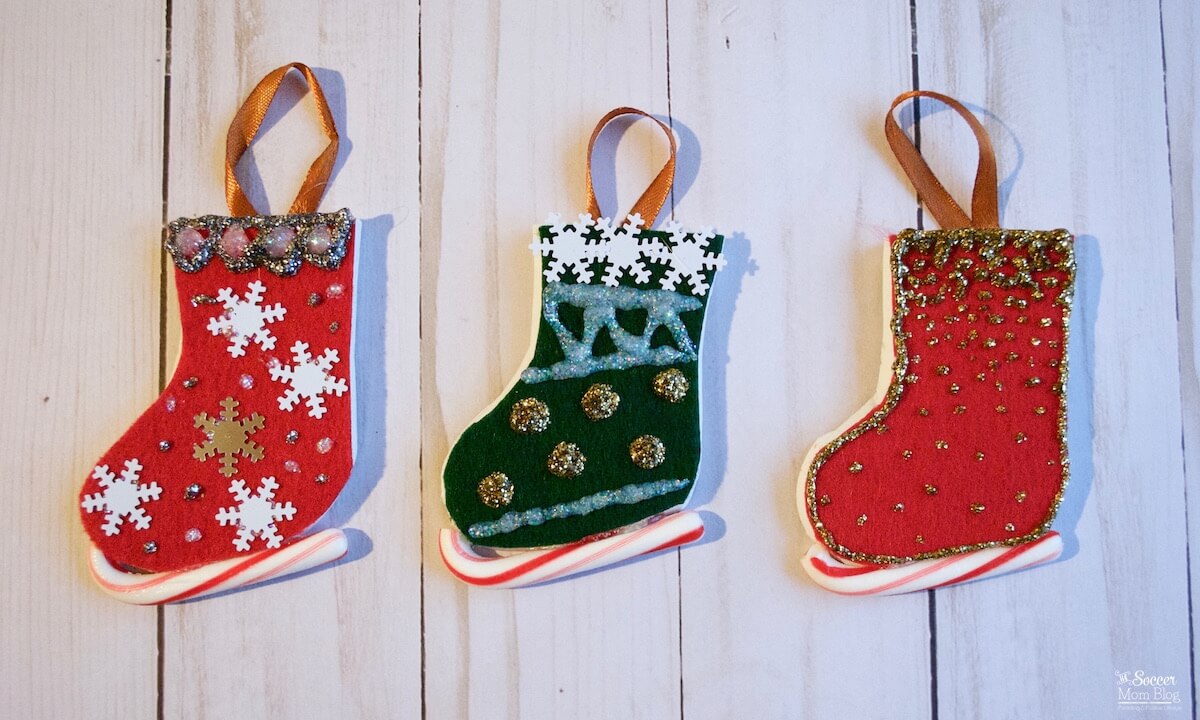
Candy Cane Ice Skate Ornaments
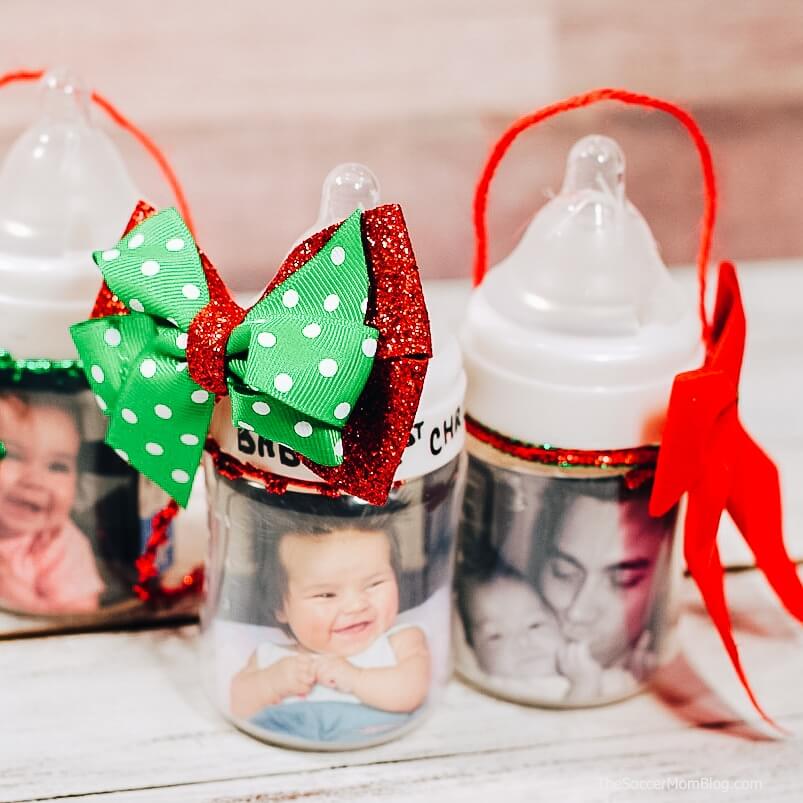
Baby’s First Christmas Ornament
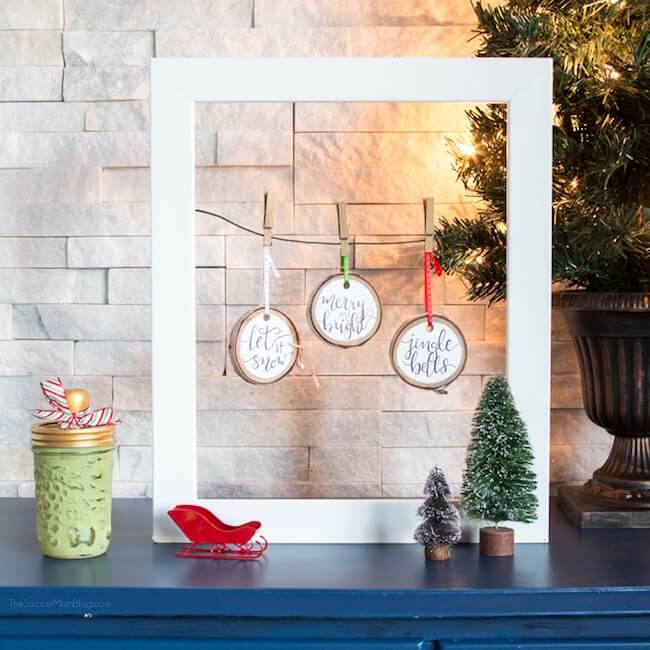
Wood Slice Christmas Ornaments

- Beach Day Rice Krispie Treats - June 23, 2026
- Pickled Jalapeños Recipe - June 15, 2026
- Homemade Nesquick Mix - June 11, 2026
![A clean, organized bathroom doesn't have to take hours or cost a ton of money! These bathroom organization hacks are EASY and it's all under $10! #CraftedExperience [ad] - The Soccer Mom Blog](https://thesoccermomblog.com/wp-content/uploads/2015/10/organize-your-bathroom-hacks.jpg)


Hi there! This is such a cute idea. Thanks for sharing!
What did you use to
Paint the lid of the shaker? Thanks!
The ones in the photos came with red lids already, but if you can’t find those you can use spray paint because it sticks to metal. Hope this helps!
Did you use something to close in the holds in the lid?
You can cover the holes if needed, but the fake snow is probably too large to fit through. You can always test with your materials and cover if needed.
Where did you get the salt shakers?
You can find them on Amazon — if you can’t find the ones with a red lid, you can spray paint the lid. Hope this helps!
Hello! what size photo did you use for the craft?! It is such a great parent gift idea since I am a educator! Thank you so much for sharing this!
Hi Melissa, I used a regular 4×6 photo and trimmed to fit. You kind of have to eyeball it to pick a photo that will have the kid the right size. Hope this helps!
Hey this is so cute! But where did you get the pine cone/ red berry item?
Hey what did you use for the line cone berry item? Is it something some where together you can buy?