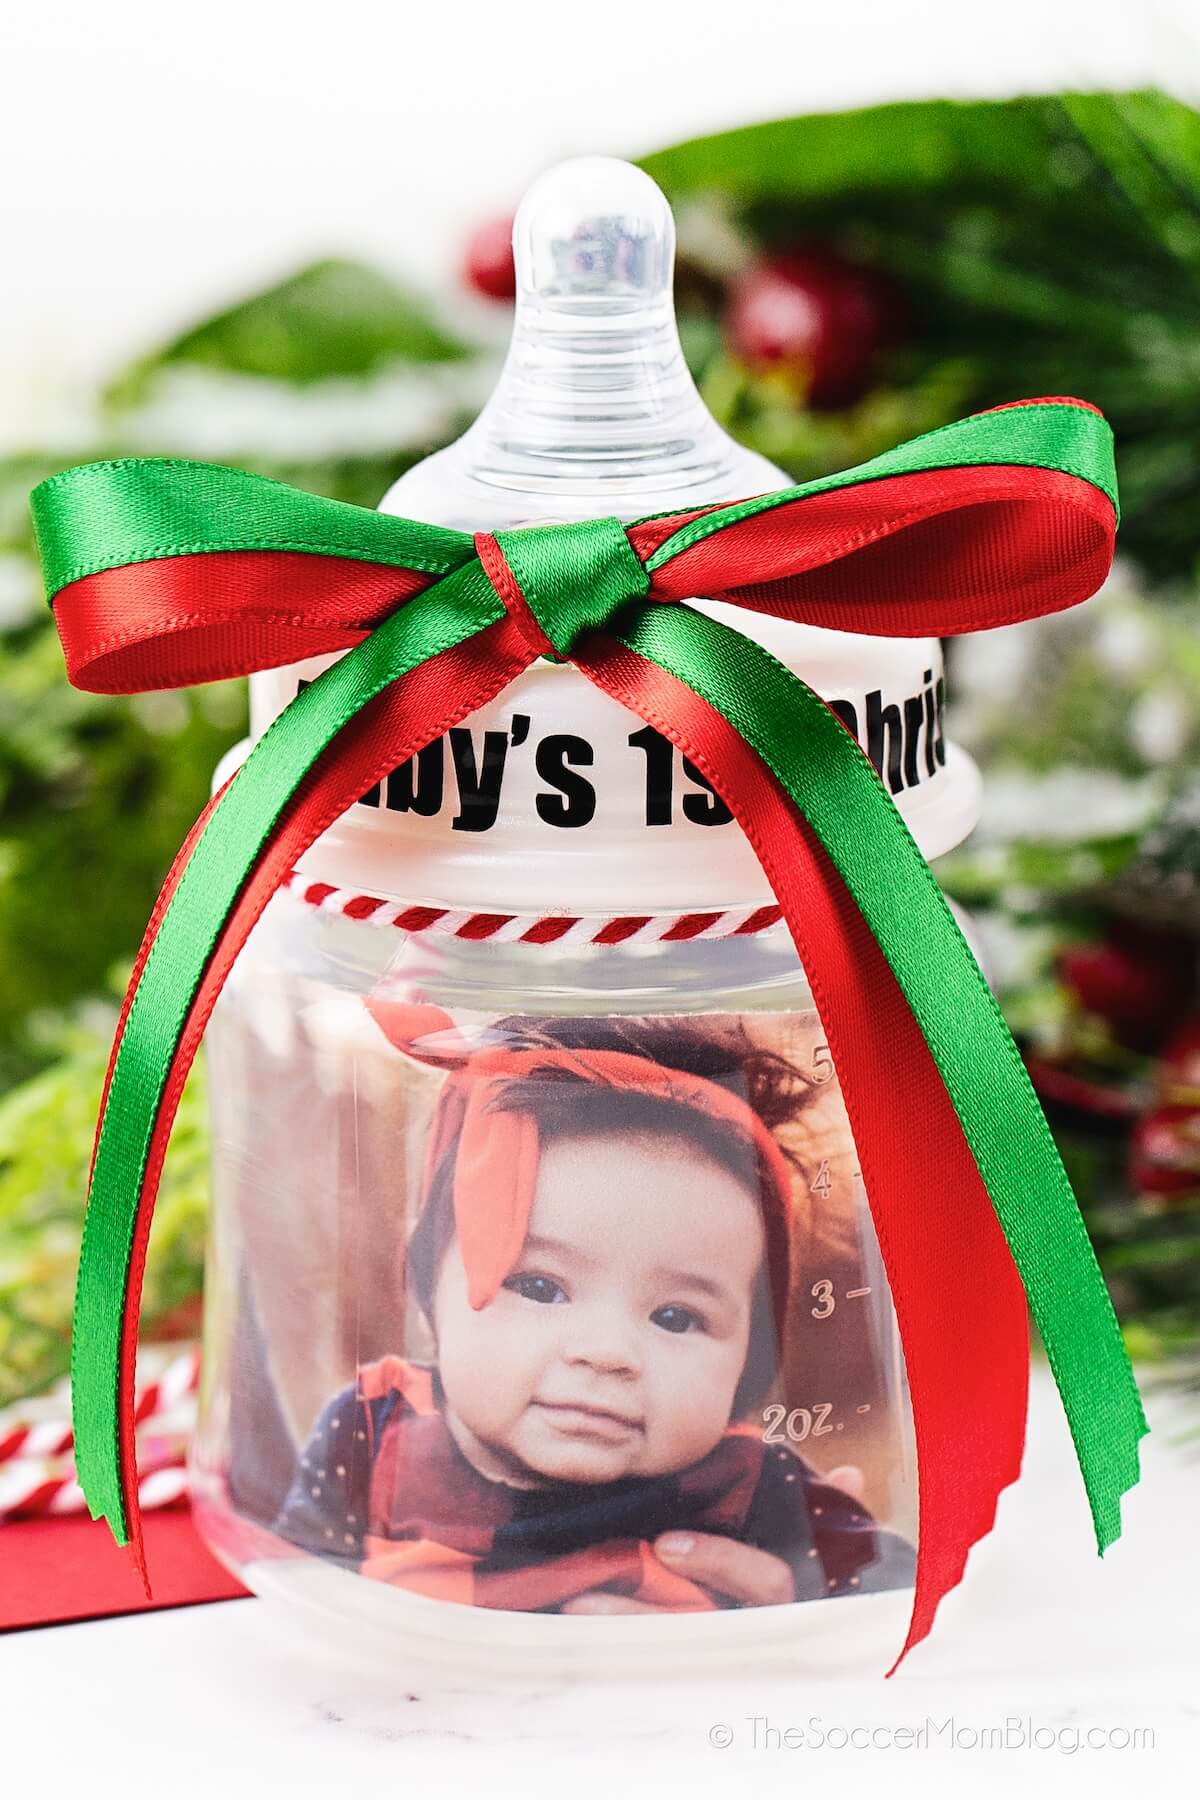
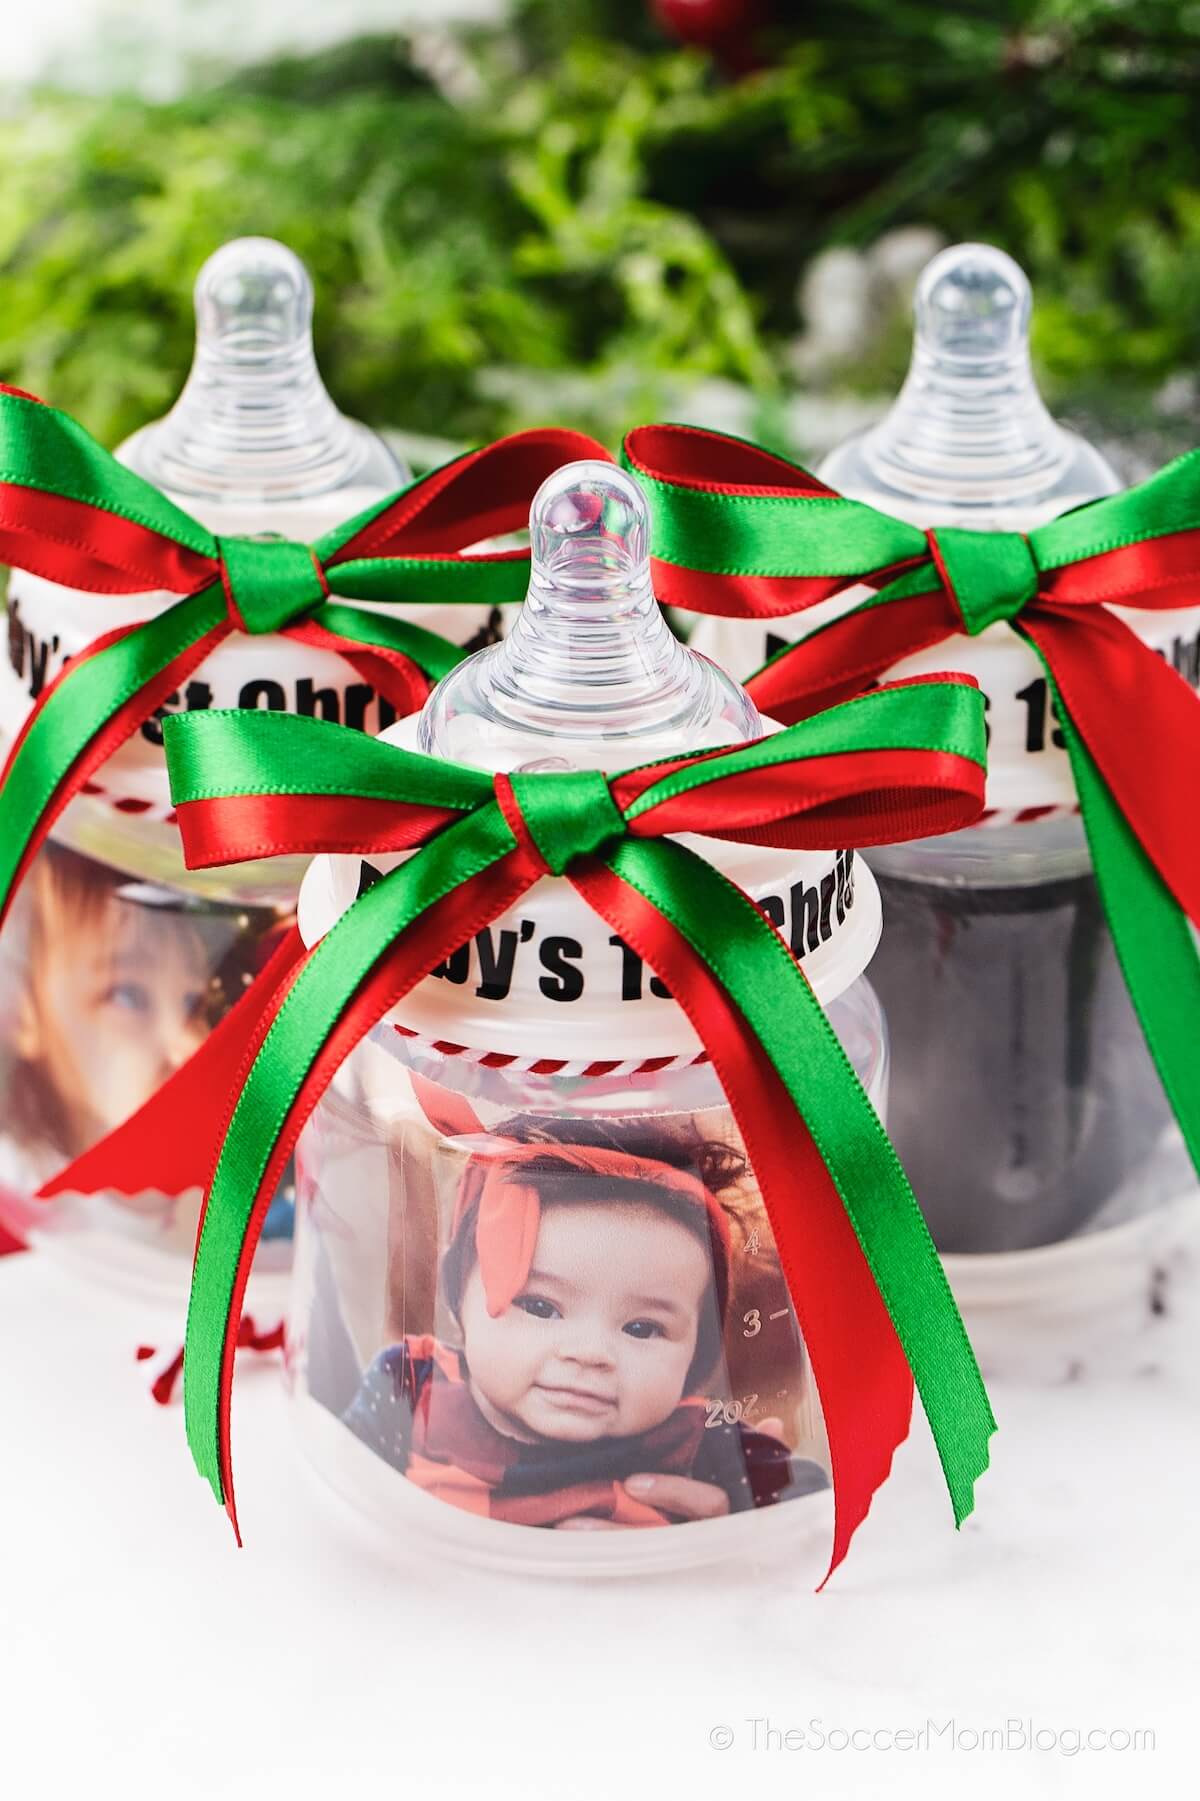
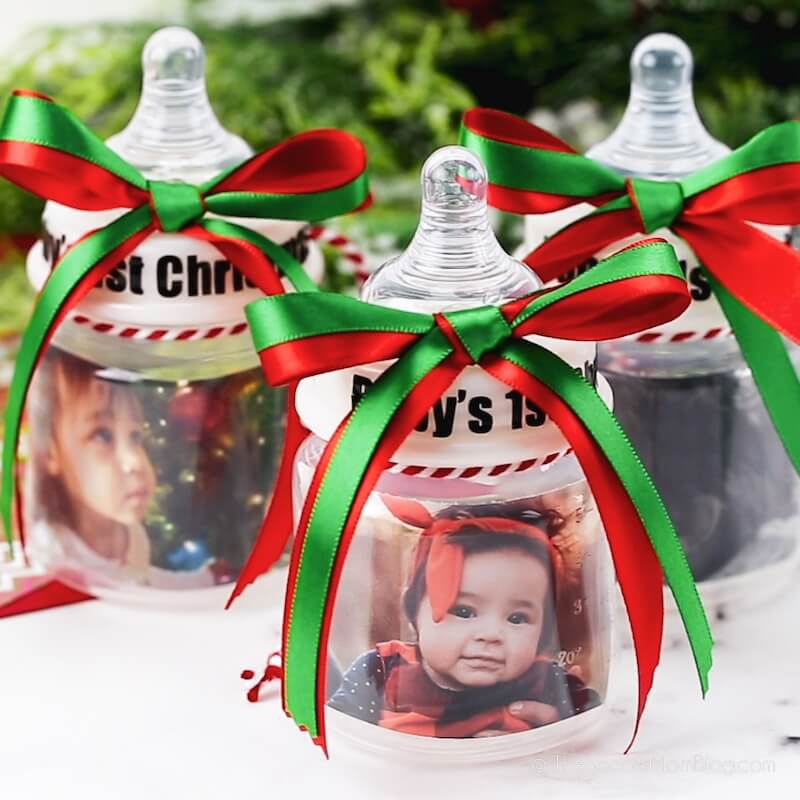
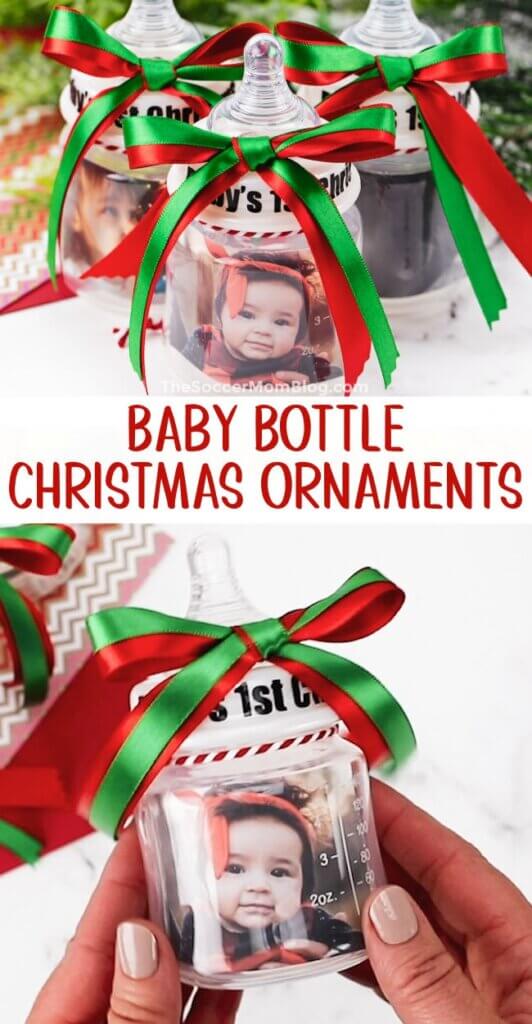
Celebrate baby’s first Christmas with this adorable handmade baby bottle ornament! This unique photo ornament will be a treasured keepsake!
DIY Baby Bottle Ornament for Baby’s First Christmas
This summer we welcomed a new member into our family, and this will be her first Christmas! All of our daughters have a special ornament commemorating Baby’s First Christmas, so of course we had to make one for our new baby girl too!
This baby bottle photo ornament is super easy to make — they’d be the perfect Christmas keepsake to give to grandparents, aunts and uncles, etc. or to hang on your own tree and enjoy for years to come.
Who doesn’t love a sweet photo ornament?!
You can even make a baby bottle photo ornament for older children, if you didn’t get an ornament during their first Christmas. We also made a baby bottle ornament for each of our older daughters. For the older girls, we decorated the bottle with their birth year.
My four year old loves her baby bottle ornament and has been carrying it around with her everywhere!
The best thing about this craft is that it is actually very easy to make with simple supplies. We bought a pack of inexpensive plastic baby bottles, ribbons, and used extra photos we had on hand.
To decorate, you can use a permanent marker (that’s what we did for our first version of this craft) or you can use vinyl lettering if you have a Cricut cutting machine (or something similar). I think the vinyl lettering turned out great because it’s so neat and tidy looking! But markers work well too if that’s what you have at home, especially if you have pretty handwriting!
Supplies Used
For your convenience in re-creating this craft, I’ve provided shop-able ad links to some of the products used; disclosure policy available here.
- Clear plastic baby bottle
- Baby photo
- Glue gun
- Permanent marker OR Cricut vinyl
- Tissue paper
- Bows, ribbons, etc.
Instructions
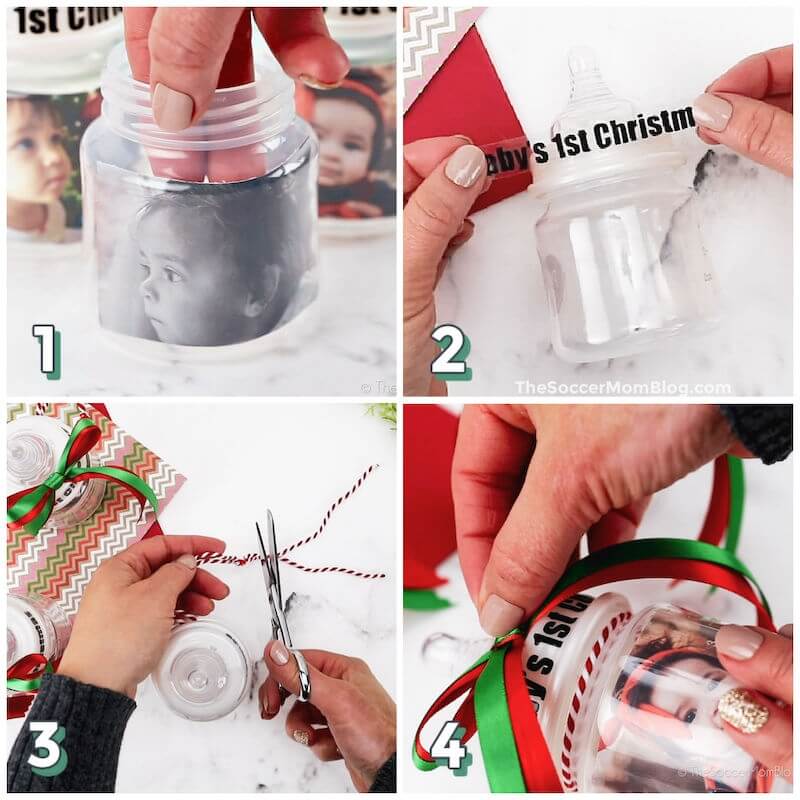
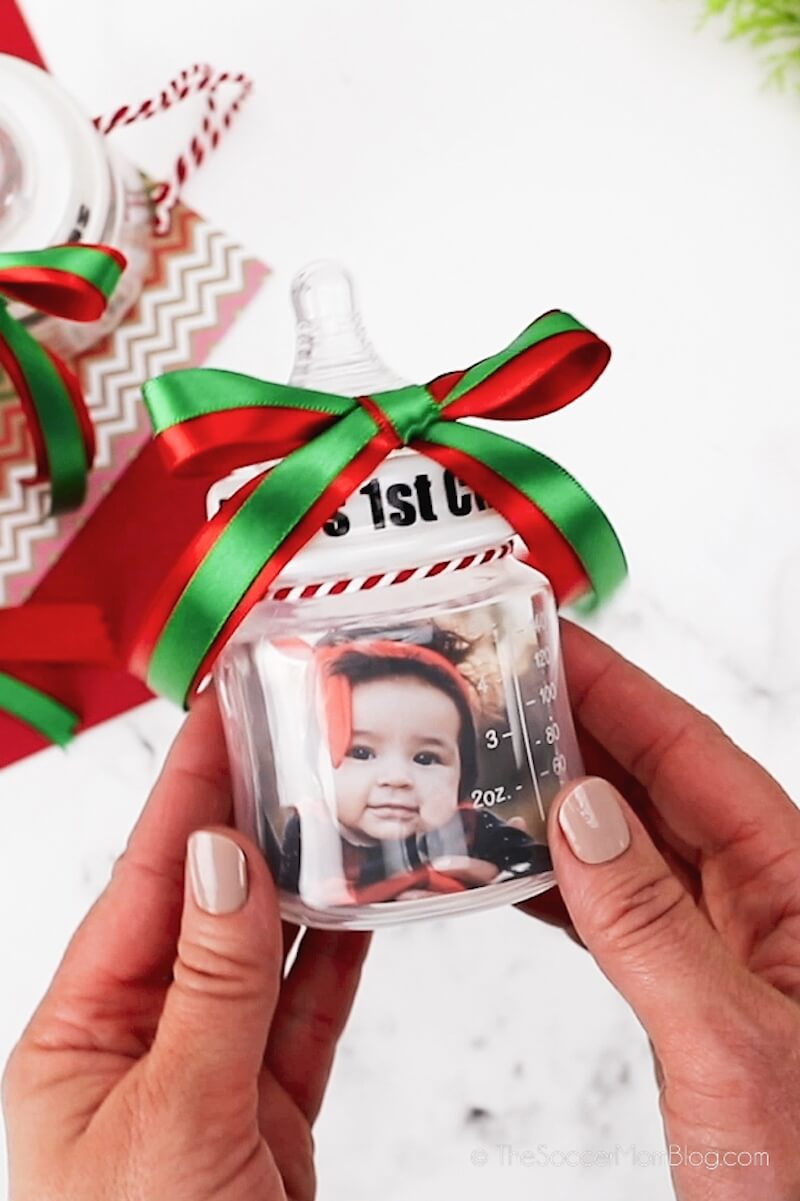
- First, measure your baby bottle, from the bottom to where the bottle starts to curve at the top. You’ll want to cut your photo about 1/4″ shorter than this measurement so it fits perfectly. Once your photo is trimmed, roll it up with the photo facing outward, then slide it into your bottle. When you release the photo, it should pop out so that the photo is pressed up against the bottle and you can see it clearly. Adjust if needed and place the lid back on the bottle.
- You can even write a special message, like “Baby’s First Christmas” or the year of their birth on the top of the ornament. We used a Cricut to cut out the letters on black glitter vinyl so they’d be neat and visible.
- Tie a loop with twine or ribbon around the neck of the bottle so you can hang the ornament on your Christmas tree.
- Now you can decorate with ribbons, bows, stickers, and anything you like to make your Baby’s First Christmas ornament special!
Prep Tips
- Look for a basic bottle to make your ornament, so the photo shows best. We found that the cheaper baby bottles usually had fewer markings, logos, etc. on them. We also recommend using a plastic bottle, as glass baby bottles are usually pretty heavy and might weigh down Christmas tree branches.
- We used a wide-neck style bottle. Since it has a wide opening, it was easy to slip the baby photo inside. It is also light enough to hang on the tree without pulling branches down.
- The size we used was 4oz, so again they would not be to big or too heavy. Anything up to 6oz size would probably work well.
- If your photo does not wrap all the way around the inside of the bottle, fill the middle of the bottle with crumpled tissue paper to help keep it in place.
I just love how they turned out! Adorable and timeless!
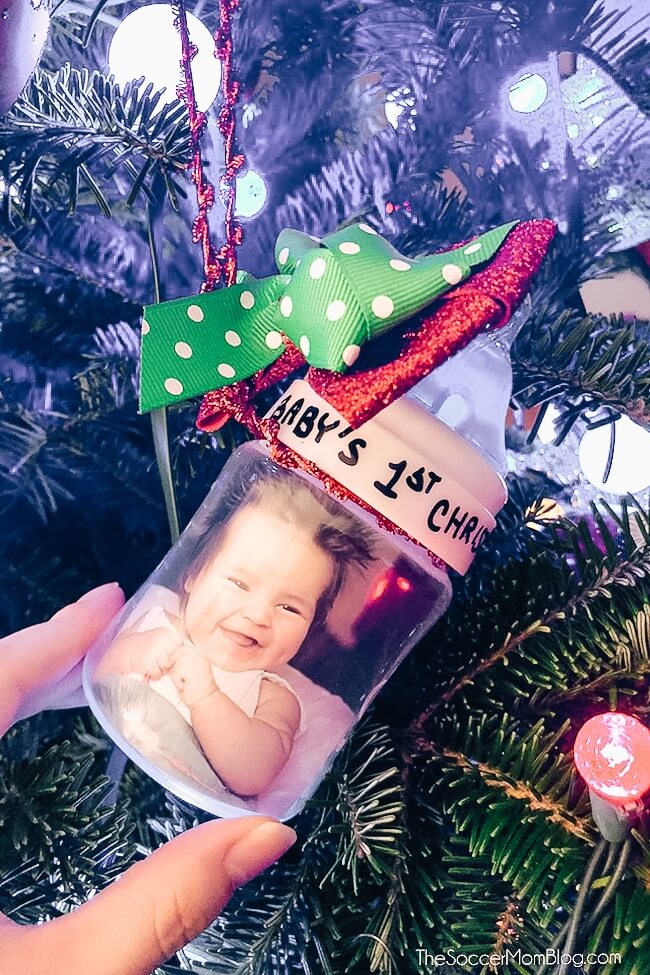
This was the first version of the baby bottle ornaments and shows how cute they look hanging on the tree with the lights twinkling around them:
Printable Instructions to Make a Baby Bottle Christmas Ornament
Want to Save This Recipe?
Enter your email & I'll send it to your inbox. Plus, get great new recipes from me every week!
By submitting this form, you consent to receive emails from The Soccer Mom Blog
Baby Bottle Ornament for Baby's First Christmas
Equipment
- Glue gun
- Permanent Marker
Ingredients
- Clear plastic baby bottle
- Baby photo
Instructions
- Measure your baby bottle, from the bottom to where the bottle starts to curve at the top. Cut your photo about 1/4" shorter than this measurement so it fits perfectly.
- Roll up photo with the picture facing outward, then slide it into your bottle. When you release the photo, it should pop out so that the photo is pressed up against the bottle and you can see it clearly. Adjust if needed.
- Secure the bottle lid back on your bottle.
- Use Cricut vinyl or a permanent marker to add baby's name or "Baby's First Christmas" to bottle.
- Tie a loop with twine or ribbon to hang ornament on tree.
- Decorate!
Video
Be sure to pin our Baby’s 1st Christmas Ornament on Pinterest:
More of our favorite easy handmade Christmas ornament ideas:
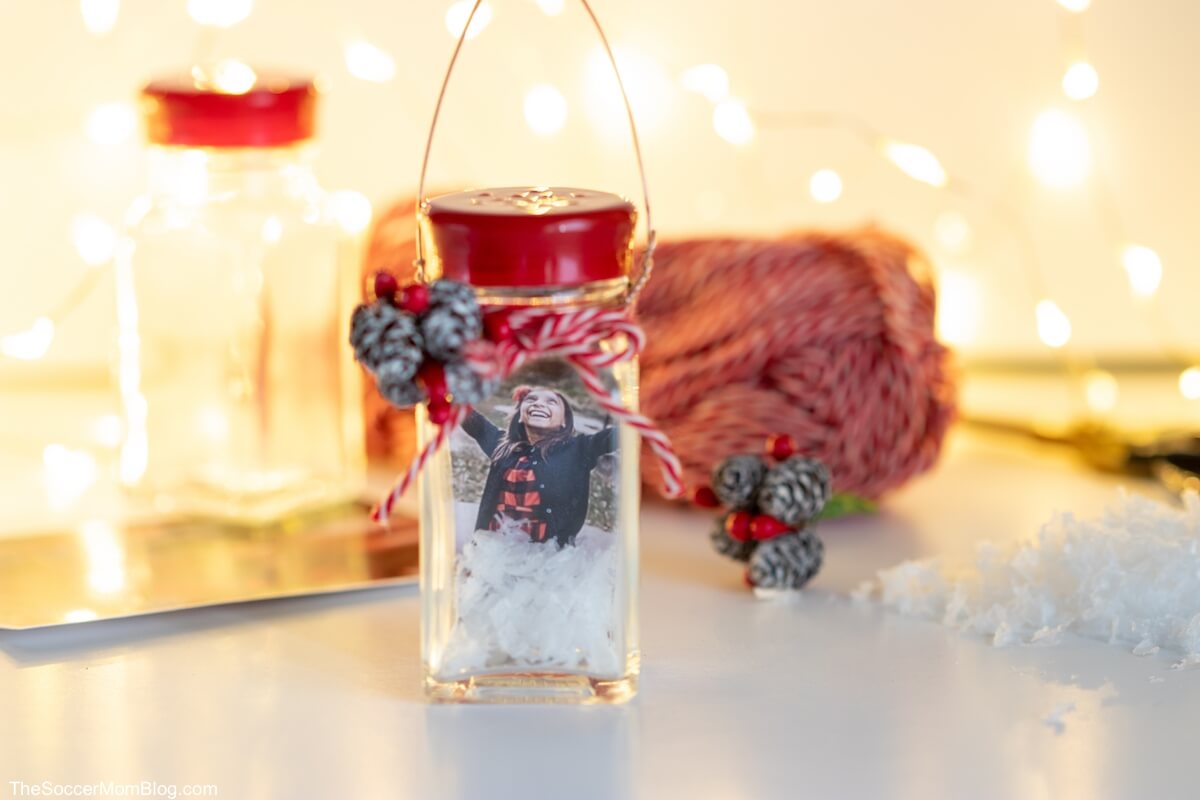
Salt Shaker Snow Globe Ornaments
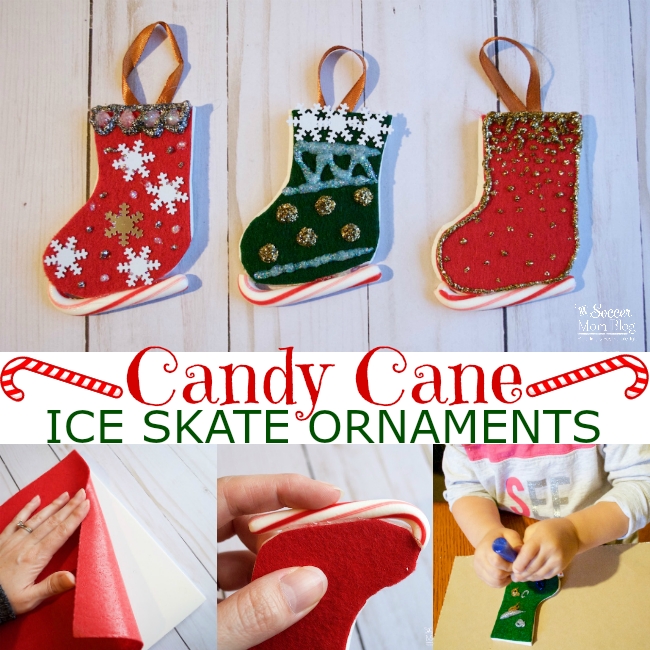
Candy Cane Ice Skate Ornaments
- Paper Chain Octopus Craft - April 24, 2024
- Amish Sugar Cookies - April 19, 2024
- Marshmallow Playdough - April 18, 2024

Sarah says
This is such a cute idea!! Thank you so much for sharing! Love your blog, you are an amazing woman and I wish blogs like yours had been astound in my day way before there was an internet. I was wondering how you got the printing off the baby bottles. When I clicked on the link they had their logo printed on them. I’d love to try making the baby bottle baby’s 1st Christmas for my new born grand daughter even though I’m pretty craft challenged. lol
Stacey aka the Soccer Mom says
They make those logos reeeallly hard to get rid of, so I usually just hide them! I either make sure the logo is on the back, or cover up with vinyl letters or designs.