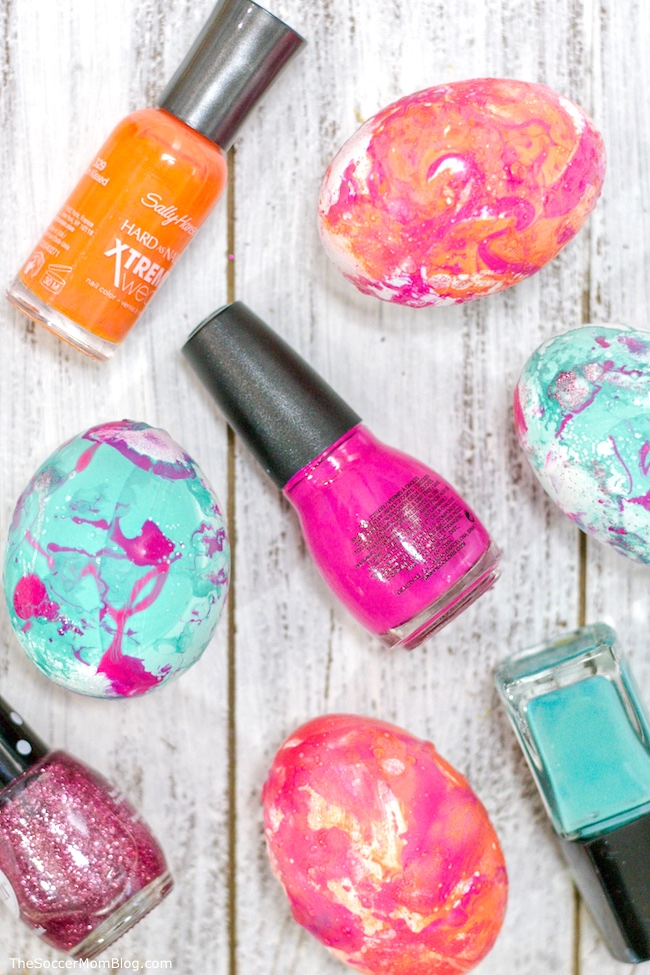
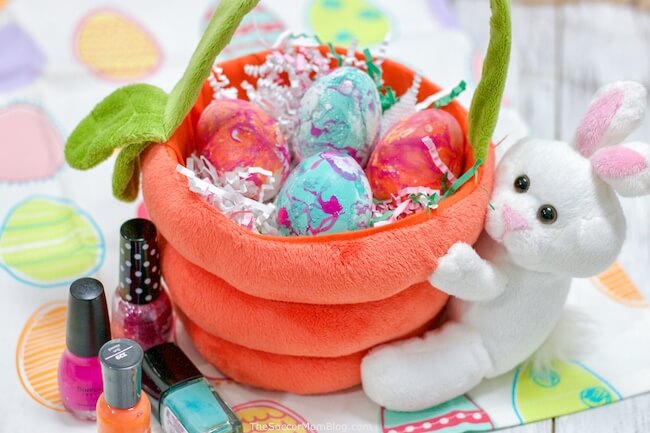
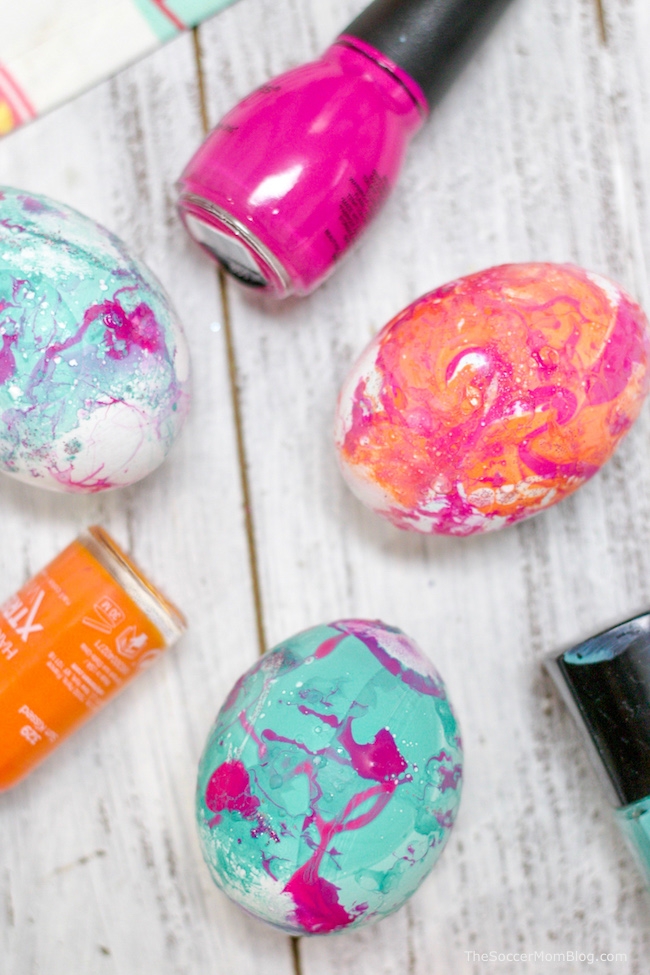
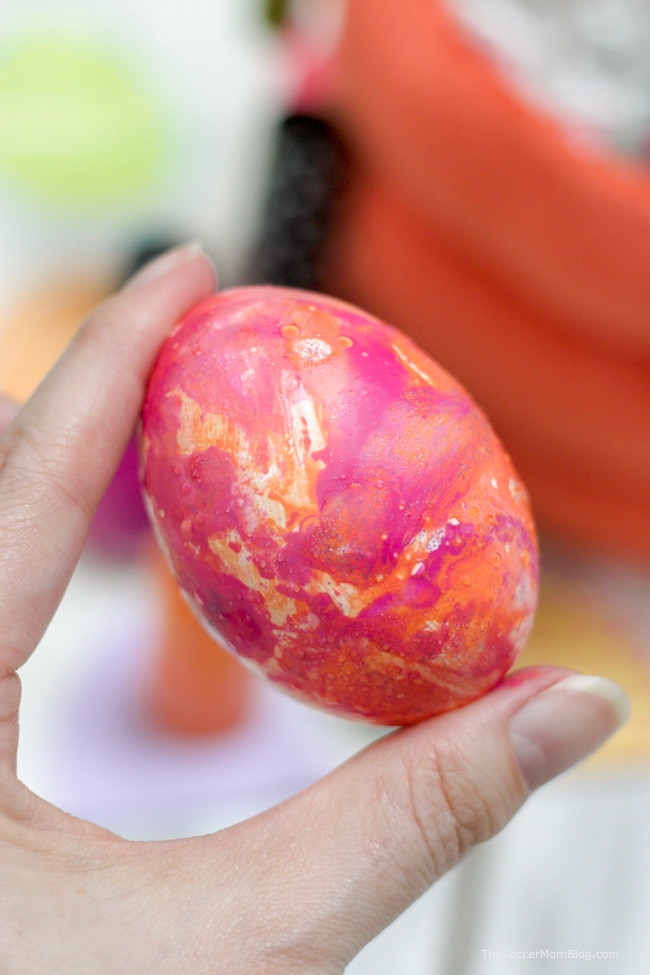
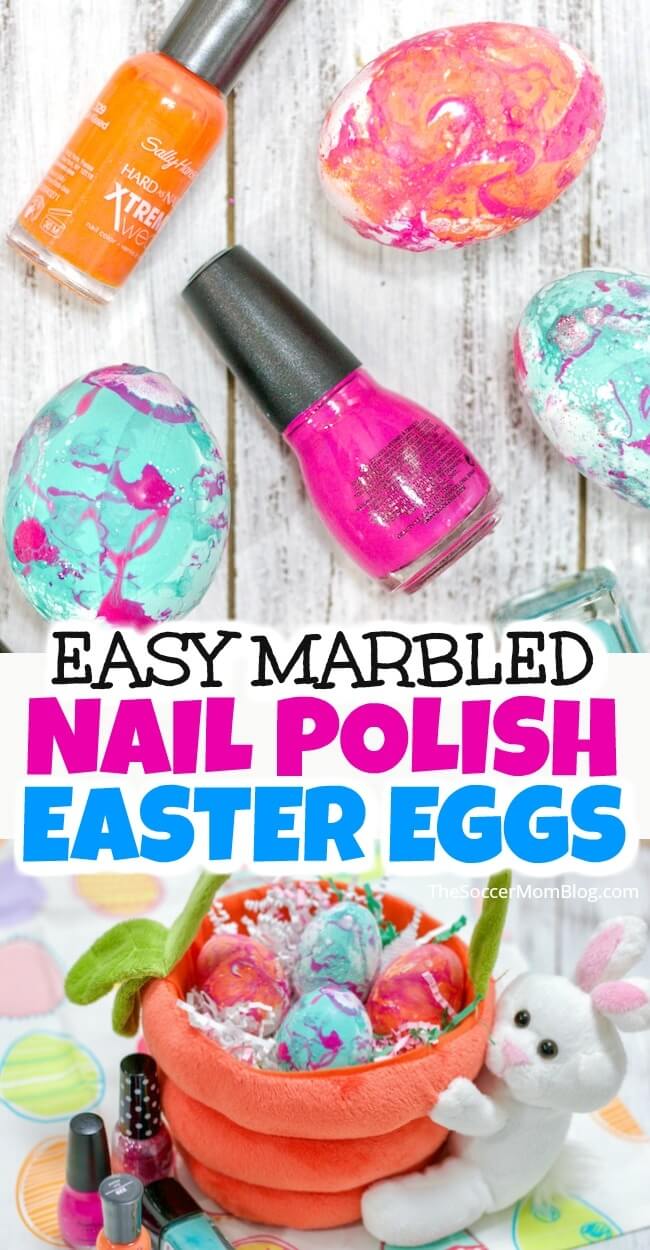
These Marble Easter Eggs are super bright and vibrantly colorful and incredibly easy to make with nail polish! A fun and unique way to decorate Easter eggs and one of our favorite Easter kids activities!
Marbled Easter Eggs
Have you ever bought an Easter egg decorating kit and the dye didn’t work very well? Or it took AGES for the color to deepen?
As a kid, it sometimes felt like an eternity waiting for our eggs to turn bright colors, and even then the dyes weren’t always that bright.
In the fall I saw a cool no-carve pumpkin decorating technique from Color Made Happy that used nail polish for a marbled effect. I thought this would be so much fun to try with our Easter eggs and might make them turn out much brighter and more colorful.
This marble Easter eggs technique did not disappoint!
Not only are these marbled Easter eggs easy to make, they are super bright and don’t require any waiting for the colors to develop.
Decorating Easter eggs is one of my favorite family traditions that we did every year growing up, and it is one that I’ve continued with my girls.
Related: Check out this post with 50 more egg decorating ideas!
Marble Easter Eggs Supply List
For your convenience, we’ve included shop-able ad links to products that can be used to make Marbled Easter Eggs; disclosure policy available here.
- Nail polish
- Water
- Hard-boiled eggs
- Disposable gloves (powder-free)
- Plastic container
How to Make Marbled Easter Eggs with Nail Polish
The first thing you’ll want to do is make a batch of hard-boiled eggs. We steam our eggs because they peel easier (click here to learn how to steam eggs).
I recommend prepping the eggs in advance so the kids aren’t waiting around for them to cook and they have plenty of time to cool.
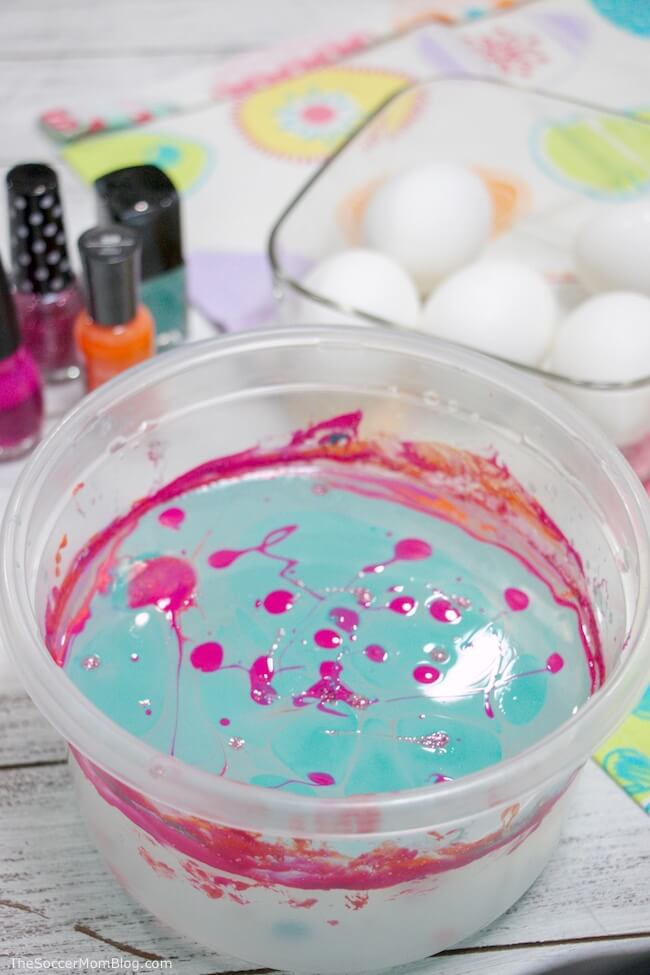
Once your hard-boiled eggs are ready, gather your decorating supplies. Fill a plastic container 2/3 of the way with water – make sure to use a container you don’t mind throwing away afterwards, as some of the nail polish may stick to the container.
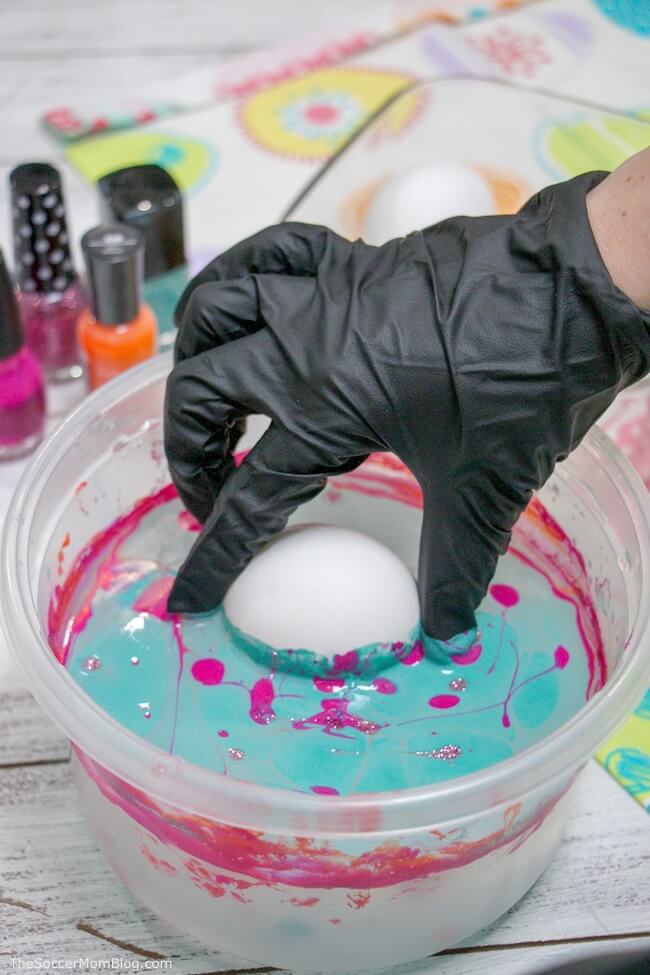
Pour 2-3 different colors of nail polish into your water, allowing it to spread out until the entire water surface is covered.
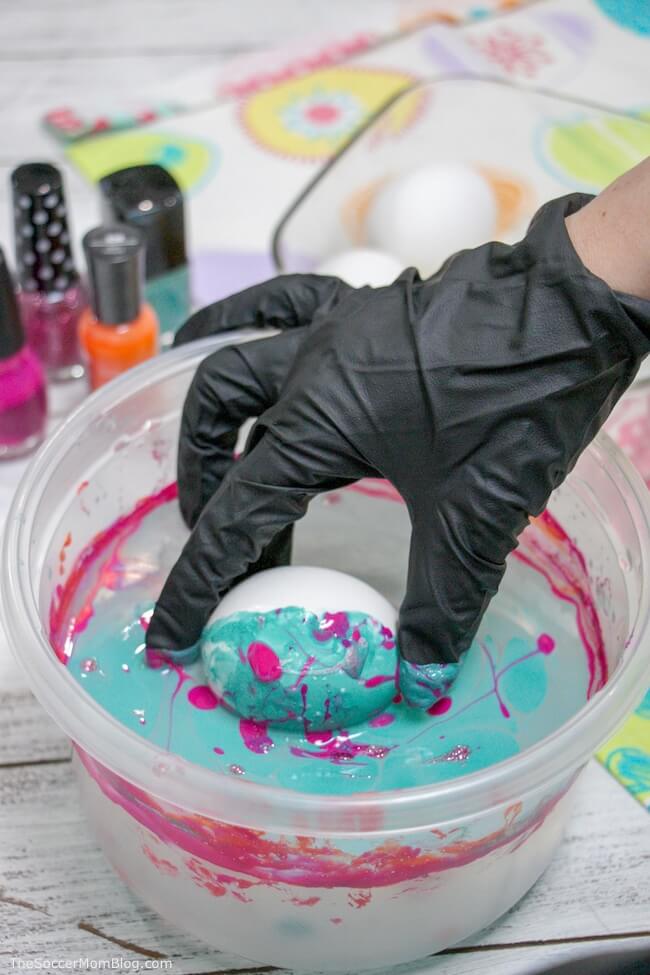
Wearing disposable gloves, pick up one of the hard-boiled eggs and slowly roll it in the nail polish water. You’ll see that the nail polish immediately sticks to the surface of the egg.
Continue dragging the eggs through the nail polish until your egg is coated in color. Set aside to dry.
When your eggs are dry, you can roll them in nail polish again for more colors, or even do a layer of glitter nail polish!
What is your favorite way to decorate Easter eggs? Have you tried marbled Easter eggs before? Share your tips in the comments below!
Safe Handling for Dyed Easter Eggs
The question has come up: “is it safe to eat eggs dyed with nail polish?” Eggs have two protective barriers between the outside and the meat inside: both the shell and a membrane. However, ff you’re not comfortable with the idea of consuming nail polish dyed eggs, you can always blow the contents out beforehand, so that only the shell remains to decorate, or simply not eat them.
With all hard-boiled eggs (dyed or not):
- Make sure that eggs are not cracked or damaged
- Do not consume if left out at room temperature for more than 2 hours
- Keep refrigerated and consume within 1 week
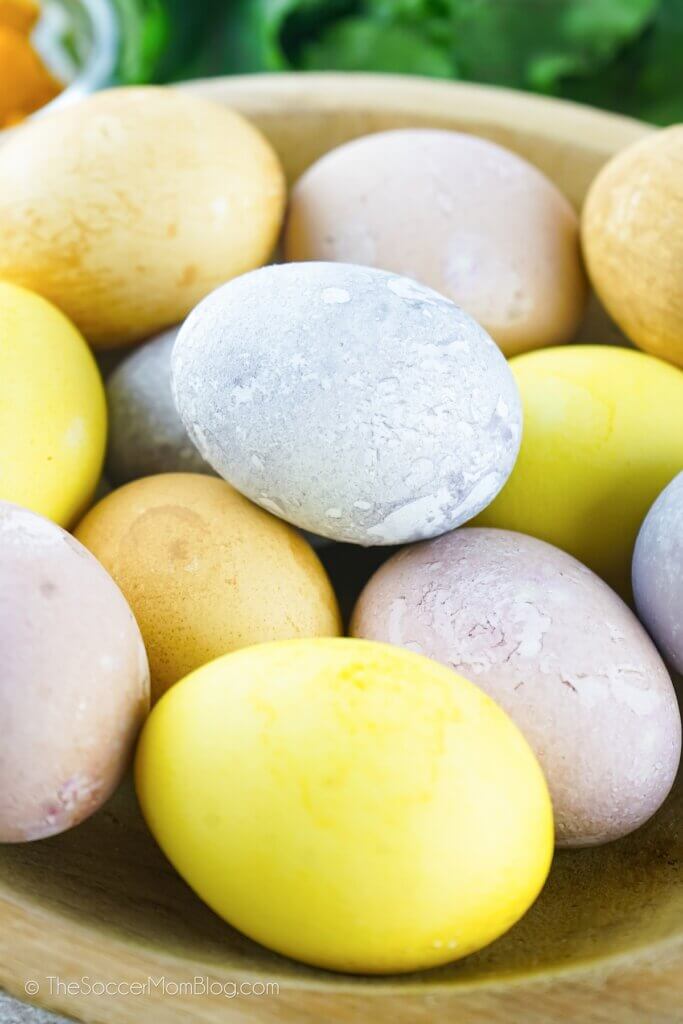
Related: Try our Naturally Dyed Easter Eggs too!
Pin this Marble Easter Eggs tutorial on Pinterest:
More of our favorite Easter crafts for kids:
Pop-Up Easter Egg Card for Kids
- Paper Chain Octopus Craft - April 24, 2024
- Amish Sugar Cookies - April 19, 2024
- Marshmallow Playdough - April 18, 2024



Anna says
Aren’t you worried about the nail polish not being food-safe?
Stacey aka the Soccer Mom says
Hi Anna – Eggs have both the shell and membrane as a barrier – as long as the egg was not cracked, they should be fine. If you’re worried you can either blow out the egg contents beforehand, leaving just the shell (instead of hard-boiling) or simply not eat them. You’d also want to make sure they stay refrigerated. I’ll make a note to the post about safe handling instructions – thanks!