
DIY Christmas Coasters with the Cricut Maker
These vibrant and festive Christmas Coasters are easy to DIY with the Cricut Maker! We’ll show you step by step how to make two different holiday coaster designs. Sponsored by Cricut.
Christmas Coasters
What are your family Christmas traditions?
When I was a kid, our family always got together to bake Christmas cookies. My mom started an ornament making day tradition for the grandkids.
And this year we started a new tradition…
Holiday gift making day with the Cricut Maker!
One of my favorite things to create with my Maker are coasters — they’re easy to make and they turn out looking fabulous and professional quality!
Related: Click here to see my favorite 34 Easy Cricut Christmas Crafts!
These Christmas coasters are the perfect holiday gift for:
- Family
- Friends
- Teachers
- Co-workers
- Neighbors
Over the past weekend, my mom, sister, and I got together and created two festive Christmas Coasters designs — I absolutely love how they turned out!
If you make a bulk batch of these DIY coasters, they are a cute way to show all the people on your list that you’re thinking about them this holiday season.
Keep reading for a step-by-step tutorial to learn how to make our DIY Christmas gifts coasters!

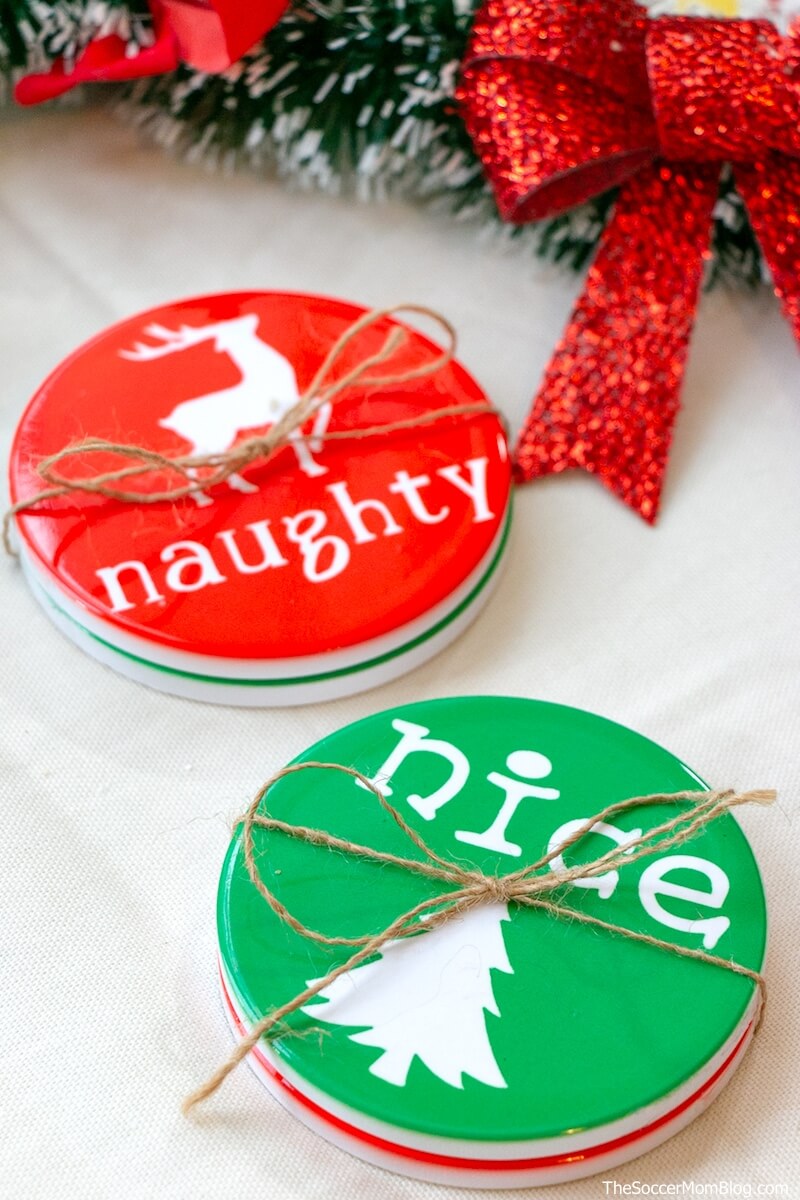
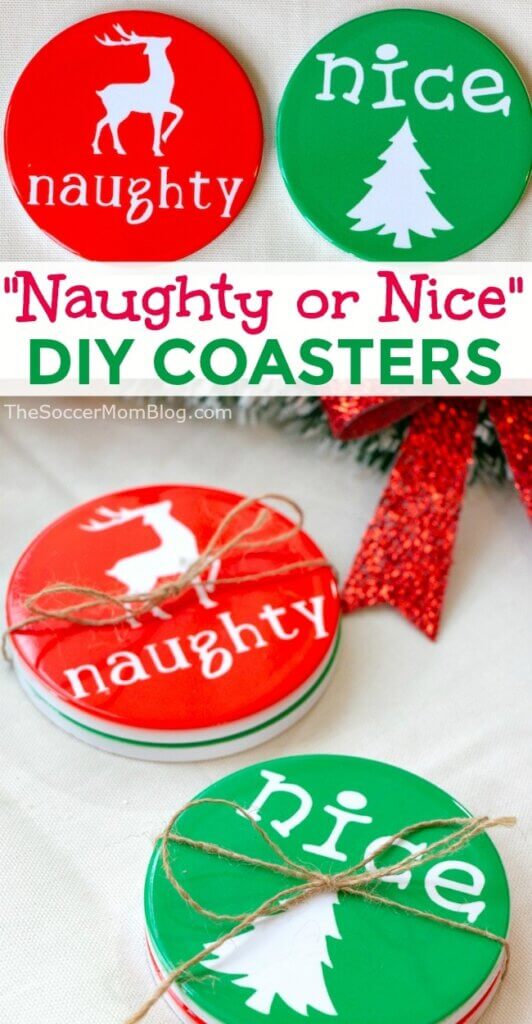
My 5-year-old said I am the “nice” one and my sister is the “naughty” one — hehe!
If you’re new to the Cricut Maker or you’re considering treating yourself to one, read these first:

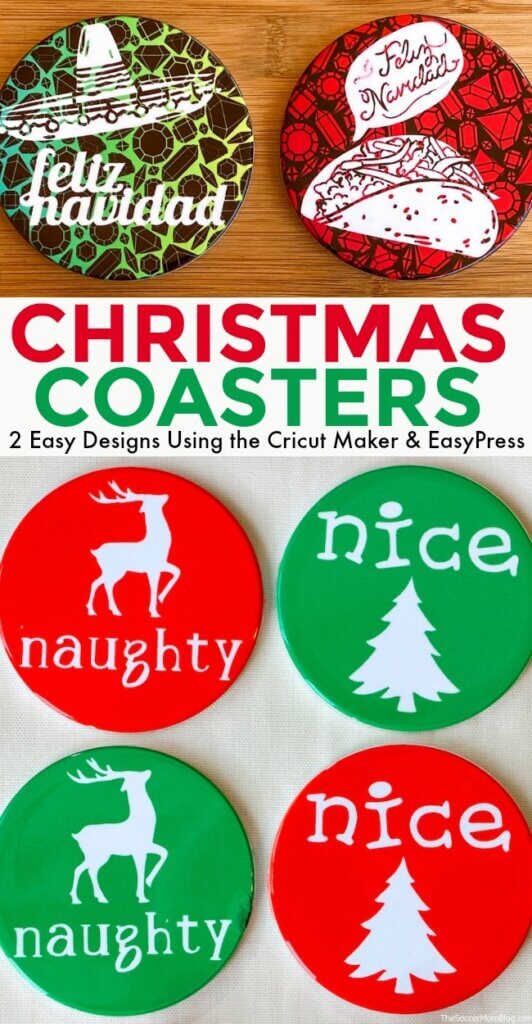
“Naughty or Nice” Christmas Coasters Supply List
This is my design — I don’t even think the photos fully capture it, but the colors are SO bright and shiny! I made one batch of red Christmas coasters and one batch of green Christmas coasters so I could mix and match the colors in each set.
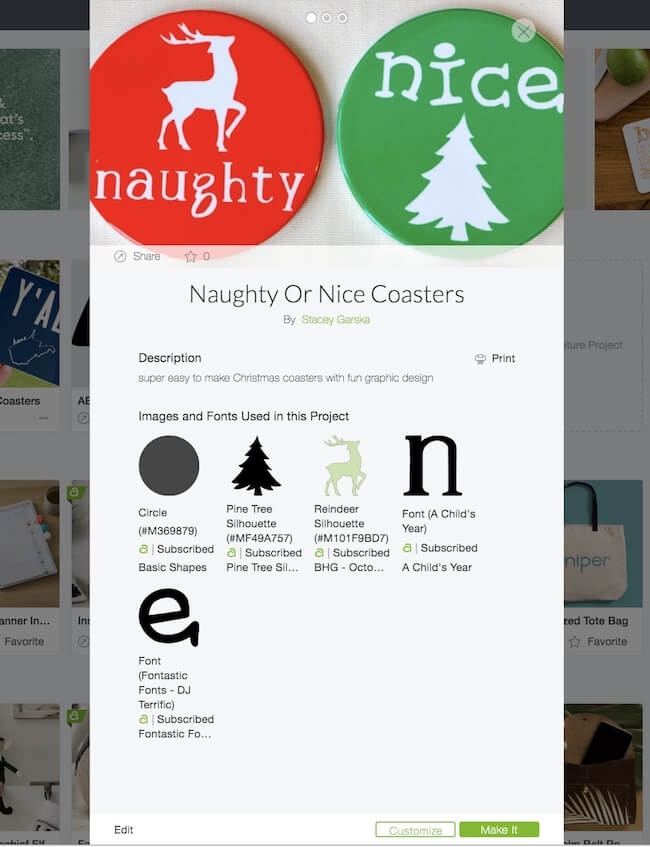
View Project in Cricut Design Space: Naughty or Nice Coasters
- Cricut Maker + Everything Materials Bundle
- Cricut EasyPress 2 12×10″
- Cricut EasyPress mat 12×12″
- Infusible Ink™ Coaster Blanks, Round
- Infusible Ink™ Transfer Sheets (Bright Green, Cherry)
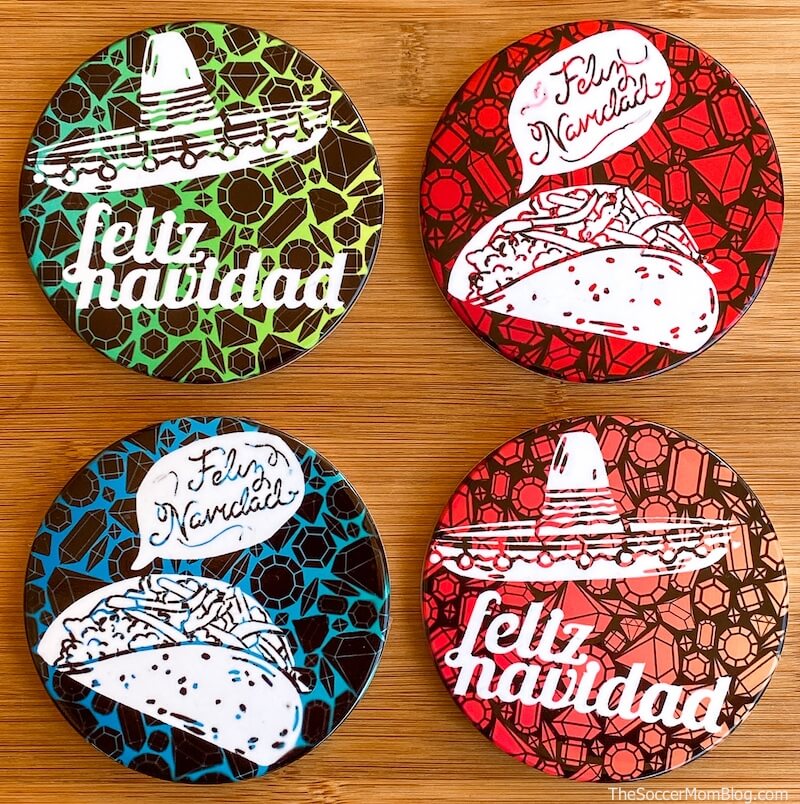
“Feliz Navidad” Christmas Coasters Supply List
This was my sister’s design — I love the quirky pattern! She’s planning on making some for co-workers – they would be perfect for jazzing up a cubicle, no?
View Project in Cricut Design Space: Feliz Navidad Coasters
- Cricut Maker + Everything Materials Bundle
- Cricut EasyPress 2 12×10″
- Cricut EasyPress mat 12×12″
- Infusible Ink™ Coaster Blanks, Round
- Infusible Ink™ Transfer Sheets, Bright Bow Gems
How to Make Coasters with Your Cricut Maker and Infusible Ink
First, open the project you’d like to make in Cricut Design Space. Feel free to use either of the Christmas Coasters designs we made (listed above).
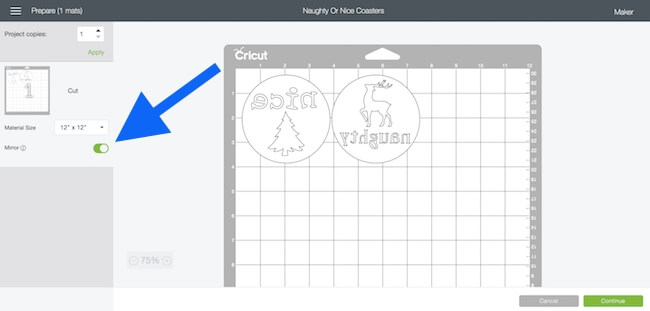
Place your Infusible Ink transfer sheets on a machine mat (we used Standard Grip) and load your machine.
TIP: Be sure to select “mirror” in Design Space so your words won’t be backwards after you press them!
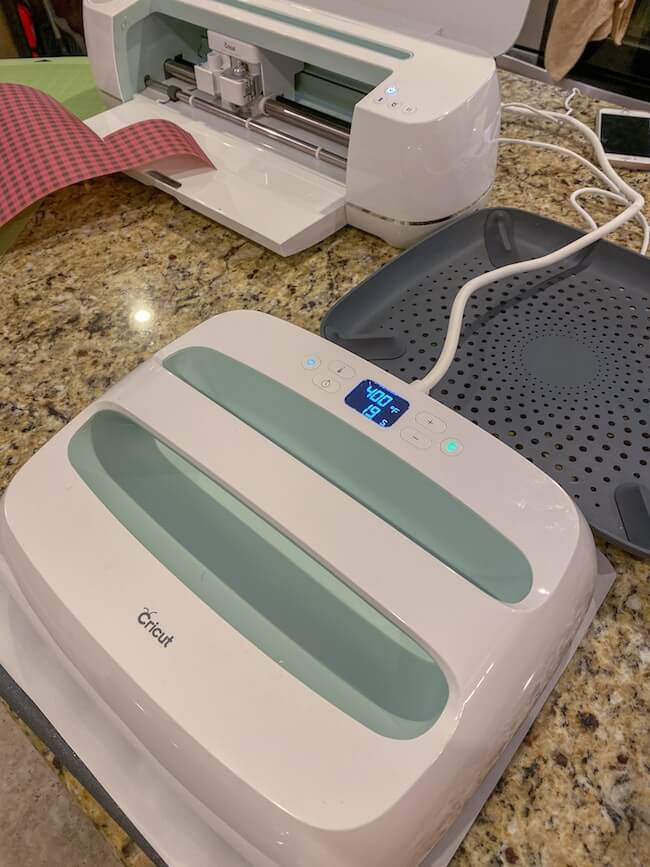
While your designs are cutting, heat up your EasyPress to 400°F.
After your Maker finishes cutting out the designs, separate your Christmas coasters from excess Infusible Ink paper.
Place your EasyPress mat on a sturdy, flat surface. Place a thick piece of cardstock on top of your easy press mat. This protects your mat from getting any ink on it.
Remove coaster blanks from packaging and place on top of the cardstock. Be sure to use Infusible Ink coaster blanks with your Infusible Ink transfer sheets.
Place your Christmas coaster designs on top of the coaster blanks; secure with heat-resistant tape if needed.
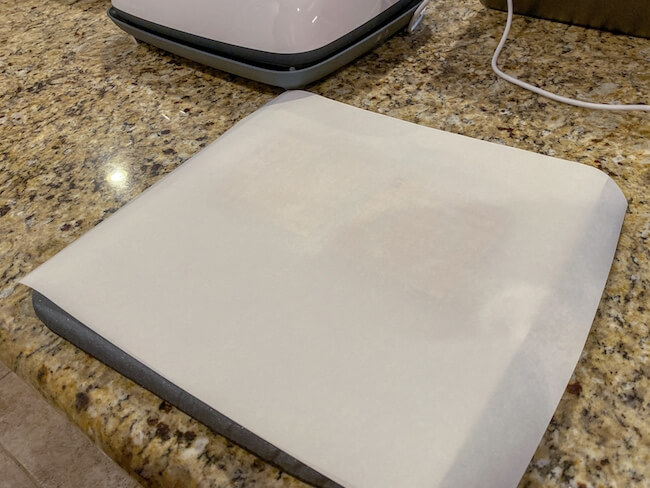
Cover coasters with a sheet of butcher paper (provided with your Infusible Ink transfer sheets) and place EasyPress on top of the stack.
Keep EasyPress in place for 240 seconds at 400°F. You don’t need to push down or move the press – just let it sit and do its thing.
When time is up, remove the EasyPress and place back in its heat-safe tray.
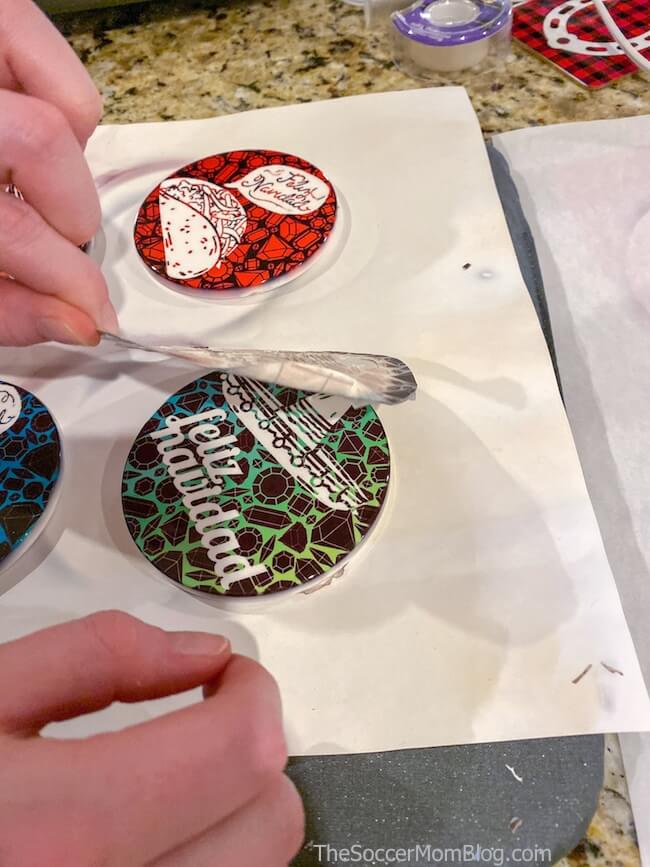
Allow coasters to cool completely before peeling away the butcher paper and transfer paper.
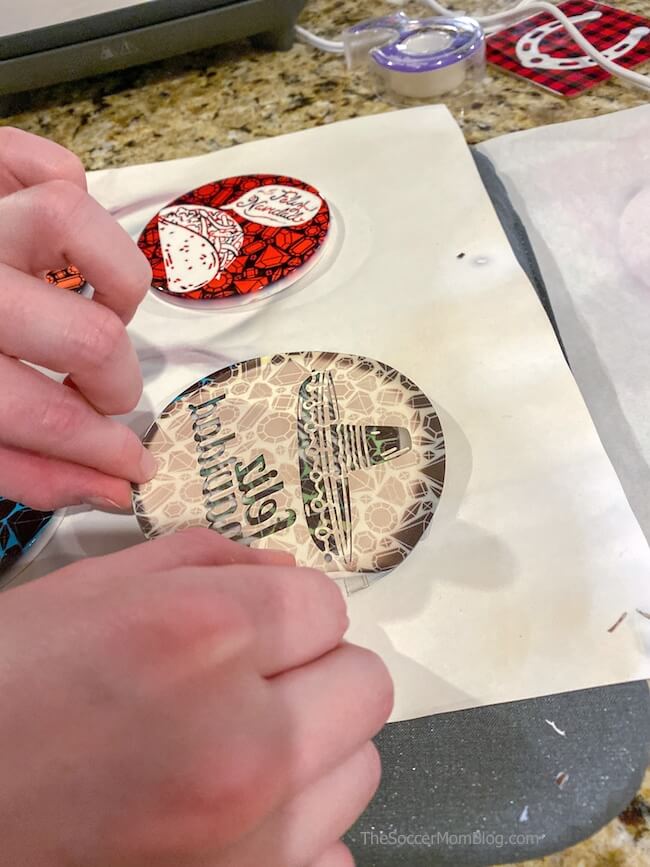
The reveal is the best part!
The Infusible Ink paper looks somewhat dull before you press it, but the finished product is unbelievably bright, shiny, and vibrant!
My sister literally squealed when she saw her finished coasters for the first time — we have a new Cricut lover in the family!
TIP: You can create personalized Christmas coasters by clicking “customize” when you check out either of our projects in Cricut Design Space!
Have your tried the new Cricut Infusible Ink yet? I’d love to hear what projects you’ve been working on in the comments below!
Christmas Coasters Printable Instructions
Want to Save This Recipe?
Enter your email & I'll send it to your inbox. Plus, get great new recipes from me every week!
By submitting this form, you consent to receive emails from The Soccer Mom Blog

DIY Christmas Coasters with the Cricut Maker
Equipment
- Cricut Maker
- Cricut EasyPress
- Cricut EasyPress Mat
- Machine Mat, Standard Grip
Ingredients
- 1 sheet Infusible Ink Transfer Paper, Cherry
- 1 sheet Infusible Ink Transfer Paper, Bright Green
- 2 sets Infusible Ink Coaster Blanks, Round
Instructions
- First, the project in Cricut Design Space.
- Place your Infusible Ink transfer sheets on a cutting mat and load your machine.
- Make sure to to select "mirror" in Design Space, then press "GO" to start cutting. If you cut two sets on each piece of Infusible Ink paper, you'll have 4 matched sets of red and green coasters.
- While your designs are cutting, heat up your EasyPress to 400°F.
- After your Maker finishes cutting out the designs, separate your Christmas coasters from excess Infusible Ink paper.
- Place your EasyPress mat on a sturdy, flat surface. Place a thick piece of cardstock on top of your easy press mat to protect it.
- Remove coaster blanks from packaging and place on top of the cardstock and EasyPress mat.
- Place your Christmas coaster designs on top of the coaster blanks; secure with heat-resistant tape if needed.
- Cover coasters with a sheet of butcher paper (provided with your Infusible Ink transfer sheets) and place EasyPress on top of the stack.
- Keep EasyPress in place for 240 seconds at 400°F. You don't need to push down or move the press - just let it rest on the coasters.
- When time is up, remove the EasyPress and place back in its heat-safe tray.
- Allow coasters to cool completely before peeling away the butcher paper and transfer paper.
Be Sure to Pin our Christmas Coasters on Pinterest:
This is a sponsored conversation written by me on behalf of Cricut. The opinions and text are all mine.

- Beach Day Rice Krispie Treats - June 23, 2026
- Pickled Jalapeños Recipe - June 15, 2026
- Homemade Nesquick Mix - June 11, 2026

Looks fun. Do the coaster blanks include an acrylic (or something) holder for the printed part so that you have something impermeable to protect the table? I’m a newbie to all this. Thanks!
Hi Tina – do you mean something to protect the table during pressing? Or afterwards? For pressing, I use an EasyPress mat covered by a piece of cardstock to protect my workspace. The coasters themselves are constructed to that they are ready-to-use after printing – one type is about 1/4″ thick ceramic, the square type has a cork backing. Hope this helps!