
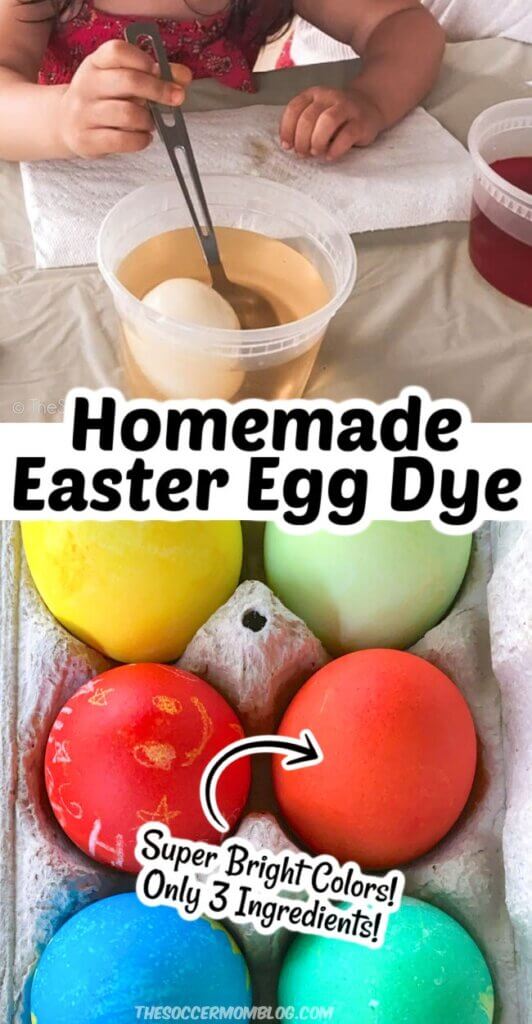
Easy Easter Egg Dye Recipe
You don’t need a store-bought kit to decorate Easter eggs! Try our easy homemade Easter egg dye recipe using food coloring and vinegar instead!

How to Dye Easter Eggs with Food Coloring
The last few times I bought Easter egg dye kits from the store, I was disappointed with how the colors turned out. Our eggs were not bright and vibrant and the dye just didn’t seem to stick, no matter how long we let them soak!
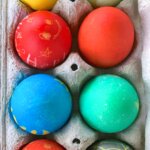
So this past Easter, we decided to make our own Easter egg dye instead. WOW! I couldn’t believe the deep, rich colors we got with our homemade dye — the eggs were beautiful!
Our homemade Easter egg dye is super simple — all you need is water, vinegar, and food coloring. That’s it! Keep reading to learn how to make it, plus our tips for decorating and easy clean-up!
Related: For another fun DIY egg decorating idea, try our Natural Easter Egg Dyes! There are 4 different colors made from vegetables, fruits, and spices!
Homemade Easter Egg Dye Ingredients
- 1 cup warm water
- 2 teaspoons vinegar
- 10 drops food coloring
Amounts are for each color dye. If making multiple colors, you’ll use the recipe above for each color.

Instructions
Heat a saucepan of water so that it is warm, but not boiling.
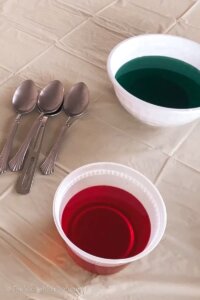
Divide the water into individual heat-safe bowls (we used takeout soup containers). Each bowl should contain about a cup of water, so that an egg could be fully submerged.
Add a few drops of food coloring — 8-10 drops is a good starting point. Add more if you’d like a deeper color.
TIP: If using gel food coloring, it usually comes out of the bottle in blobs rather than drops. Start with 2-3 blobs and go from there.
To Use:
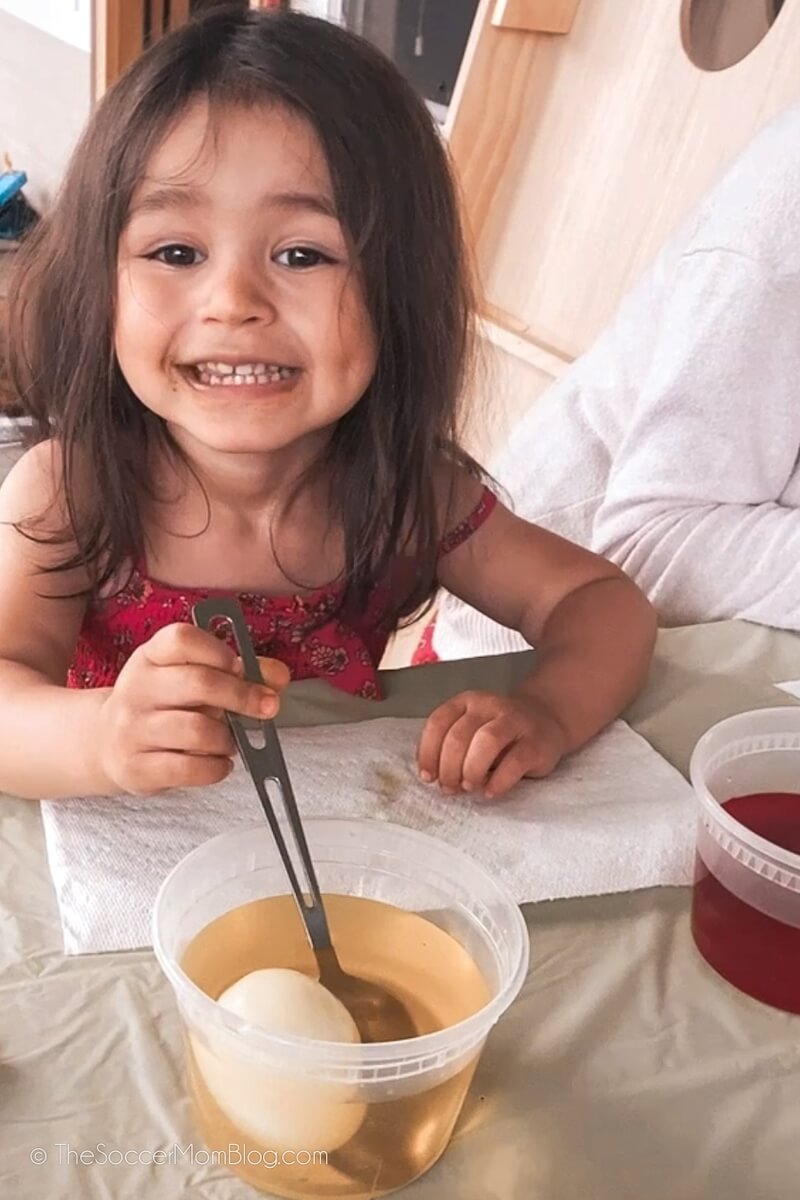
Dip each hard-boiled egg in the bowl of dye so that is is completely covered (unless you’re doing two-toned or striped eggs). We use a large spoon, but tongs would work well too.
Allow egg to soak for a few minutes, then check to see if it is your desired shade. If needed, soak longer.
Egg Decorating Tips
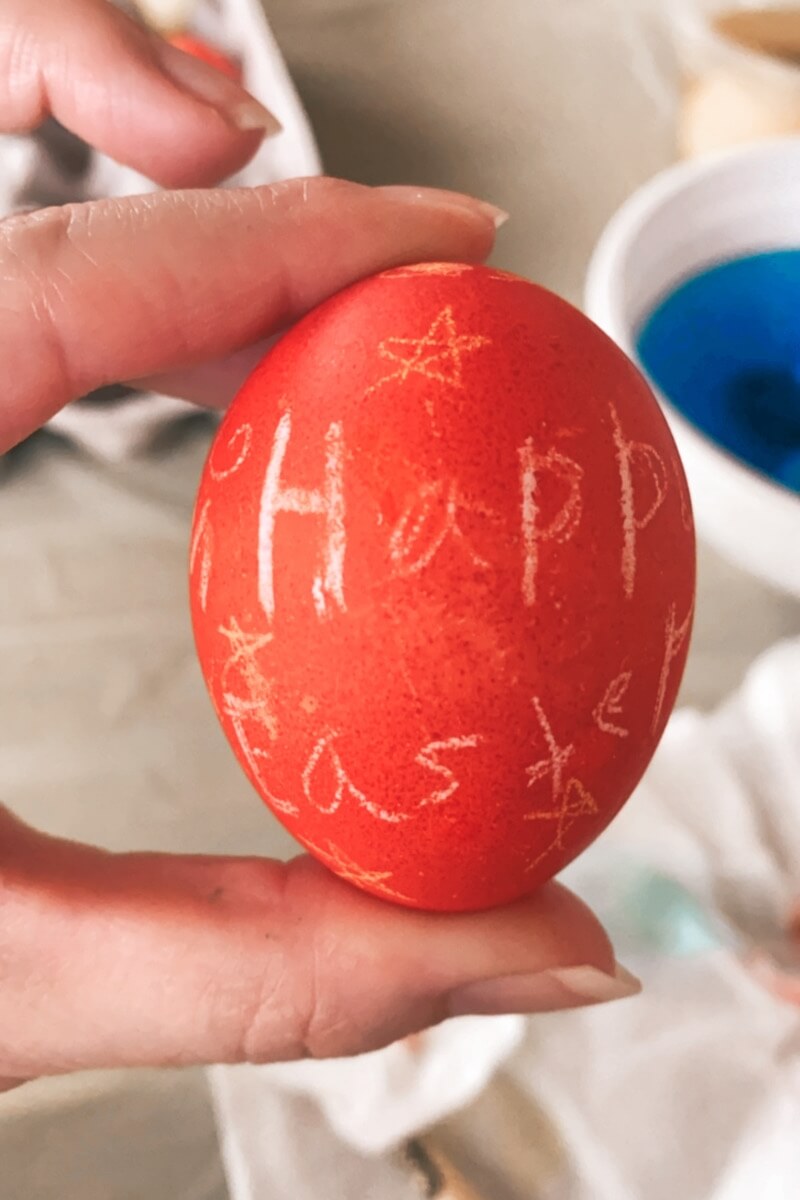
- We use white crayons to draw designs on our eggs before dipping in the dye. The wax repels dyes, so you’ll be able to see your designs after you color the eggs.
- Be careful when moving eggs from one dye to the next (if you’re making blended colors). Use a clean spoon and pat off any excess dye before switching colors.
- Air drying works best, but you can pat dry to speed up the process. Try not to rub the eggs because this can rub off the colors.
- Be sure to use hard-boiled or steamed eggs. Steaming eggs makes them cook perfectly and easier to peel. Check out our tutorial for how to steam eggs here!
Frequently Asked Questions
How Long Do Eggs Need to Soak in the Dye?
Let’s face it…kids are impatient! So we needed a dye that worked quickly and this one fits the bill!
We soaked our eggs about 10-20 minutes each. At most!
The only one that soaked longer was our golden egg. It takes about an hour to get a bright golden yellow color like what is pictured in this post.
Do Easter Egg Dyes Stain?
Because they are made with food coloring, there is always a chance of staining, so clean any spills right away. To be safe, we worked at a picnic table outside and used a plastic tablecloth.
If any dye gets on skin, wash it off as soon as you notice. The dye is not permanent on hands, but it is easier to wash away when caught quickly.
Related: Check out our huge collection of 50 Easter Egg Decorating Ideas here!
Food Coloring Easter Egg Dye Recipe (Printable Copy)
Want to Save This Recipe?
Enter your email & I'll send it to your inbox. Plus, get great new recipes from me every week!
By submitting this form, you consent to receive emails from The Soccer Mom Blog
How to Dye Easter Eggs with Food Coloring
Equipment
- Saucepan
- Heat-safe bowls
Ingredients
- 1 cup warm water
- 2 teaspoons white vinegar
- 10 drops food coloring
Instructions
- Heat a saucepan of water so that it is warm, but not boiling.
- Divide the water into individual heat-safe bowls. Each bowl should contain about a cup of water, so that an egg could be fully submerged.
- Add a few drops of food coloring — 8-10 drops is a good starting point. Add more if you'd like a deeper color. If using gel food coloring, it usually comes out of the bottle in blobs rather than drops. Start with 2-3 blobs and go from there.

- Dip hard-boiled eggs in the dye and allow to soak for at least 10 minutes.

Pin this Easy DIY Easter Egg Dye Recipe on Pinterest
You might also like:
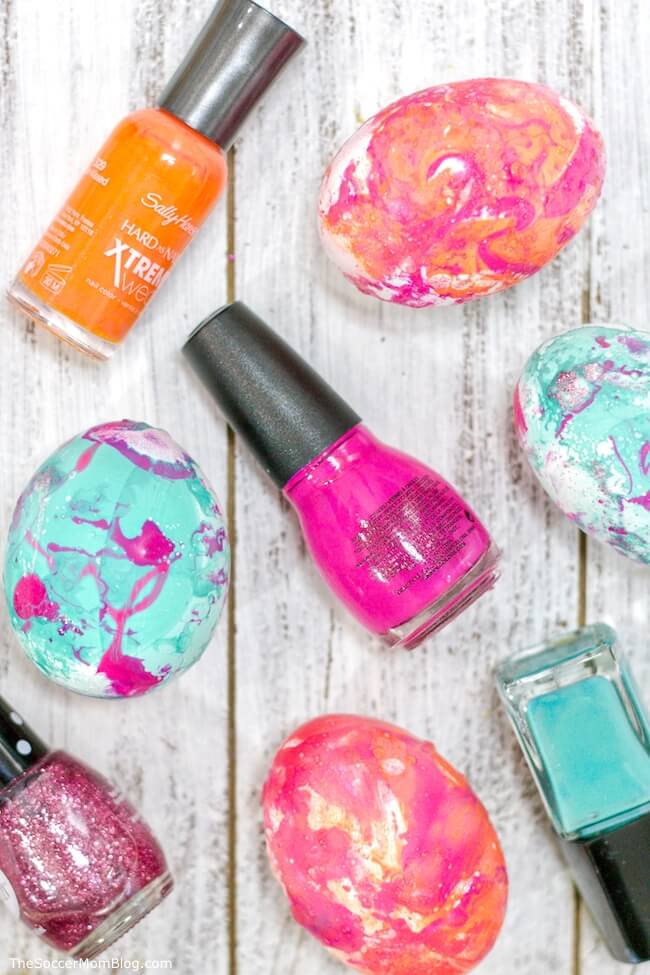
How to Make Marbled Eggs with Nail Polish

- Beach Day Rice Krispie Treats - June 23, 2026
- Pickled Jalapeños Recipe - June 15, 2026
- Homemade Nesquick Mix - June 11, 2026


Hi! Dumb question… when do I add the vinegar? Thanks!
Mix everything together at the same time.