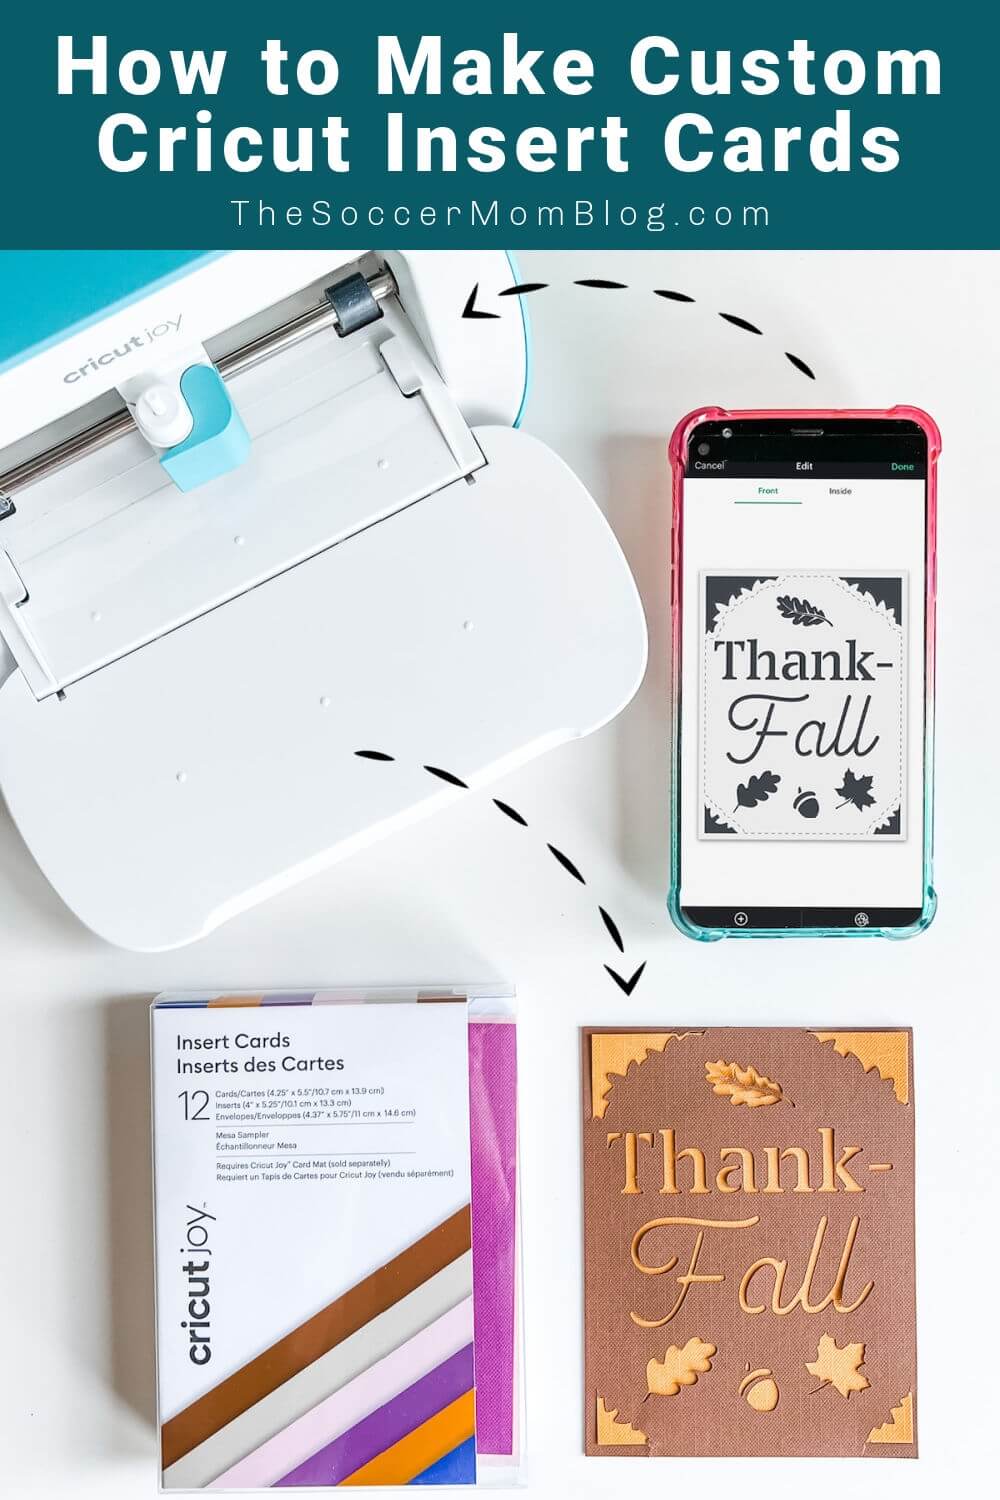
Learn how to make cards with Cricut with this easy step-by-step tutorial. Design your own professional looking insert cards in minutes! Sponsored by Cricut.
I am a big believer in cards: thank you cards, birthday cards, Christmas cards…you name it, I make them and send them! Even in our world that’s full of technology, I think there is something special about sending a personalized greeting card. E-cards just don’t cut it! (Pun intended!)
Can You Make Cards With Cricut?
Yes, you can make absolutely beautiful cards with any Cricut cutting machine! Insert cards are my go-to anytime I need a card and I don’t want to run to the gift store. And anyway, last time I purchased a store-bought card they were going for almost $10 each…yikes! So I just started making my own instead!
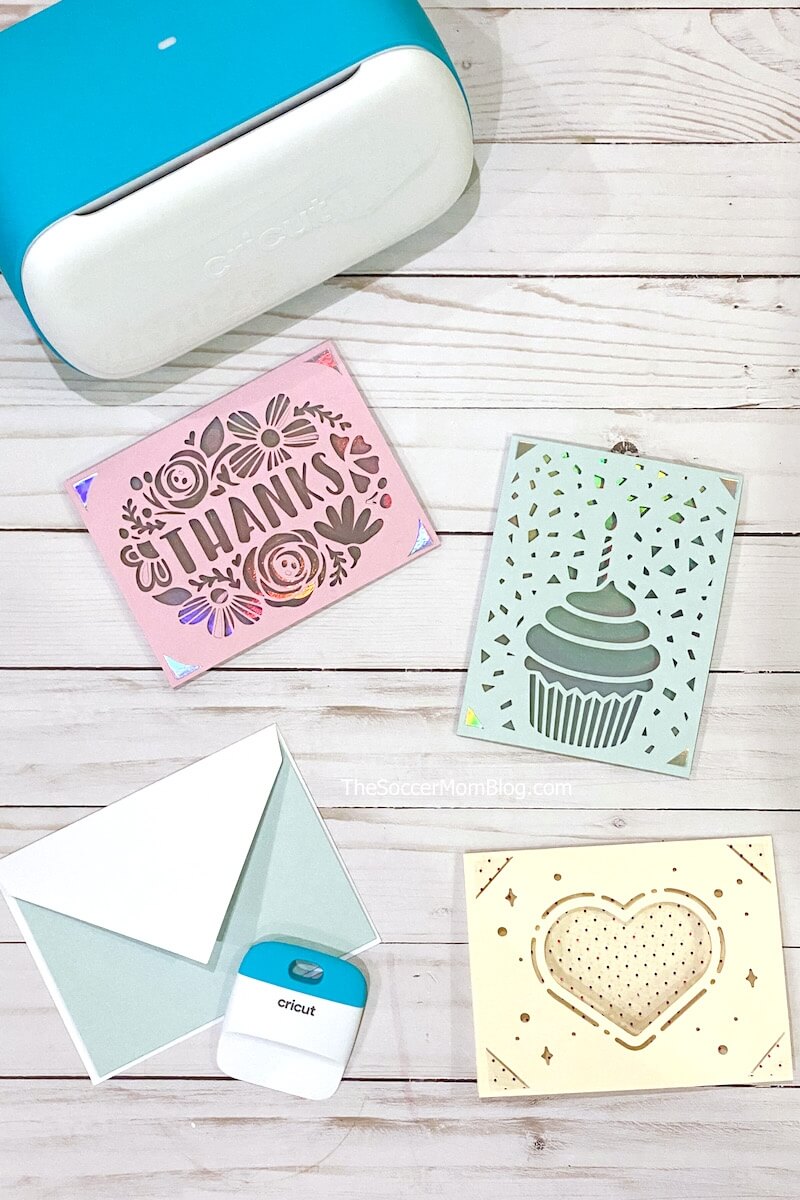
One of the first projects I ever made with my Cricut Joy were birthday cards. The insert card mat makes it so easy to create and cut professional looking cards for any occasion!
PS- The above photo is from one of my blog posts about easy projects to make with a Cricut Joy. Be sure to check it out too for more ideas and inspiration!
What Do I Need To Make Cards With Cricut?
You can create these fabulous insert cards with any of the Cricut cutting machines: Cricut Maker, Cricut Explore, and Cricut Joy. I love to use the Cricut Joy because it is such a small and portable machine that I can set up anywhere in my house — even on the kitchen counter! It makes it easy to create a quick card when I’m in a hurry or I forgot an occasion (yes, it happens!)
To make cards with Circut you’ll need:
- Insert Card Mat (This one is for Cricut Joy and this one is compatible with Maker and Explore)
- Insert Card Kits (They come with envelopes too!)
There are so many gorgeous card designs in both Cricut Design Space and in the Cricut Joy app. However, sometimes I get a creative spark and I want to make my own cards. But I didn’t know how!
Then I found out you could create your own custom insert cards with the Cricut Joy app. Y’all…I tried it today and it is SO easy that I want to make sure that all of my fellow Cricut fans know about this app!
Here’s how it works…
How Do I Make My Own Cricut Card?
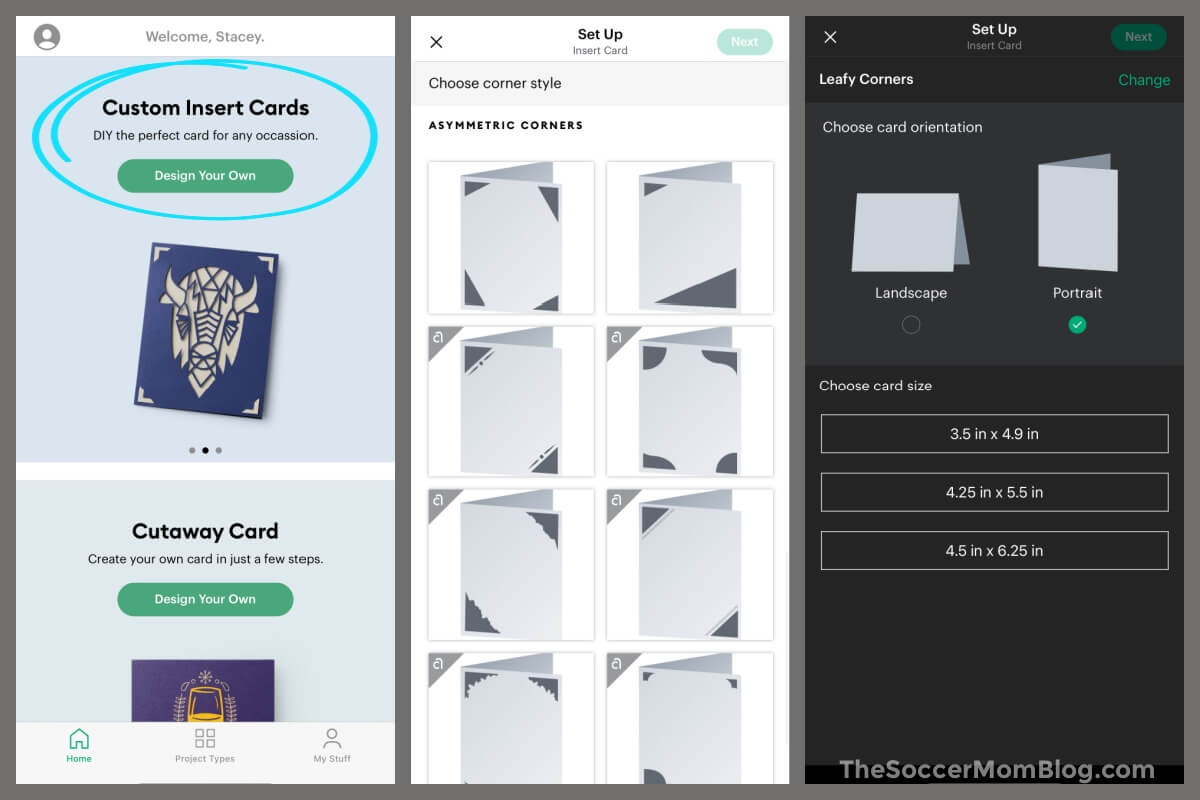
To customize your own insert card design, you’ll need to download the Cricut Joy app. Once you’ve done that, you can sign in with your Cricut ID (the same login that you use for Design Space).
There are a variety of menu options in the app to get started, one of them is “Custom Insert Cards.” Click this button.
- Choose your corner style (every insert card has to have cut-out corners so you can slip the insert into the card)
- Select Landscape or Portrait orientation
- Choose the size of your card (there are 3 options)
- Design your card
Within the app, there will be an outline of your card and you can completely customize the front design. Add text, shapes, and images, just like in Design Space…but dare I say that the Cricut Joy app is even EASIER?!
You can also add a message to the inside of the card and the Joy can write for you, using a Cricut Joy pen or marker. I left this blank because I like to hand write the message in my cards.
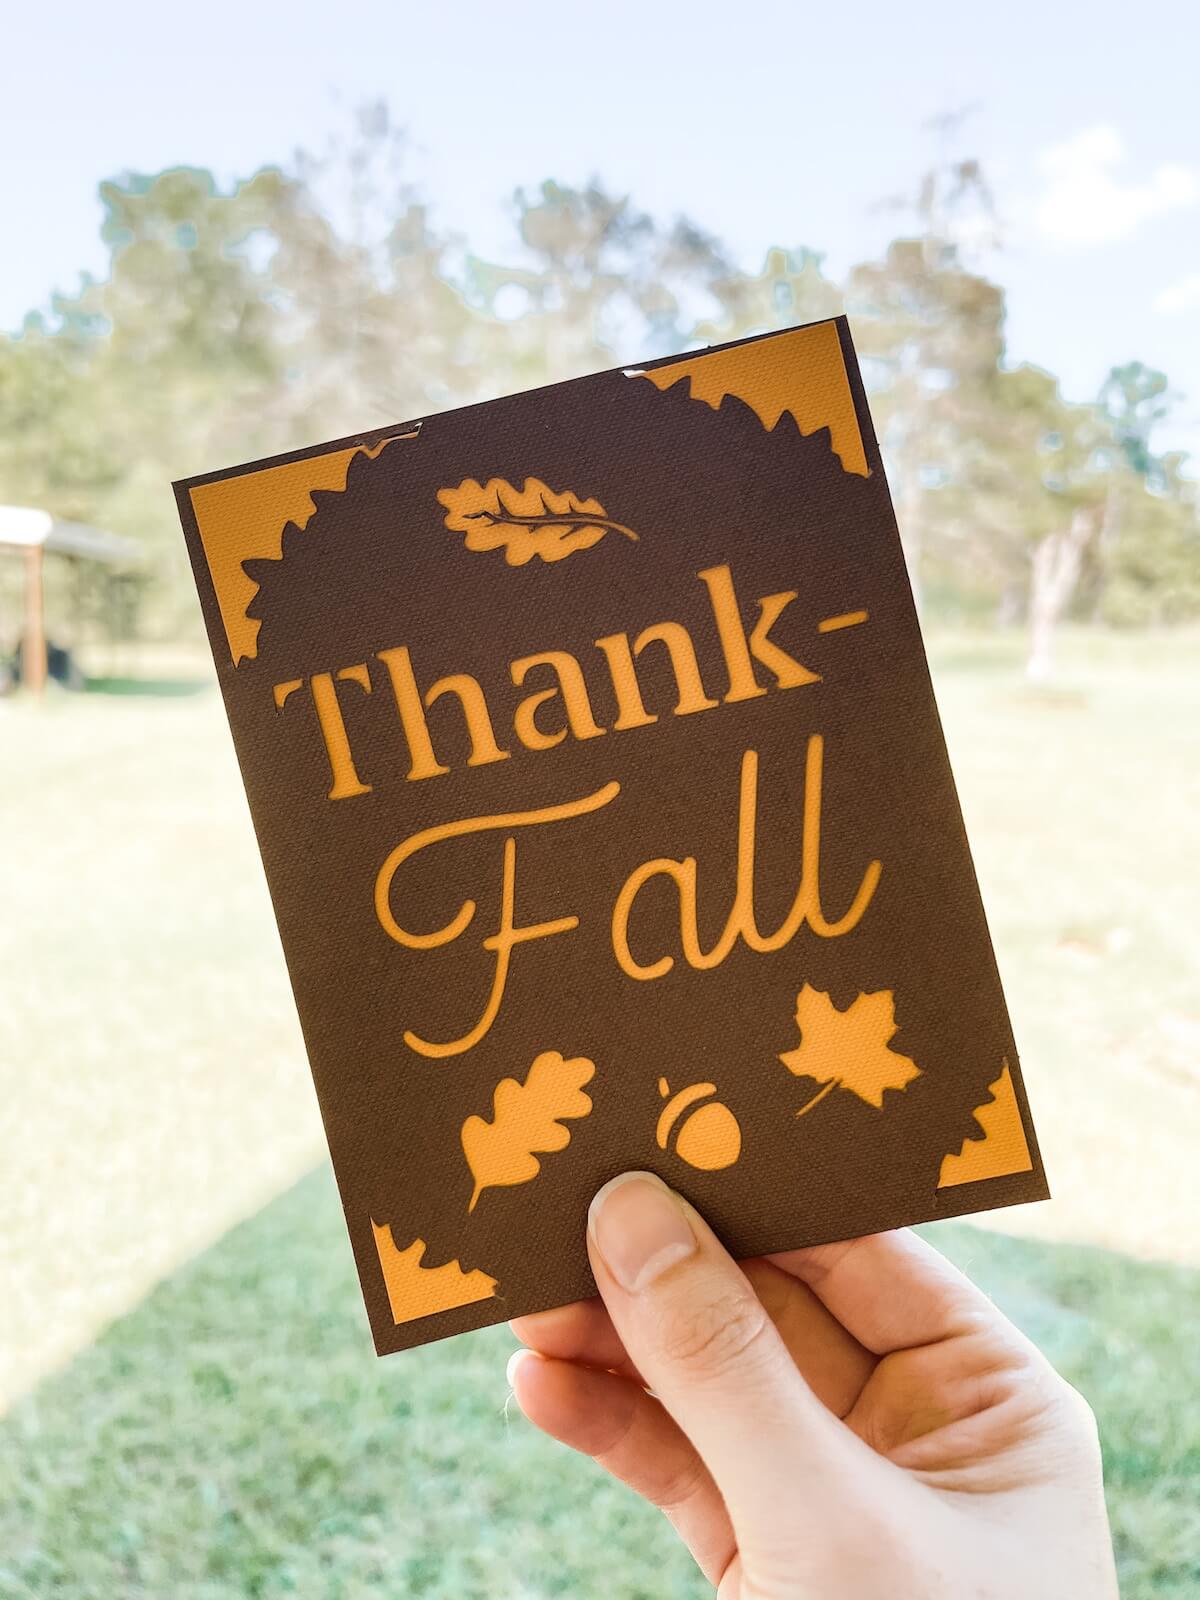
For my first custom insert card design, I created a fall-themed thank you card. I love a good pun and I love fall, so why not put the two together? Here’s my design:
From start to finish, it only took about 10 minutes!
I. Am. Obsessed.
While you can save your projects in the Cricut Joy app, at this time you are not able to access them in Cricut Design Space. Perhaps this capability will be available in the future…hint, hint! But if you’d like to re-create my card, all you need to do is add two text boxes with the words above and a few leafs from the image selection. Easy-peasy!
Want To Learn More About Cricut Joy?
Here are some of my other blog posts about how to use your Cricut Joy and why I love mine:
- What is Cricut Joy? A Beginners Guide
- Best Cricut Joy Accessories
- What Materials Can You Use With Cricut?
- Paper Chain Octopus Craft - April 24, 2024
- Amish Sugar Cookies - April 19, 2024
- Marshmallow Playdough - April 18, 2024


Leave a Reply