Inside: Learn the types of materials you can use with different Cricut machines, as well as answers to frequently asked questions about Cricut materials. Sponsored by Cricut.
What Materials Can You Use With Cricut?
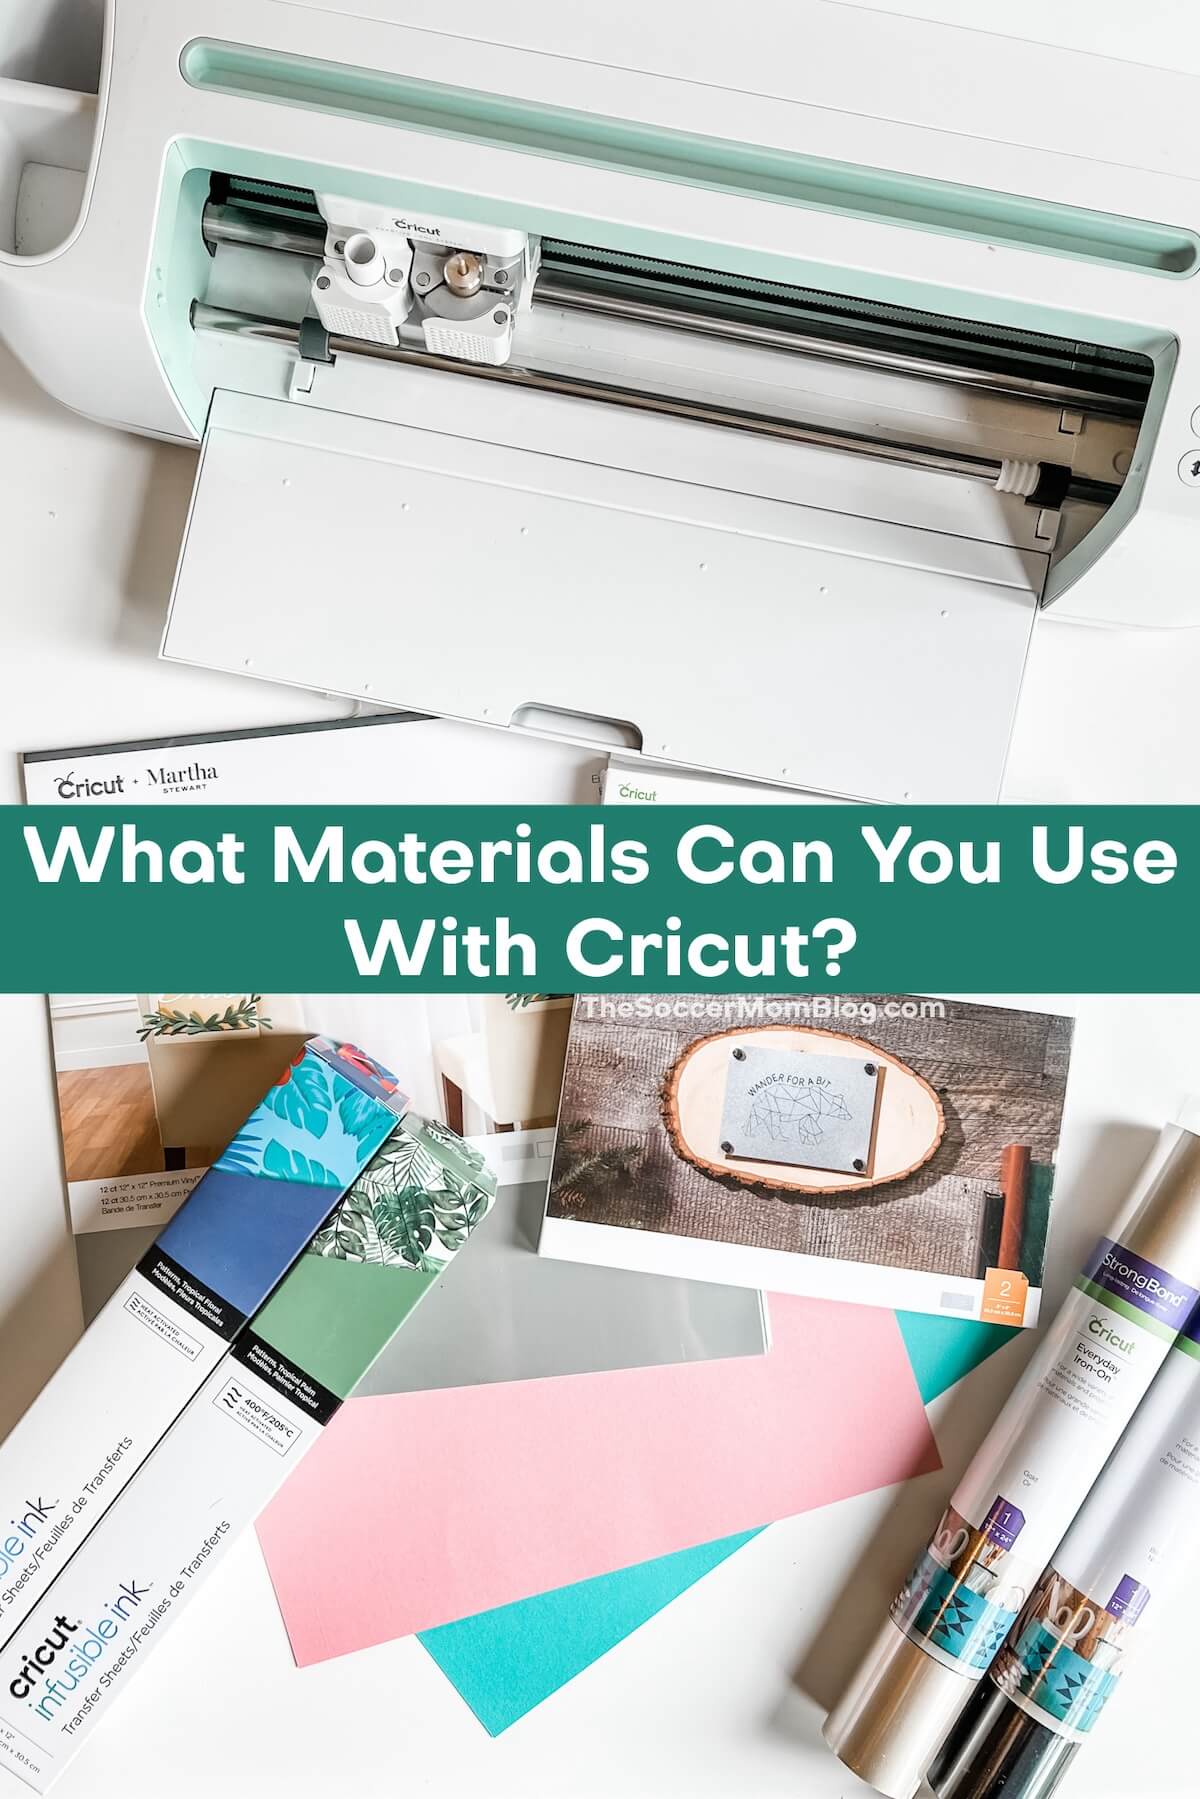
Thinking about investing in a Cricut cutting machine? Or did you just get one and are wondering what you can do with it?
Well, wonder no more!
I’ve put together a BIG list of (almost) every single material you can use with a Cricut Maker! (I say “almost” because I’m sure new materials will be added over time!)
Cricut Joy Materials
The type of materials that you can use depends on your specific machine. The Cricut Joy can cut over 50 materials — it is my favorite machine for quick tasks because I can just pop it on the counter next to my computer and start working. Because the Joy connects to your computer via wifi, there are no extra cords to mess with, aside from the power cord.
Learn More About Cricut Joy:
Cricut Explore Materials
The Cricut Explore is a great starter machine — it has more capabilities than the Joy, at an affordable price point. The Cricut Explore can cut over 100 materials, from paper, to vinyl, to iron-ons and more!
Cricut Maker Materials
The Cricut Maker is the most versatile of the Cricut cutting machines, with over 300 material options. If I am planning a specialized project, the Cricut Maker is my go-to!
Learn More About Cricut Maker:
Related: Learn more about each machine’s specific capabilities and features here.
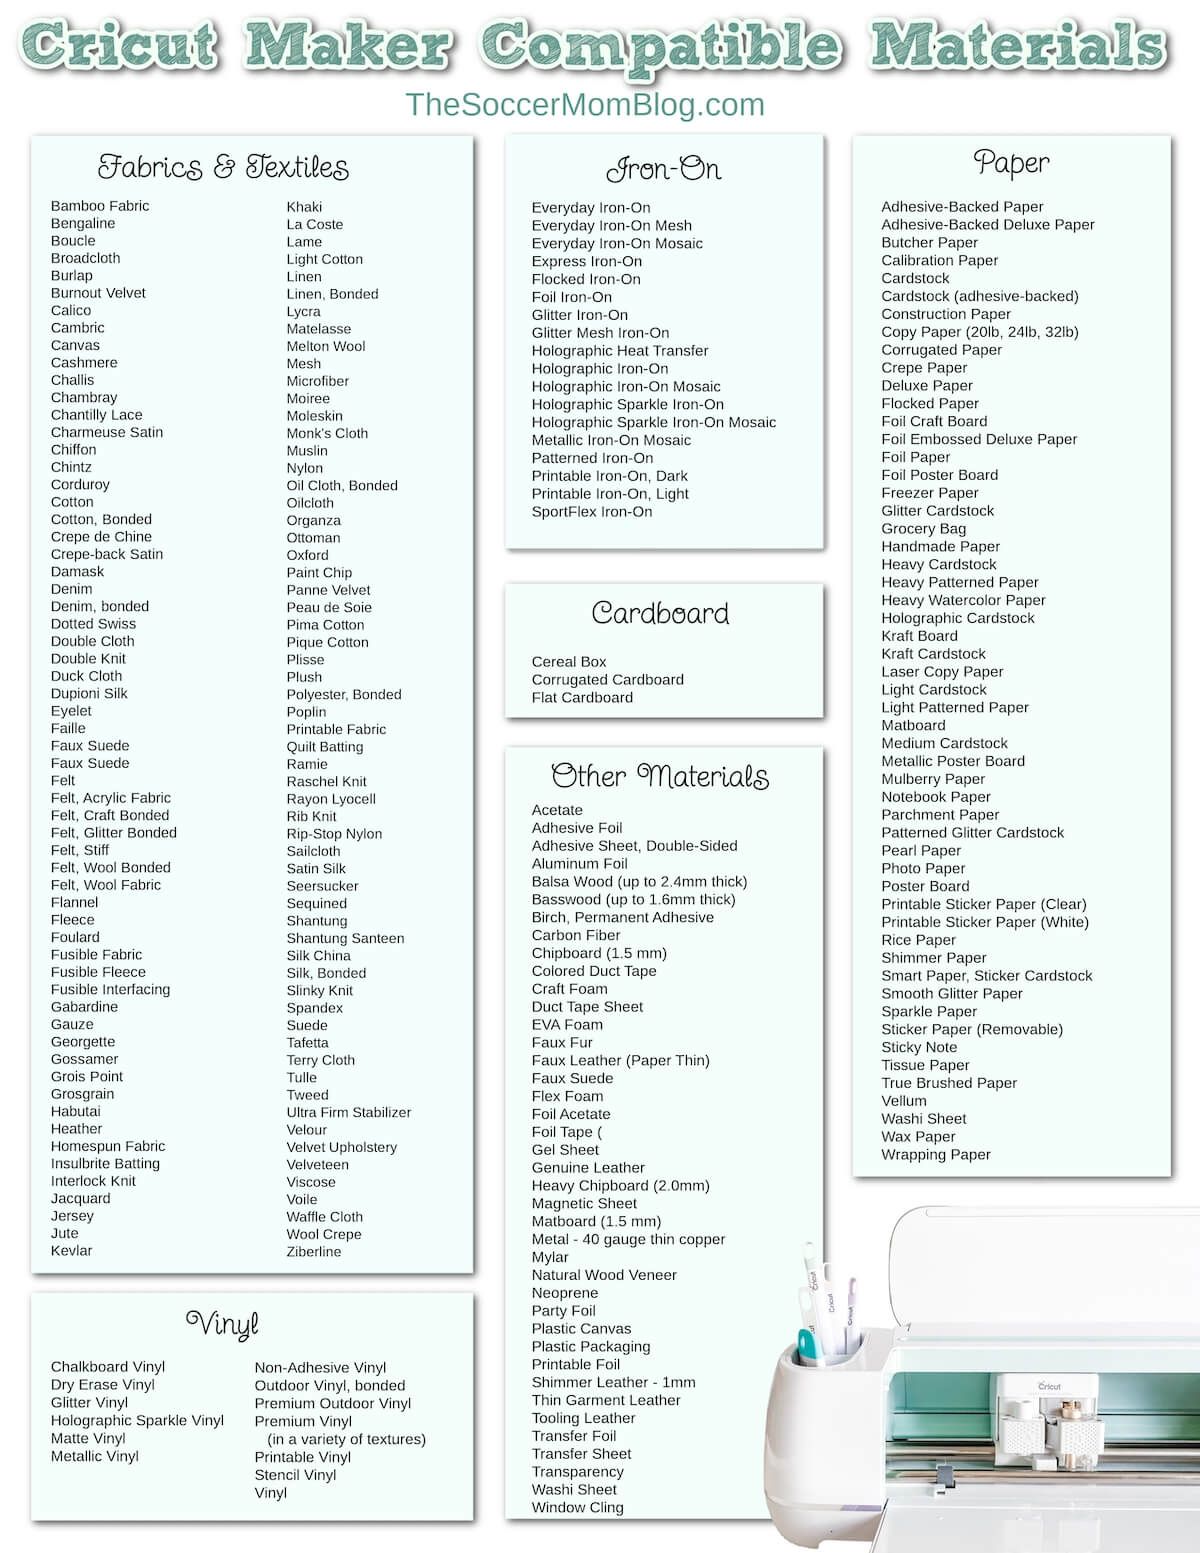
Complete List of Materials You Can Cut with a Cricut Maker
Cricut cutting machines are perhaps best known for vinyl crafting and creations. But there’s so much more that they can do too!
You can print a copy of this material list here; I’ve also listed them all below in the blog post.
Papers
The Cricut Maker can cut dozens of paper types, both those made by the Cricut brand and your own. When cutting paper, you’ll usually want the fine-point blade.
- Adhesive-Backed Paper
- Adhesive-Backed Deluxe Paper
- Butcher Paper
- Calibration Paper
- Cardstock
- Cardstock (adhesive-backed)
- Construction Paper
- Copy Paper (20lb, 24lb, 32lb)
- Corrugated Paper
- Crepe Paper
- Deluxe Paper
- Flocked Paper
- Foil Craft Board
- Foil Embossed Deluxe Paper
- Foil Paper
- Foil Poster Board
- Freezer Paper
- Glitter Cardstock
- Grocery Bag
- Handmade Paper
- Heavy Cardstock
- Heavy Patterned Paper
- Heavy Watercolor Paper
- Holographic Cardstock
- Kraft Board
- Kraft Cardstock
- Laser Copy Paper
- Light Cardstock
- Light Patterned Paper
- Matboard
- Medium Cardstock
- Metallic Poster Board
- Mulberry Paper
- Notebook Paper
- Parchment Paper
- Patterned Glitter Cardstock
- Pearl Paper
- Photo Paper
- Poster Board
- Printable Sticker Paper (Clear)
- Printable Sticker Paper (White)
- Rice Paper
- Shimmer Paper
- Smart Paper, Sticker Cardstock
- Smooth Glitter Paper
- Sparkle Paper
- Sticker Paper (Removable)
- Sticky Note
- Tissue Paper
- True Brushed Paper
- Vellum
- Washi Sheet
- Wax Paper
- Wrapping Paper
Fabrics & Textiles
The Cricut Maker can cut a wide variety of textiles and fabrics. Seriously, I think that you can cut just about any type of fabric with a Cricut Maker…the list is huge!
Generally, when cutting fabric, you’ll want to use the rotary blade. A rotary blade is a circular blade for the Cricut Maker that rotates to cut, much like a pizza cutter. This allows precision cutting without dragging, ripping, or pulling on the fabric. There are a few exceptions, such as stiff felt (which uses a fine-point blade) and bonded fabrics, which use a bonded fabric blade.
- Bamboo Fabric
- Bengaline
- Boucle
- Broadcloth
- Burlap
- Burnout Velvet
- Calico
- Cambric
- Canvas
- Cashmere
- Challis
- Chambray
- Chantilly Lace
- Charmeuse Satin
- Chiffon
- Chintz
- Corduroy
- Cotton
- Cotton, Bonded
- Crepe de Chine
- Crepe-back Satin
- Damask
- Delicate Fabrics (like Tulle)
- Delicate Fabrics (like Tulle), Bonded
- Denim
- Denim, bonded
- Dotted Swiss
- Double Cloth
- Double Knit
- Duck Cloth
- Dupioni Silk
- Extra Heavy Fabrics (like Burlap)
- Eyelet
- Faille
- Faux Suede
- Faux Suede
- Felt
- Felt, Acrylic Fabric
- Felt, Craft Bonded
- Felt, Glitter Bonded
- Felt, Stiff
- Felt, Wool Bonded
- Felt, Wool Fabric
- Flannel
- Fleece
- Foulard
- Fusible Fabric
- Fusible Fleece
- Fusible Interfacing
- Gabardine
- Gauze
- Georgette
- Gossamer
- Grois Point
- Grosgrain
- Habutai
- Heather
- Homespun Fabric
- Insulbrite Batting
- Interlock Knit
- Jacquard
- Jersey
- Jute
- Kevlar
- Khaki
- La Coste
- Lame
- Light Cotton (even with multiple layers)
- Linen
- Linen, Bonded
- Lycra
- Matelasse
- Melton Wool
- Mesh
- Microfiber
- Moiree
- Moleskin
- Monk’s Cloth
- Muslin
- Nylon
- Oil Cloth, Bonded
- Oilcloth
- Organza
- Ottoman
- Oxford
- Paint Chip
- Panne Velvet
- Peau de Soie
- Pima Cotton
- Pique Cotton
- Plisse
- Plush
- Polyester, Bonded
- Poplin
- Printable Fabric
- Quilt Batting
- Ramie
- Raschel Knit
- Rayon Lyocell
- Rib Knit
- Rip-Stop Nylon
- Sailcloth
- Satin Silk
- Seersucker
- Sequined
- Shantung
- Shantung Santeen
- Silk China
- Silk, Bonded
- Slinky Knit
- Spandex
- Suede
- Tafetta
- Terry Cloth
- Tulle
- Tweed
- Ultra Firm Stabilizer
- Velour
- Velvet Upholstery
- Velveteen
- Viscose
- Voile
- Waffle Cloth
- Wool Crepe
- Ziberline
Vinyl
- Chalkboard Vinyl
- Dry Erase Vinyl
- Glitter Vinyl
- Holographic Sparkle Vinyl
- Matte Vinyl
- Metallic Vinyl
- Non-Adhesive Vinyl (16 gauge and 20 gauge)
- Outdoor Vinyl, bonded
- Premium Outdoor Vinyl
- Premium Vinyl (Frosted, Holographic, Mosaic, Pearl, Shimmer, Textured, Textured Metallic, True Brushed)
- Printable Vinyl
- Stencil Vinyl
- Vinyl
Iron-On
- Everyday Iron-On
- Everyday Iron-On Mesh
- Everyday Iron-On Mosaic
- Express Iron-On
- Flocked Iron-On
- Foil Iron-On
- Glitter Iron-On
- Glitter Mesh Iron-On
- Holographic Heat Transfer
- Holographic Iron-On
- Holographic Iron-On Mosaic
- Holographic Sparkle Iron-On
- Holographic Sparkle Iron-On Mosaic
- Metallic Iron-On Mosaic
- Patterned Iron-On
- Printable Iron-On, Dark
- Printable Iron-On, Light
- SportFlex Iron-On
Cardboard
- Cereal Box
- Corrugated Cardboard
- Flat Cardboard
Other Materials
The versatility of Cricut cutting machines is pretty incredible! You can cut everything from leather to balsa wood to acetate!
- Acetate
- Adhesive Foil
- Adhesive Sheet, Double-Sided
- Aluminum Foil
- Balsa Wood (up to 2.4mm thick)
- Basswood (up to 1.6mm thick)
- Birch, Permanent Adhesive
- Carbon Fiber
- Chipboard (1.5 mm)
- Colored Duct Tape
- Craft Foam
- Duct Tape Sheet
- EVA Foam
- Faux Fur
- Faux Leather (Paper Thin)
- Faux Suede
- Flex Foam
- Foil Acetate
- Foil Tape (Shiny Side Down or Up)
- Gel Sheet
- Genuine Leather
- Heavy Chipboard (2.0mm)
- Magnetic Sheet (0.5mm or 0.6mm)
- Matboard (1.5 mm)
- Metal – 40 gauge thin copper
- Mylar
- Natural Wood Veneer
- Neoprene
- Party Foil
- Plastic Canvas
- Plastic Packaging
- Printable Foil
- Shimmer Leather – 1mm
- Thin Garment Leather – 2-3 oz. (0.8-1.3 mm)
- Tooling Leather – 2-3 oz. (0.8 mm)
- Tooling Leather – 4-5 oz. (1.6 mm)
- Tooling Leather – 6-7 oz. (2.4 mm)
- Transfer Foil
- Transfer Sheet
- Transparency
- Washi Sheet
- Window Cling
Learn More: For full details about the materials you can cut with your Cricut Maker or Cricut Explore, check out this list on the official Cricut website. It explains which blade to use for every single material, as well as cutting pressure.
Frequently Asked Questions About Cricut Materials
What is the Thickest Material You Can Put in a Cricut Maker?
According to the Cricut official website, a Cricut Maker can handle materials up to 2.4mm in thickness. For reference, this is slightly thicker than a half dollar coin (but of course, don’t put a coin in your machine!)
Can a Cricut Maker Cut Wood?
Yes, the Cricut Maker can cut certain types of wood, such as balsa wood or basswood, using the knife blade.
Balsa wood is a lightweight wood that comes from the Balsa tree. Because it is light and soft, balsa wood is idea for simple wood-working and cutting tasks.
Can You Use Your Own Materials With Cricut?
In some cases you can use your own materials with a Cricut cutting machine. Paper is a good example of this, as a Circuit can cut almost any types of paper.
However, Cricut materials are produced specifically to give you the best results. If you’re a beginner, I recommend sticking with Cricut brand materials. This is what I did until I really got the hang of my machine, and in fact, I still prefer Cricut materials for their quality and durability.
What Are The Essential Materials For Cricut?
The essential materials are the ones that you’ll use the most and it can absolutely vary from crafter to crafter. I’d recommend always having cardstock, iron-on, vinyl, and Infusible Ink transfer sheets on hand. These will allow you to create a variety of projects, even on the spur of the moment!
What Materials Do You Use With Cricut Mug Press?
The Cricut Mug Press is a heat press specifically designed to create customized coffee mugs. There are Infusible Ink transfer sheets sized just for use with the mug press, but you can also use regular Infusible Ink transfer sheets and cut them to size.
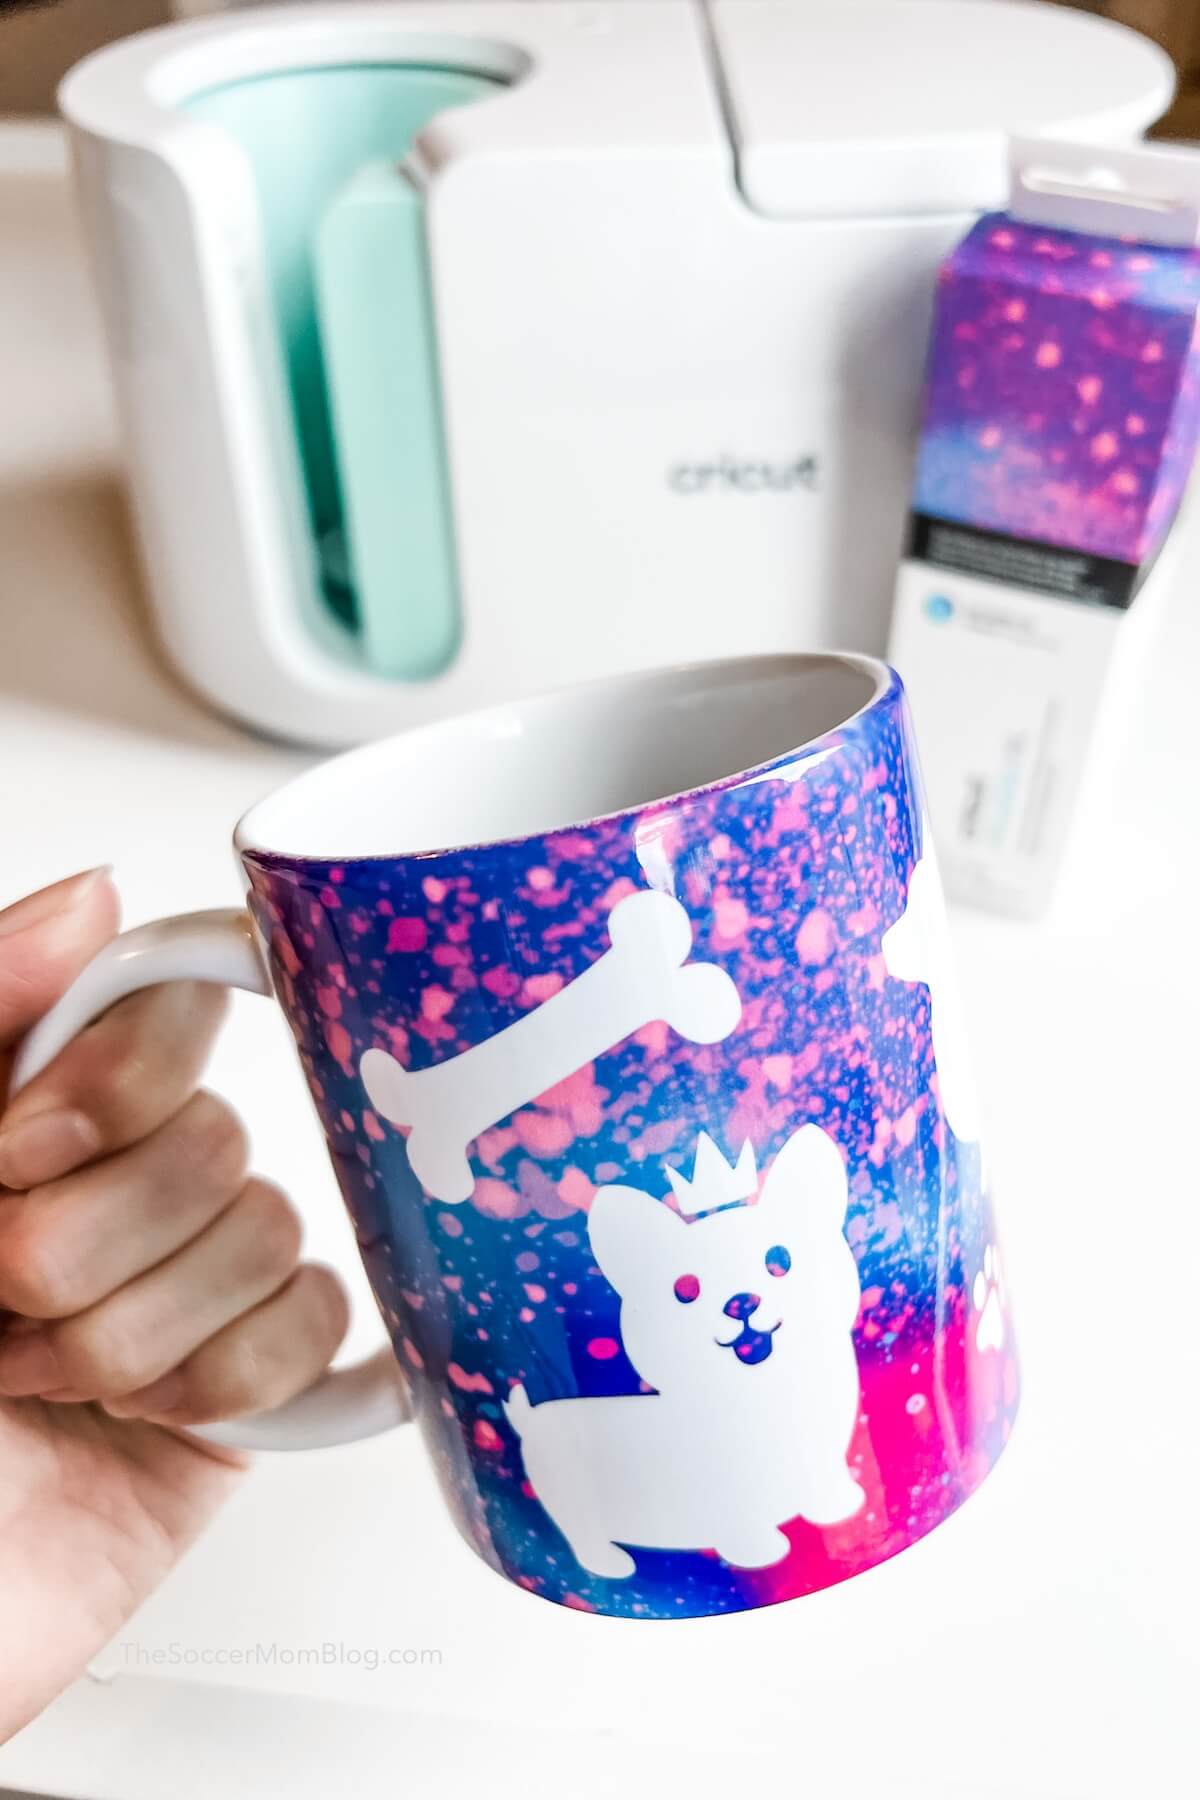
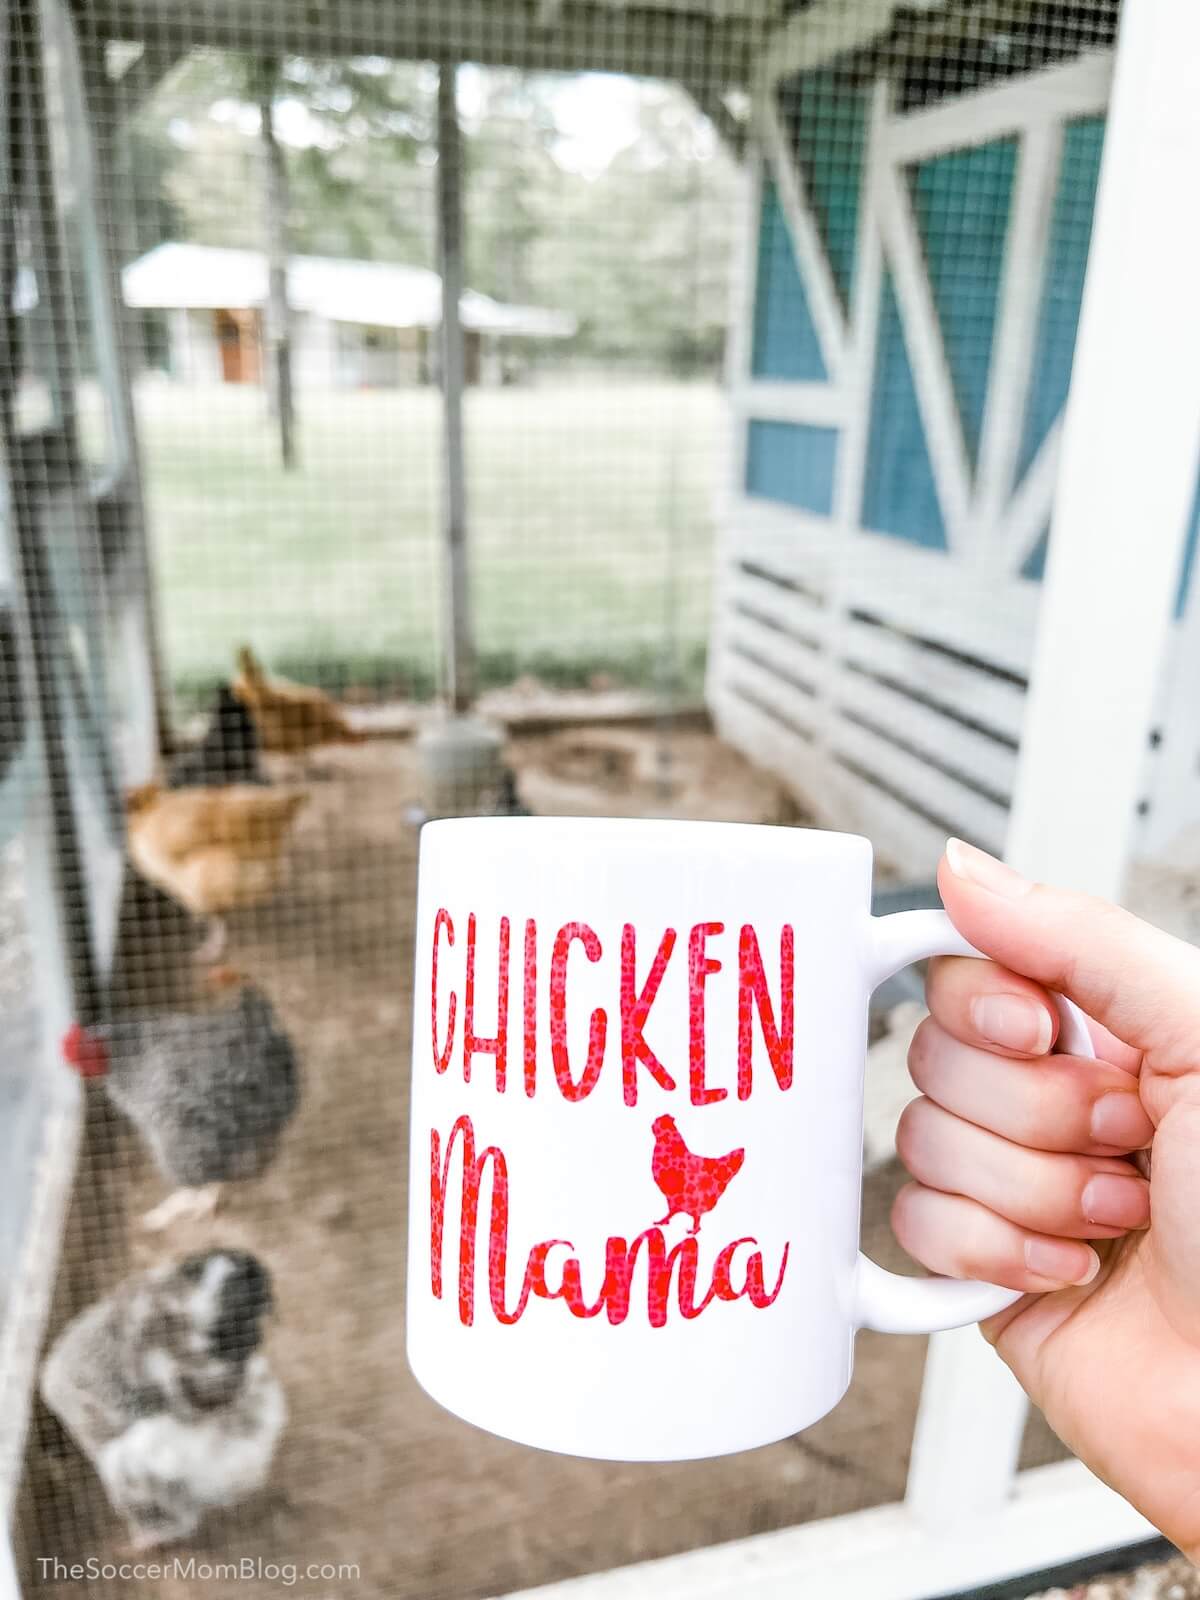
I just got a mug press and made my first two mug designs! I absolutely love how vibrant the colors look and how easy the machine makes the process! Shhh…don’t tell my family and friends…they’re all getting mugs for Christmas this year!!
My First Cricut Mug Press Projects
These are my first two mug designs:
I saved both of my creations to Cricut Design Space so you can make them too if you like!
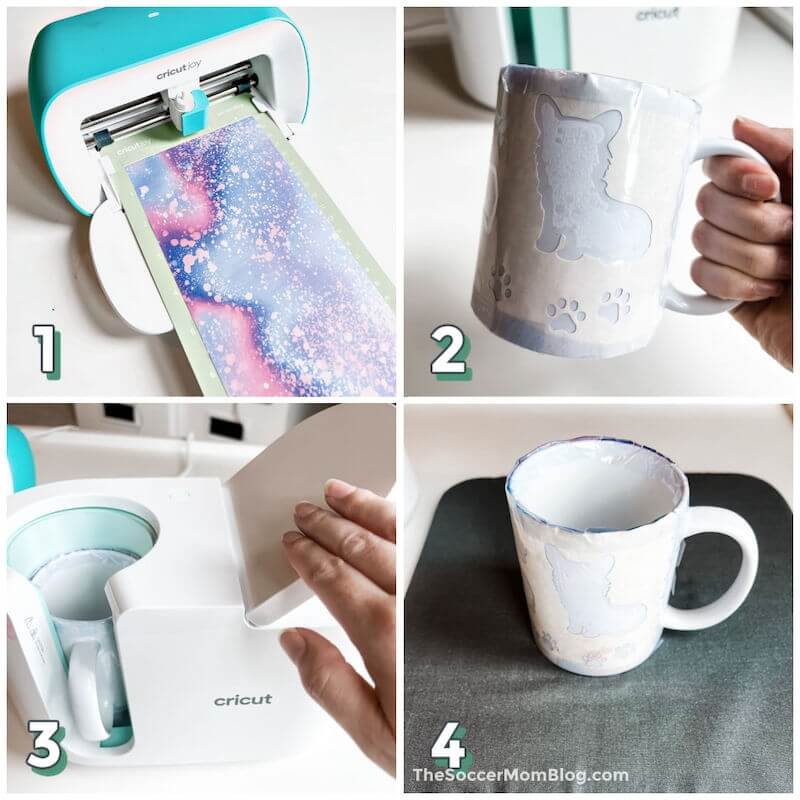
As I get the hang of the machine, I plant write a more comprehensive post about how to use the Cricut Mug Press. But for now, here is a brief overview:
- Load your design in Cricut Design Space and customize as desired. Cut out the design using your Cricut cutting machine (I used the Joy because this project is small in size and the Joy is so easy to set up!) While the design is cutting, I recommend turning on the mug press because it takes a few minutes to heat up.
- Weed your design, then line up the Infusible Ink transfer sheet on a Cricut Mug blank and secure using heat resistant tape.
- Lift the tab on top of the mug press, place the mug inside, and press down on the tab to start the process. There are five lights above the power button that will light up as the project is going — you don’t have to time anything! It takes about 6 minutes and the machine will beep when your mug is done.
- Carefully remove the mug by the handle ONLY as the rest of the mug will be hot. Place on a heat safe mat to cool for about 20 minutes before you peel off the design.
Stay tuned for my full post on the Cricut Mug Press, coming soon! Also, if you have any specific questions about Cricut materials, let me know in the comments below.
You might also like:
- Paper Chain Octopus Craft - April 24, 2024
- Amish Sugar Cookies - April 19, 2024
- Marshmallow Playdough - April 18, 2024

Leave a Reply