DIY Garden Markers with Cricut Joy
This is a sponsored post written by me on behalf of Cricut. All opinions are 100% mine.
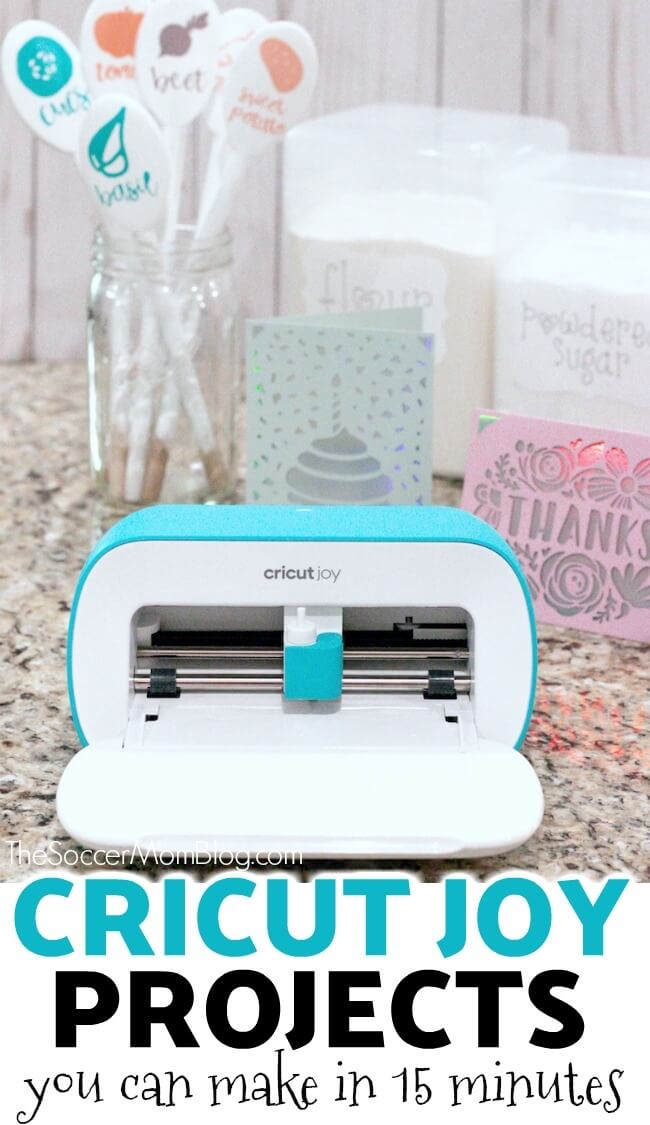
What is the Cricut Joy and what makes it so special? We received a Cricut Joy to test out and we’ll show you why it might just be our favorite Cricut machine yet! Plus, three little projects you can make with Cricut Joy in minutes, like wooden spoon garden markers.
What is Cricut Joy?
Cricut Joy is the newest Cricut smart cutting machine that makes it easier than ever to create personalized crafts, labels, cards, and more!
That’s because Cricut Joy is a fraction of the size of its cousins, the Cricut Maker and Cricut Explore. It’s space-saving design means that you can use it practically anywhere!
Now, I LOVE my Maker, but the Cricut Joy truly is a joy to use! Sometimes I get ideas, but the thought of clearing off our entire kitchen counter discourages me…and I say “oh I’ll get to it later.”
Since Cricut Joy is so tiny, I can set it on my kitchen table, a corner of my counter…anywhere! No need to pre-clean to get crafty! No excuses!
Even better, Cricut Joy connects to your computer via Bluetooth, so there are no extra wires to fool with. It’s clutter free!
4 Reasons I Love My Cricut Joy
- It’s Super Compact & Portable — The Cricut Joy is Cricut’s smallest smart cutting machine ever! It’s so compact and lightweight that you can actually hold it in the palm of your hand! Even better, the Cricut Joy takes up very little area, so you don’t need a dedicated craft table or hardly any storage space.
- Personalizing Items Is Quicker and Easier than Ever! — Not only is the Cricut Joy small enough to work just about anywhere, it connects to your computer via Bluetooth so all you have to do is create and cut!
- It Cuts without Mats! — Cricut Joy has its own brand NEW materials that don’t require a mat. These smart materials feed directly into your machine, so there are fewer steps and your projects are done faster!
- More Possibilities! — With Cricut Smart Vinyl, you can create cuts up to 4 feet long or repeating cuts up to 20 feet long. Yep, 20 feet!!
3 Little Things to Make with Cricut Joy
So now you know why I love my Cricut Joy…but what can you make with it? I’ve only had my Cricut Joy for a short time, but it’s really come in handy already!
I made all of these projects this week with my Cricut Joy — each of them took about 15 minutes to make!
1. DIY Garden Markers
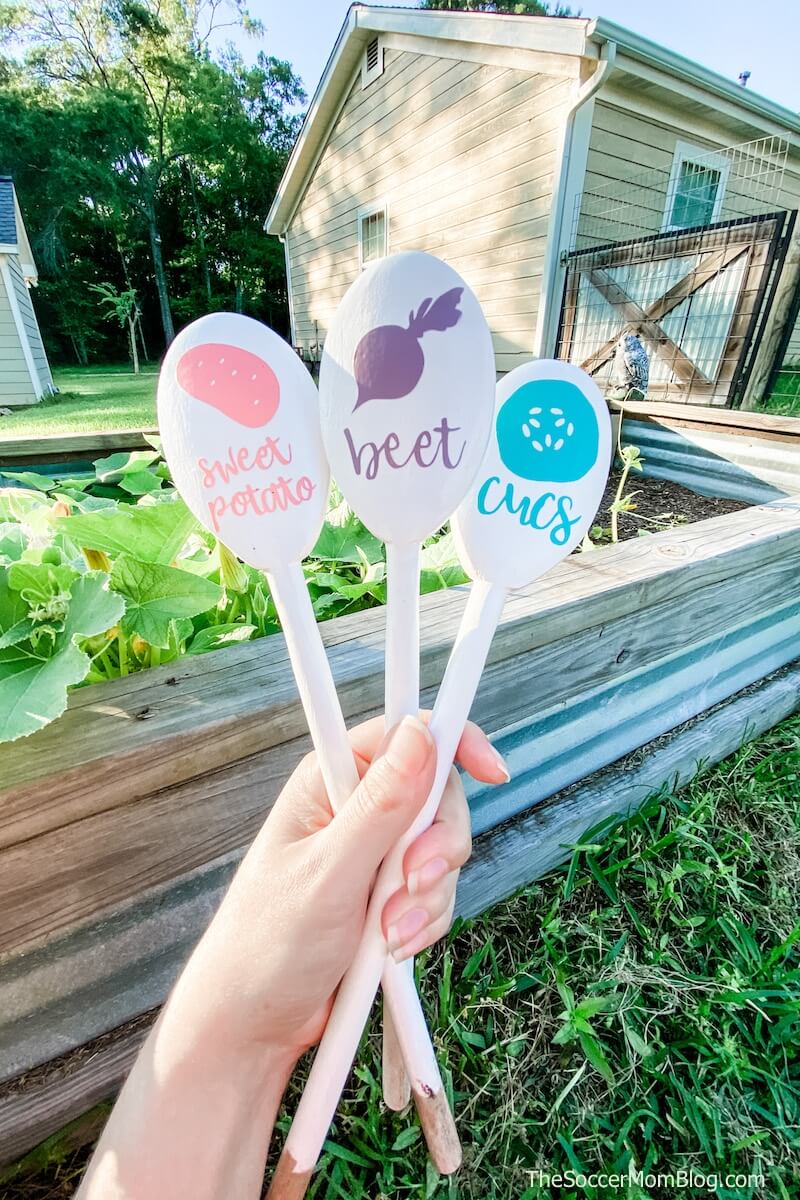
I’ve always wanted a garden, and when we moved to our new home over the summer, I set out to rehab the raised bed gardens that had become overgrown. After a few months of hard work, they’re all planted!
My friend Meghan at Playground Parkbench made adorable garden markers with wooden spoons a couple years ago and I’d always loved them. (See her design here!)
The labels Meghan’s spoons were hand-drawn, but I wanted to see what I could come up with using my Cricut Joy. Cricut Access has tons of awesome images and fonts that were perfect for the job!
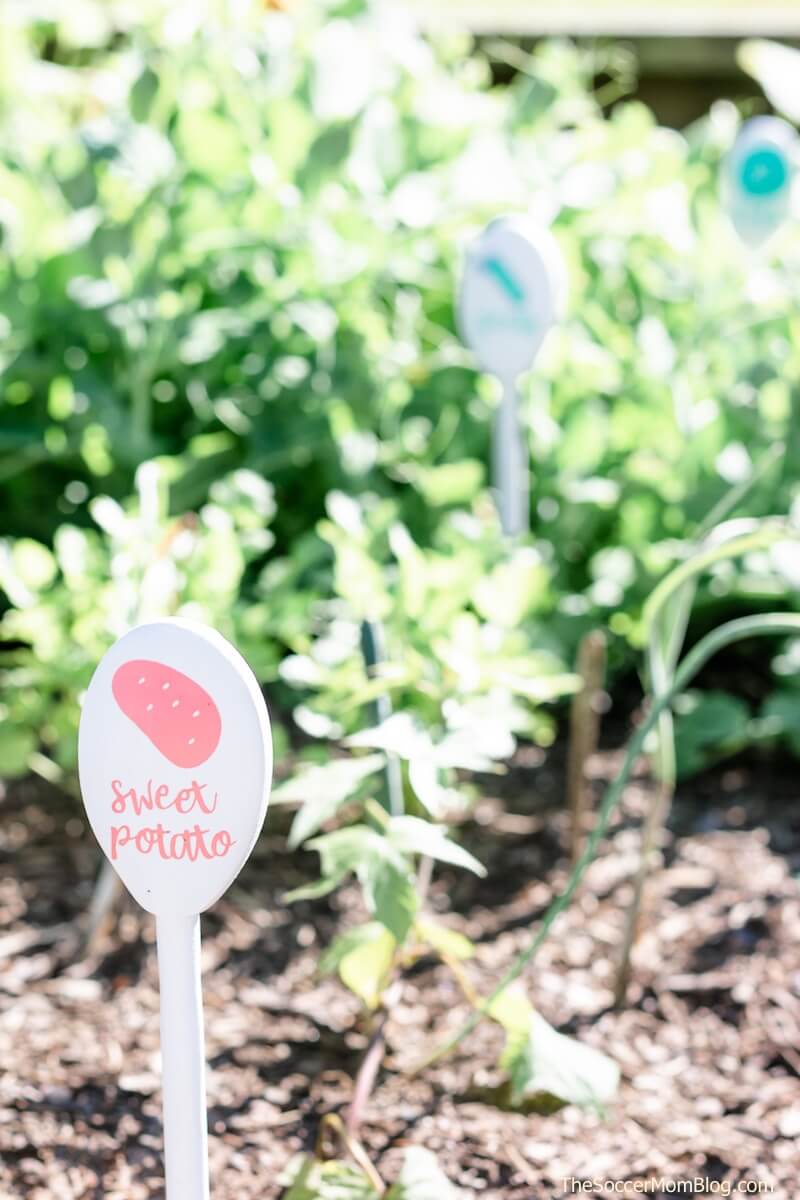
I’m so happy with how my wooden spoon garden markers turned out! They add a special touch to my garden.
My Project Link in Design Space: Cricut Joy Garden Markers
What you need to make DIY garden markers:
- Cricut Joy
- Cricut Joy Smart Vinyl Hydrangeas Sampler
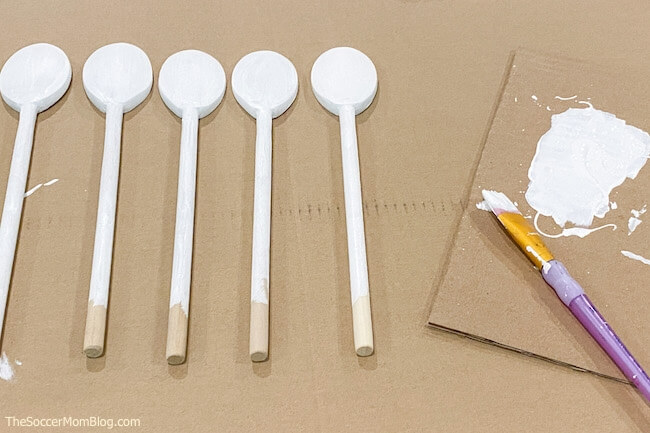
- Wooden spoons
- White acrylic paint
- Acrylic sealant
How to Make Garden Markers Out of Spoons:
I painted my spoons white, but you could also leave them unpainted for a rustic look or if you don’t have time to wait for paint to dry.
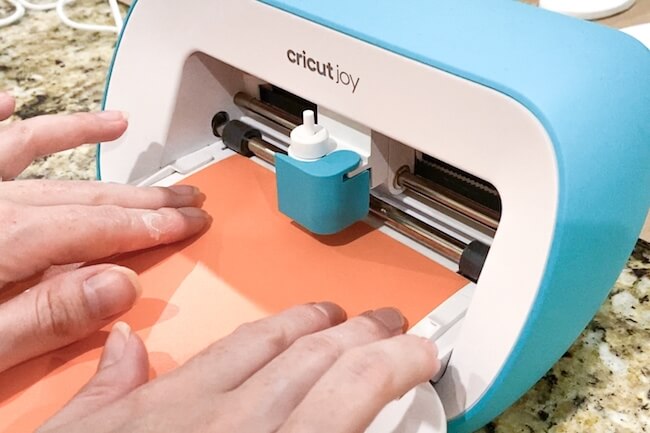
Once you’ve opened the project in Design Space, follow the instructions to load each color of Smart Vinyl. When you use Cricut Joy Smart Vinyl, there’s no mat needed — the material loads directly into the machine!
Follow the directions in Design Space to unload/load each color material. I love that the Cricut Joy tells you exactly what to do and when to do it!
Remove the cut designs, place onto the back of wooden spoons, and press firmly.
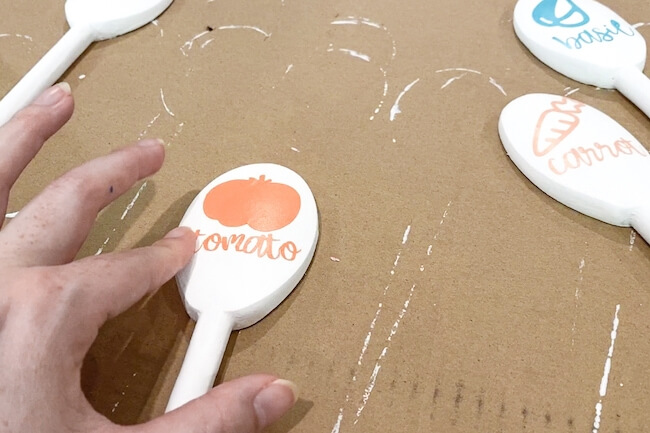
Finish by sealing with an acrylic spray to protect your wooden garden spoons from the elements.
2. Handwritten Pantry Labels

Over the past few months we’ve been stocking up our pantry and it’s started to get pretty cluttered. To organize, we bought some clear plastic canisters for pantry staples like flour and sugar.
I used my Cricut Joy to make cute handwritten labels for our new canisters. Though I’ll let you in on a little secret — my Cricut Joy did the writing for me!
That’s right, just like it’s bigger cousins the Maker and Explore, Cricut Joy can cut and write! I love that it creates perfect lettering that looks like I spent a lot of time on it…in minute!
My Project in Design Space: Cricut Joy Handwritten Pantry Labels
What you need to make Pantry Labels:
How to Make Pantry Labels with Cricut Joy:
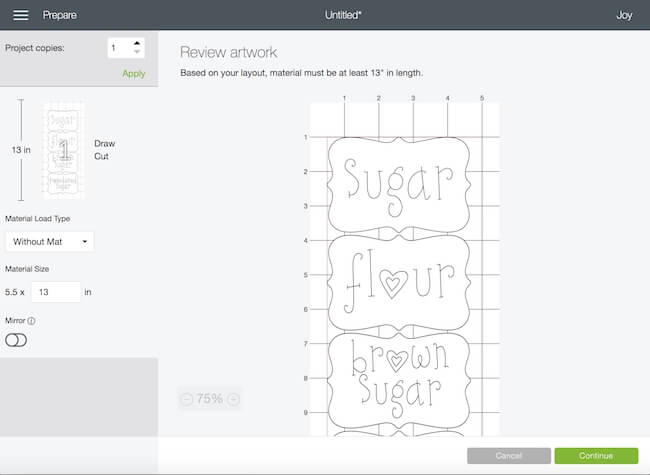
Open the project in Design Space and customize as needed for the items you’ll be labeling. I love how it tells you exactly how much material you need!
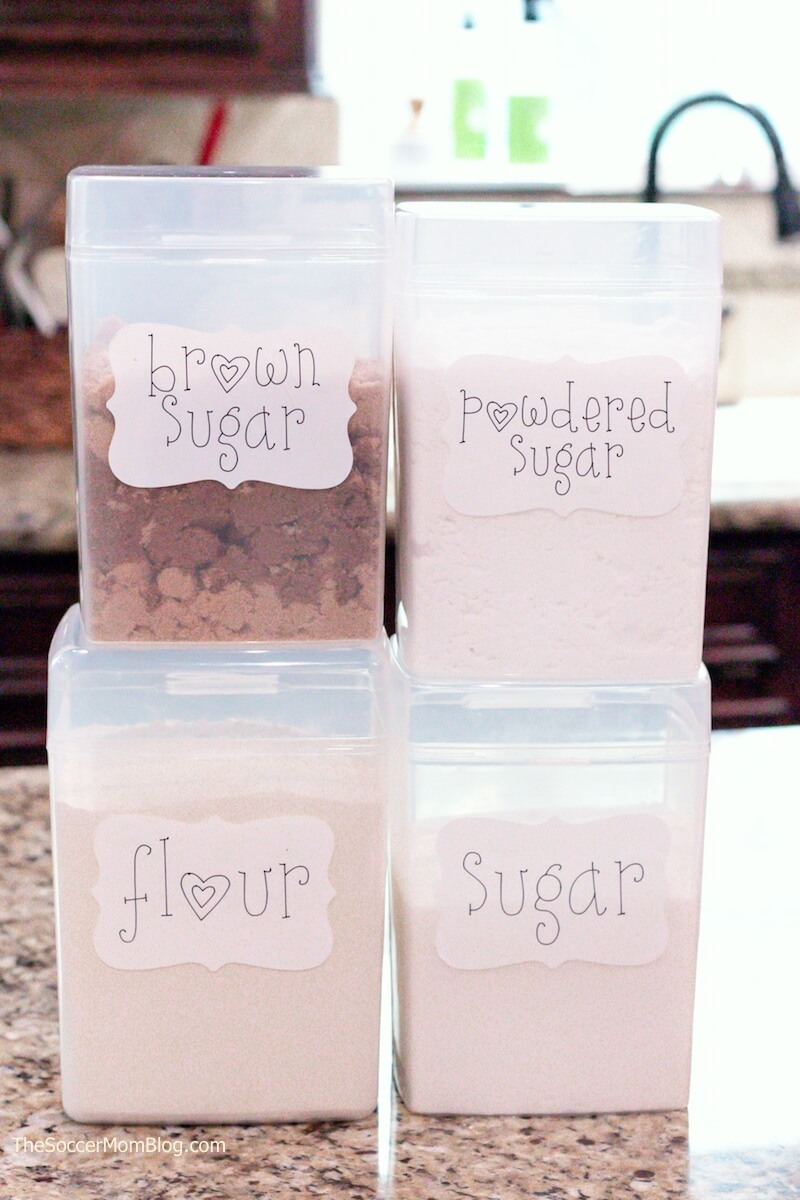
Once your Cricut Joy finishes writing and cutting the labels, simple peel to remove them from the adhesive backing and press onto your canisters.
Below: Check out my farmhouse style jelly jar labels that I made with my Cricut Joy too!

3. Greeting Cards
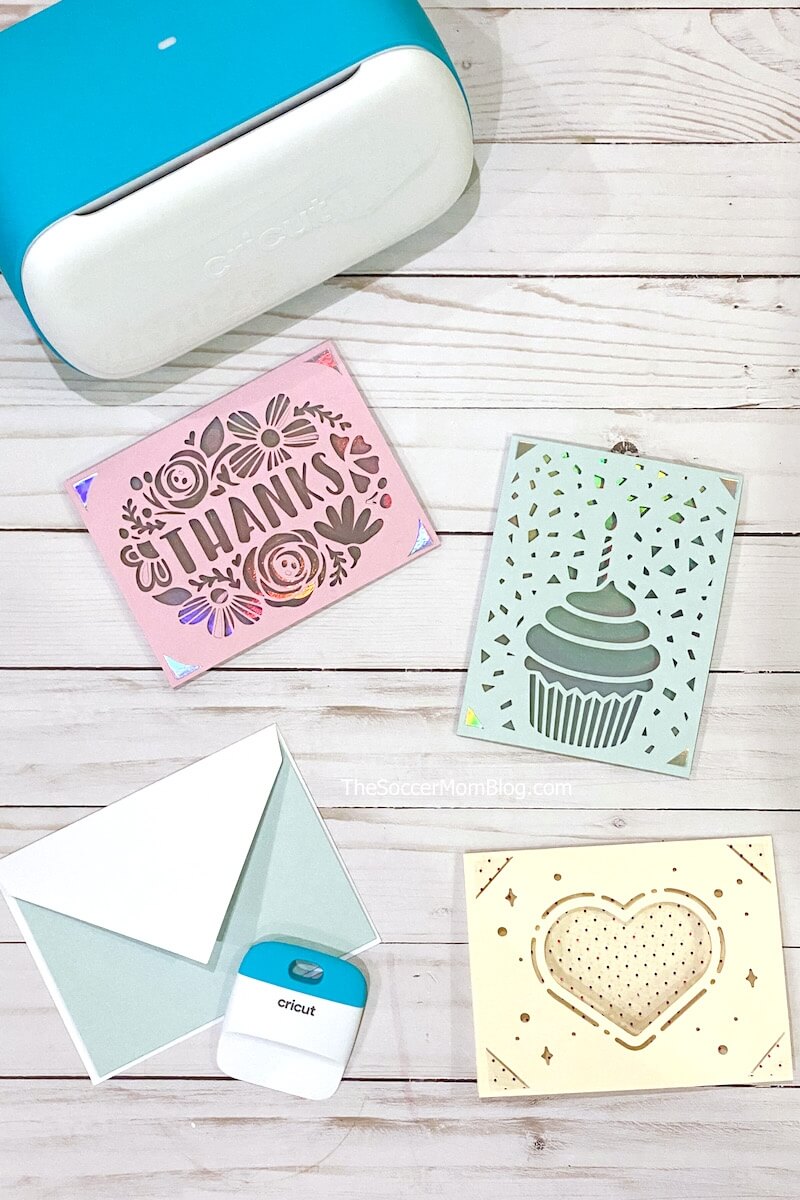
This was the first project I made with my new Cricut Joy. I love handwritten cards and try my best to send birthday cards, thank you cards, and holiday cards to our friends and family whenever I can.
The Cricut Joy has special insert cards sets that make it super easy to create professional quality cards for every occasion – in minutes! Each card only took about 5 minutes to cut and assemble!
Design Space Projects (Pictured Above):
TIP: If you want to make your own custom designs, check out my post about how to create your own Cricut insert cards!
What You Need:
- Cricut Joy
- Cricut Joy Card Mat
- Cricut Joy Insert Cards (I used the Princess Sampler and the Charmed Sampler)
How to Make Greeting Cards with Cricut Joy:
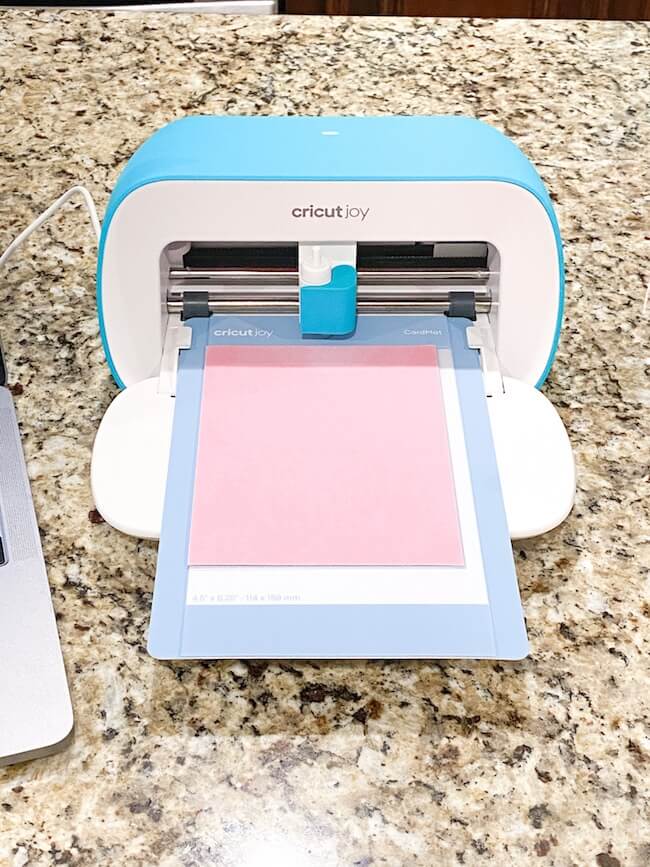
First, place the card into the card mat, so that half of the card is on top of the card mat:
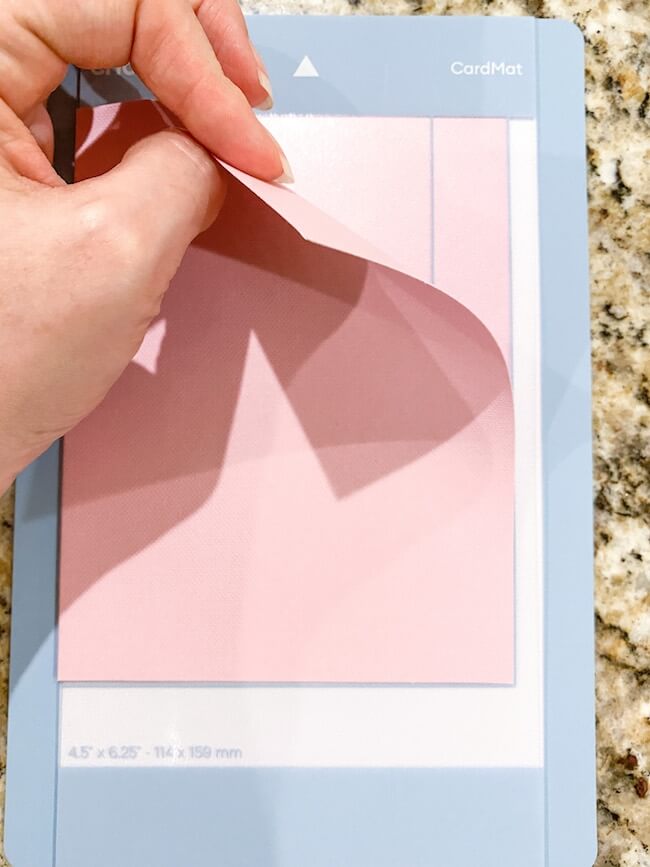
Load card mat into Cricut Joy:
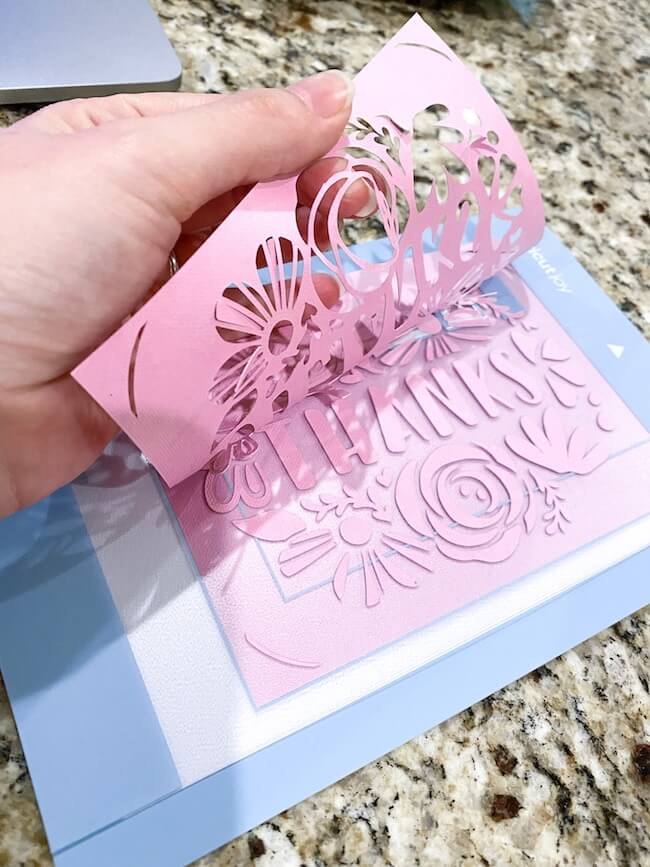
When Cricut Joy is done cutting, remove card from mat and weed any remaining cut-out pieces:
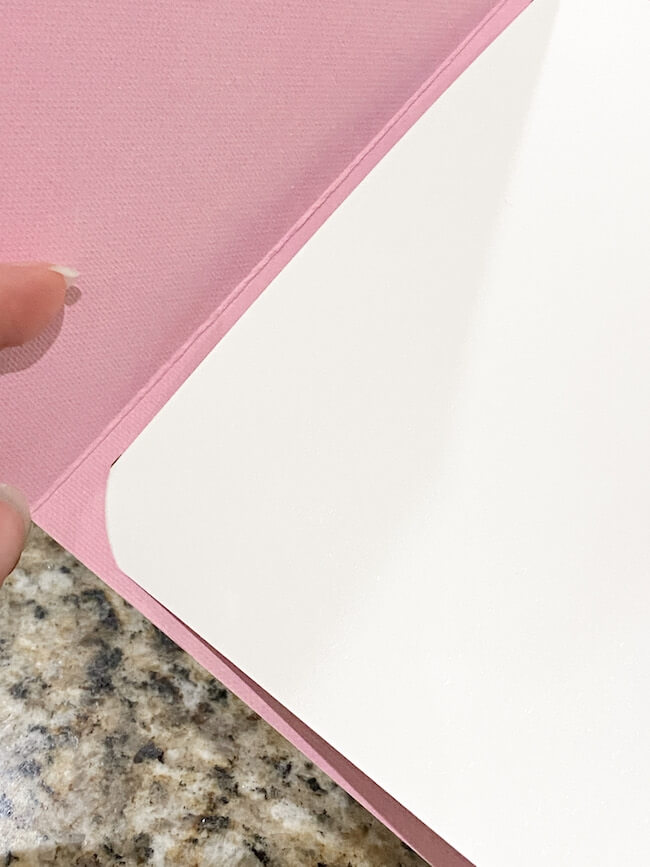
There will be a diagonal slit in each corner of the card where you can place the insert:
That’s it! In a matter of minutes you can make gorgeous greeting cards for every occasion with your Cricut Joy!
If you have any questions about the Cricut Joy, feel free to drop me a line in the comments below! Do you have a Cricut Joy? What are your favorite easy projects?
More of Your Cricut Questions Answered:
- What is a Cricut Maker & 5 Reasons I Love Mine
- How to Use a Cricut Maker
- Is a Cricut Worth the Price?
- What is Cricut Access & Do I Need It?
You might also like:

- Beach Day Rice Krispie Treats - June 23, 2026
- Pickled Jalapeños Recipe - June 15, 2026
- Homemade Nesquick Mix - June 11, 2026