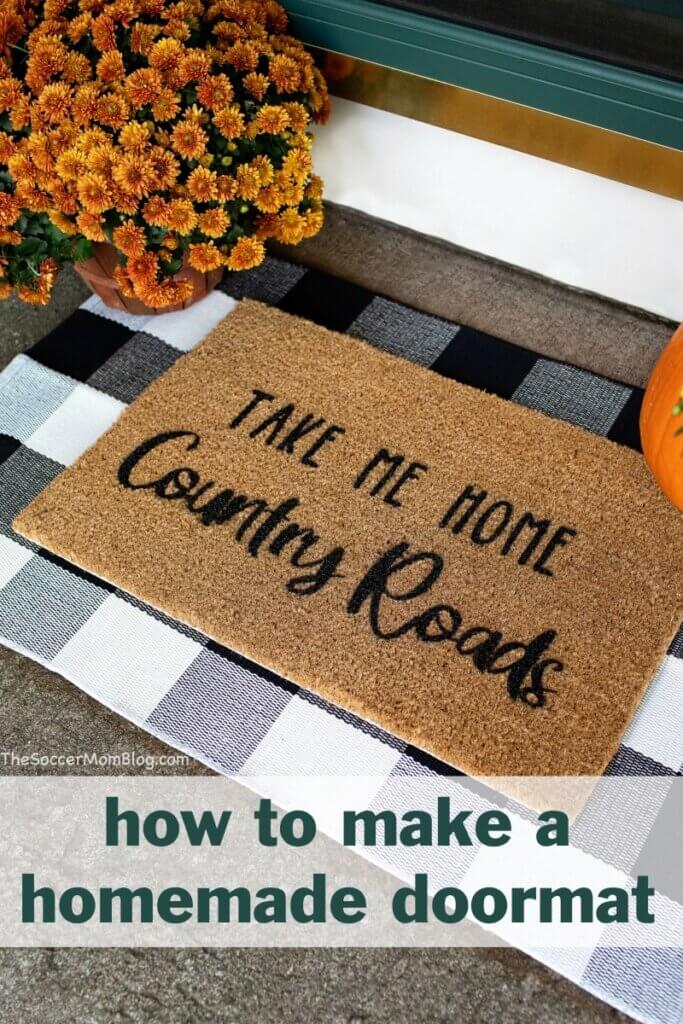
How to make a DIY doormat using a Cricut stencil. This easy project is the perfect way to personalize your porch and a great gift idea!
Personalized Cricut Door Mat
Every season I switch out the doormats of my house — it’s one of my favorite easy ways to add a festive touch to my outdoor decor.
With as many doormats as I buy every year, I figured, why not just make them myself??
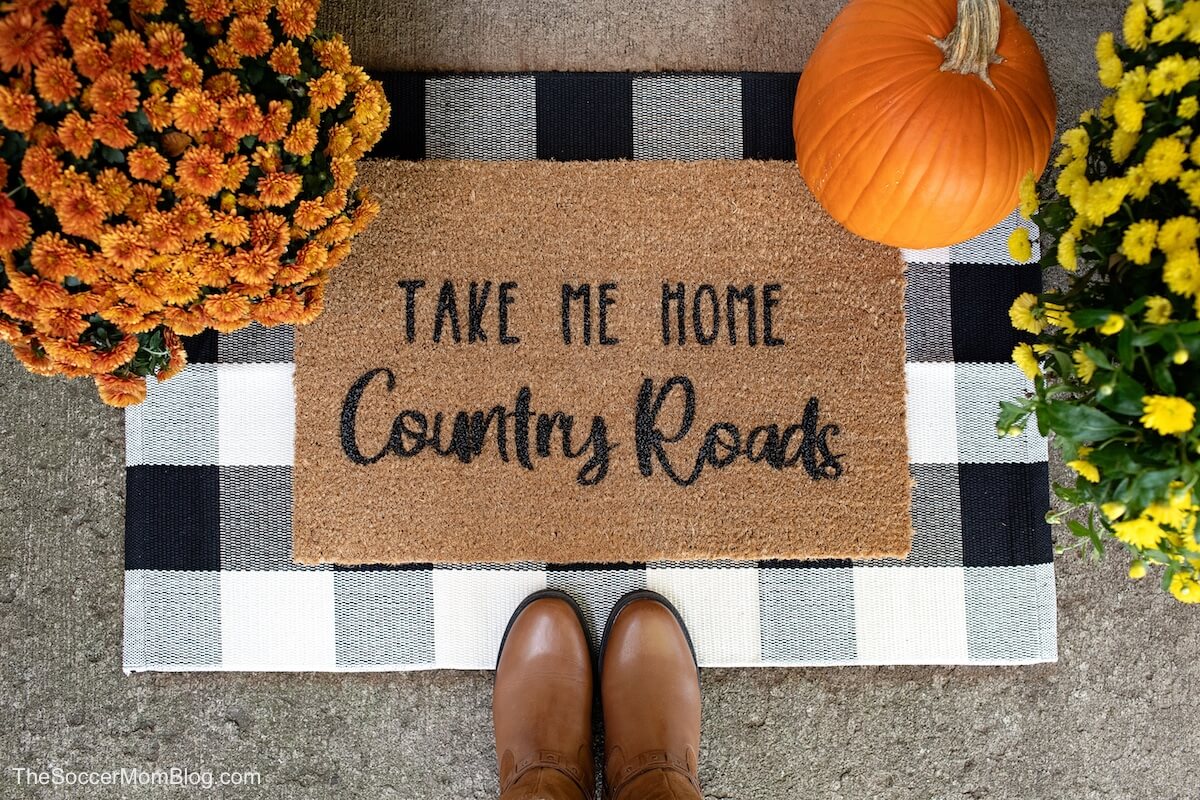
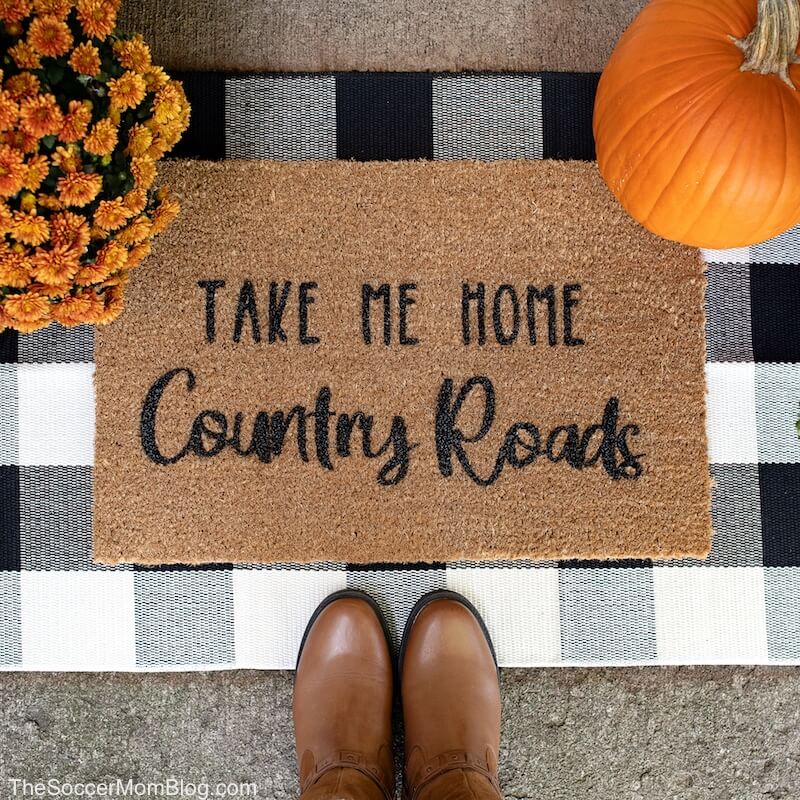
This is my first homemade doormat design and I couldn’t be happier with how it turned out! It perfectly matches our farmhouse style decor and reminds me of my home state of West Virginia.
It’s easy to make your own DIY doormat stencil with a Cricut Maker or Explore. Then all you have to do is paint using your stencil on a coir doormat.
We tried a few different types of materials for our stencil and will explain which worked the best, as well as tricks for making your painted door mats last longer.
This is an awesome DIY decor project and I can’t wait to create more designs!
So to my family and friends, don’t be surprised if you all get personalized doormats for Christmas!!
What You Need to Make a Painted Doormat
For your convenience in re-creating this project, we’ve included shop-able ad links to some of the products we used. Our disclosure policy is available here.
- Coir doormat — These are often available at IKEA or Target and you an also order through Amazon.
- Cricut Maker — Or Cricut Explore Air or similar cutting machine.
- Standard Grip machine mat 12 x 24″ — You’ll want to make sure to use a long mat for this project, since most doormats are rectangles.
- Matte Cricut Premium Vinyl — Or a similar thick adhesive vinyl.
- Flex Seal Spray in Black — You can also use black spray paint, but the Flex Seal adheres well and offers excellent coverage.
- Painters Tape — To hold your stencil in place and protect the rest of your mat.
What size doormat did you use?
We used a 14″ x 24″ mat, which is the smaller size that IKEA sells. Another common size is 17″ x 30″ and that would work well with this design too!
The main thing is to find a mat that is the right shape and large enough for the design you’re making. For example, I designed my stencil to be cut using a 12 x 24″ Cricut mat, so my doormat needed to be a little bit bigger than that.
TIP: To get the layered look in our photos, Amazon sells this set of 17×30 coir doormat and the plaid mat to put underneath it.
Can I use stencil vinyl?
We originally bought stencil vinyl/stencil film for this project based on overwhelmingly positive reviews. Unfortunately, this material did not work out at all!
The stencil film was super thin — every time we tried to remove the vinyl from its backing, it tore. Completely unusable.
What is the best material to use for the stencil?
After multiple attempts we decided to try Cricut premium vinyl, since it is thicker than the stencil film. This worked perfectly!
Instead of buying stencil vinyl just for this project, I’d recommend using regular Cricut vinyl.
If you’re like me and have amassed a collection of vinyl rolls, just use whatever extra color you have on hand.
Stay away from thinner materials like foil, as it would be harder to work with. Don’t use iron-on vinyl, Infusible Ink, etc. — things that would adhere to the mat and not come off.
A simple matte vinyl is what we used and it worked like a charm!
How to Make a Doormat at Home
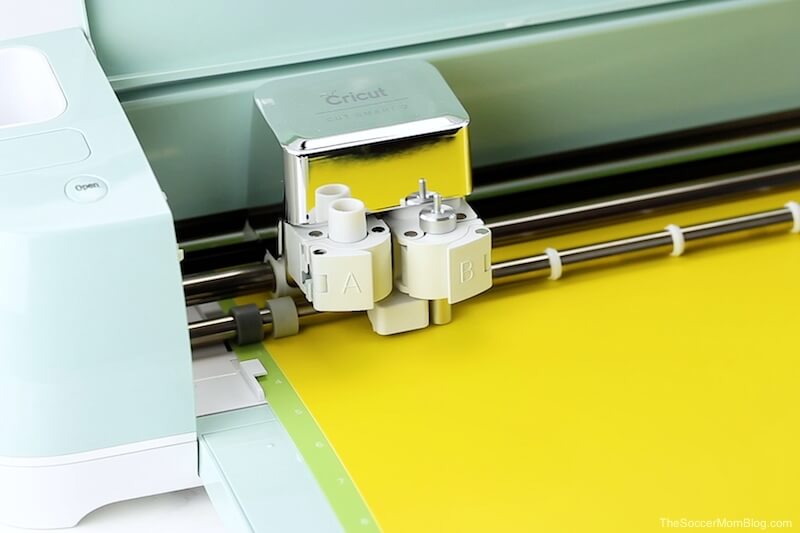
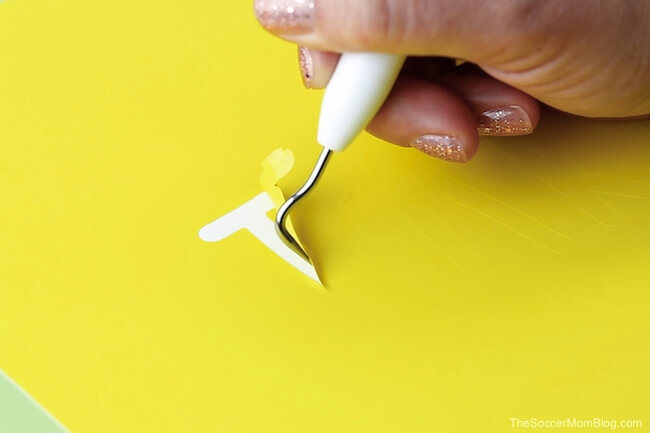
Cut your stencil using your Cricut machine and weed out the letters. Save the little pieces such as the middle of the letter “o” and things like that.
TIP: Click here to see our template in Cricut Design Space if you’d like to make your own Country Roads doormat!
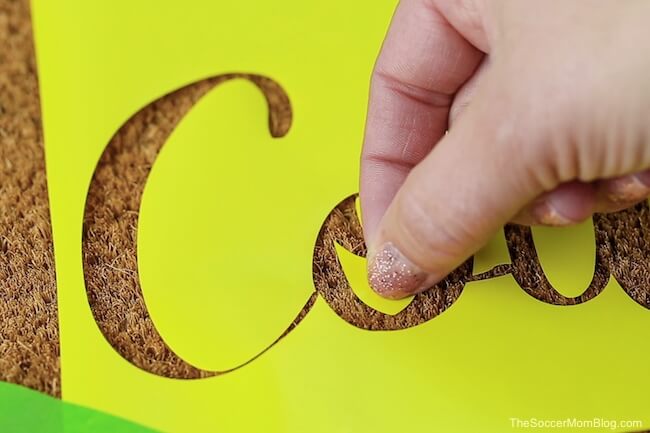
Place your stencil in the middle of your doormat and press down. Place any little pieces where they belong.
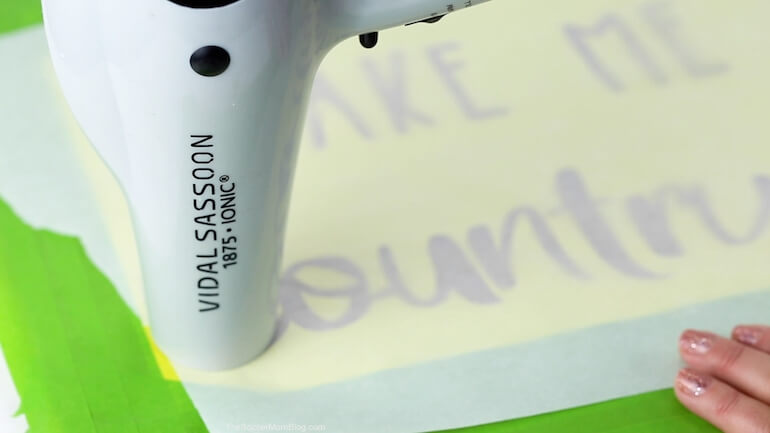
Use painters tape around the edge of your stencil to hold in place. If needed, use your EasyPress iron or a hair dryer to add heat and make your stencil stick better. Just be sure to protect the stencil with parchment paper if you’re using heat.
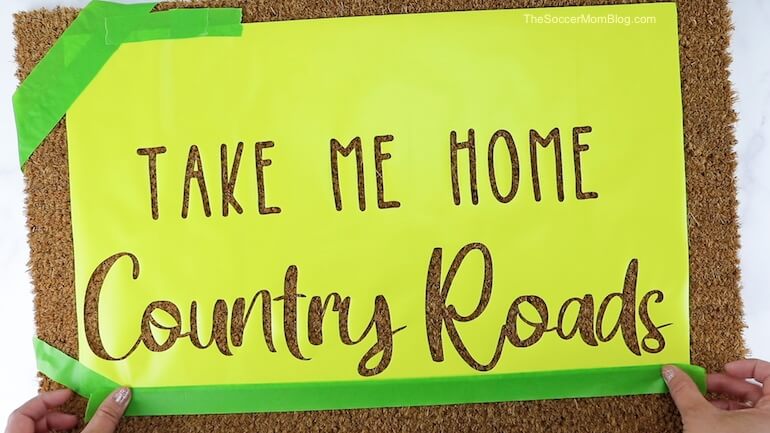
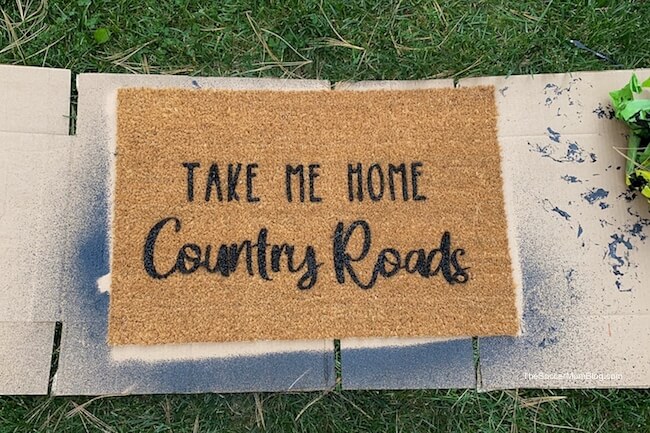
Hold your can of Flex Seal so that the spray stream is directly perpendicular to the mat. You don’t want the spray to be angled at all or it might creep under the stencil.
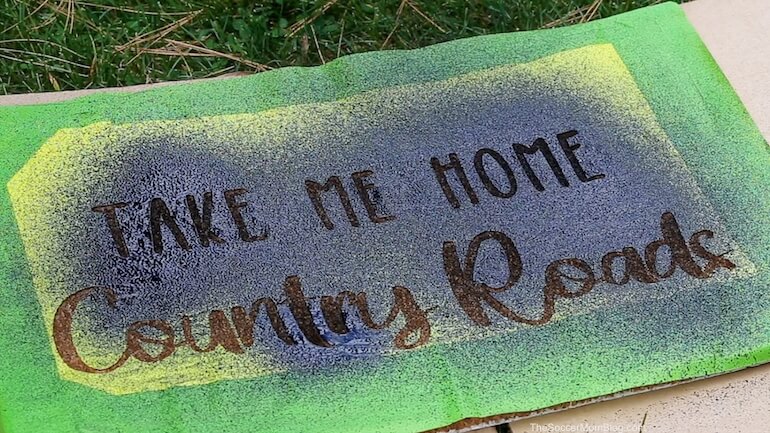
Once you’re done painting, remove the stencil immediately. If you’re able to get it off the mat without wadding it up, you can use the stencil again later.
Allow mat to dry completely.
What if my stencil won’t stick to the mat?
Due to the texture of the coir doormat, you may run into the issue of your stencil not staying in place. While the video and photo instructions show how we went about this, I wanted to go into a little more detail here.
Sweeping your mat before you start helps get rid of loose fibers that keep your stencil from sticking well.
No matter what material you use to make your stencil, I recommend using painters tape around the edges to secure it in place. I would also suggest using long strips of painters tape to cover any areas of the mat that are exposed (except of course what you are trying to stencil).
This painters tape will keep your spray paint from accidentally getting onto the outer edges of your doormat.
Another trick to keep your stencil in place is to use a little heat. First, cover your stencil with parchment paper to prevent your heat source from melting the vinyl.
You can use either a Cricut EasyPress iron or a hair dryer to add heat to your stencil. (The parchment paper also keeps little pieces from blowing away if you’re using a hair dryer.) Once the vinyl starts to look slightly wrinkly, it should be secure enough to move on to spray painting.
How to make your DIY doormat last longer
Like any doormat, whether you make it or buy it, this one won’t last forever. The natural fibers will wear out and shed over time and the paint will fade.
However, there are things you can do to protect your doormat and make it last as long as possible.
Keeping your doormat away from heavily trafficked areas is the best way to prevent wear and tear. Though it kind of defeats the purpose of a doormat!
If possible, keep your doormat dry and out of direct sunlight. This will help protect the paint.
Regular cleaning will help it stay looking nice too.
I just accept that my doormats are temporary and it’s a good excuse to make a new one for every season! I then move my older doormats to the backdoor and side door, which are exposed to the elements. That way they get more use, but I don’t worry as much if they get dirty at that point.
How to clean your painted doormat
The best way I’ve found to clean my mats is with a vacuum. I love my Bissel Crosswave Wet-Dry Vacuum because it is designed to work on area rugs. A quick once-over with the wet vac and my mats look good as new!
You could also use a regular broom to whisk away dirt and loose fibers from your coir mat. I don’t recommend heavy scrubbing if you can avoid it.
Homemade Doormats Printable Directions
Want to Save This Recipe?
Enter your email & I'll send it to your inbox. Plus, get great new recipes from me every week!
By submitting this form, you consent to receive emails from The Soccer Mom Blog
DIY Doormat with Cricut
Equipment
- Cricut Maker or Explore
- 12 x 24" Machine Mat
Ingredients
- Coir doormat
- Matte premium vinyl
- Black Flex Seal spray
- Painters tape
Instructions
- Cut your stencil and weed out the letters. Save the little pieces such as the middle of the letter "o" and things like that.
- Line up the stencil in the middle of your doormat and press down to adhere. Place any little pieces where they belong.
- Place painters tape around the edge of your stencil to secure it to the mat. Cover any exposed areas of the mat with tape too.
- Hold your can of Flex Seal so that the spray stream is directly perpendicular to the mat. You don't want the spray to be angled at all or it might creep under the stencil.
- Peel back the stencil before the paint dries, to avoid sticking.
- Allow mat to dry completely.
Video
Pin this DIY Doormat on Pinterest:
New to Cricut?
Check out this step-by-step post I designed for beginners: How to Use a Cricut Maker. I wrote this post when I had just got my Maker and I wrote it for other beginners like me!
Want to Know More About Cricut?
- What is a Cricut Maker & 5 Reasons I Love Mine
- How to Use a Cricut Maker
- Is a Cricut Worth the Price?
- 34 Easy Cricut Christmas Crafts
- What is Cricut Access and Do I Need It?
- Everything You Need to Know About Cricut Joy
- Paper Chain Octopus Craft - April 24, 2024
- Amish Sugar Cookies - April 19, 2024
- Marshmallow Playdough - April 18, 2024



Kevin says
Thanks for Sharing! Personalized Door Mats make the perfect housewarming gift!
Janet mclear says
Thank you for sharing , my daughter and her wonderful husband have just moved into their forst home, with their fur babies, Am going to take the plunge and make them a mat tomorrow,
Stacey aka the Soccer Mom says
I’m sure they will love it! A new doormat was one of my favorite housewarming gifts when we moved last year!