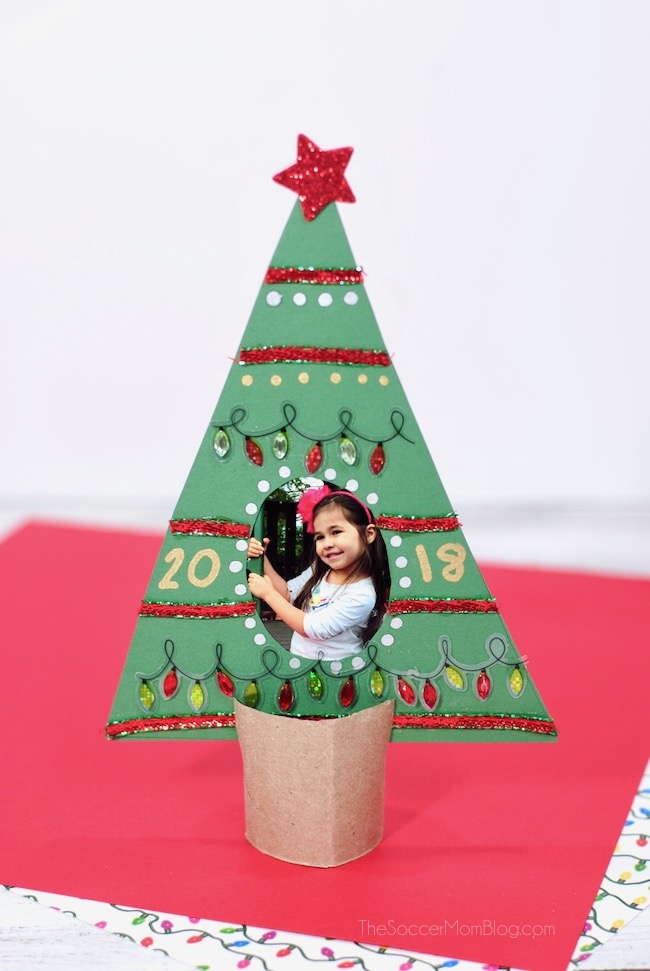
This Christmas Tree Picture Frame is an easy kid-made holiday keepsake craft!
Keepsake Paper Christmas Tree Picture Frame
I can’t even believe it, but Thanksgiving is over and we are officially into Christmas season!
The girls and I have been playing Christmas carols all day and we caught the crafting bug again! Today we made these paper and cardboard Christmas tree picture frames.
Like most of our crafts, we stuck to basic supplies that you might already have on hand. There’s no need to spend a lot of money on simple kids crafts. You can make really cute Christmas cards and gift ideas with card stock, toilet paper rolls, stickers, and ribbons!
This would be a fun classroom craft or a project to make with an after school group or club. Write the year on your Christmas picture frames to make a special keepsake.
Let’s get started!
Related: Click here to see a HUGE collection of over 100 Easy Christmas Crafts for Kids!
Christmas Picture Frame Supply List
For your convenience in re-creating our Christmas Tree Picture Frame, I’ve provided shop-able ad links to some of the products used; disclosure policy available here.
- Green card stock
- Toilet paper roll
- Child’s photo
- Glue stick
- Metallic paint pens
- Decorative ribbon
- Glittery star sticker
- Christmas lights stickers
- Scissors
How to Make an Easy Paper Christmas Tree Picture Frame
First, watch our quick video tutorial to see exactly how we made our easy Christmas picture frame. Then keep reading for full photo step-by-step instructions.
Click video to play:
Cut a toilet paper roll into two halves. You only need one of the halves for each frame, but if you have more than one child, they can each take a half. These will be tree stump and the base of your picture frame.
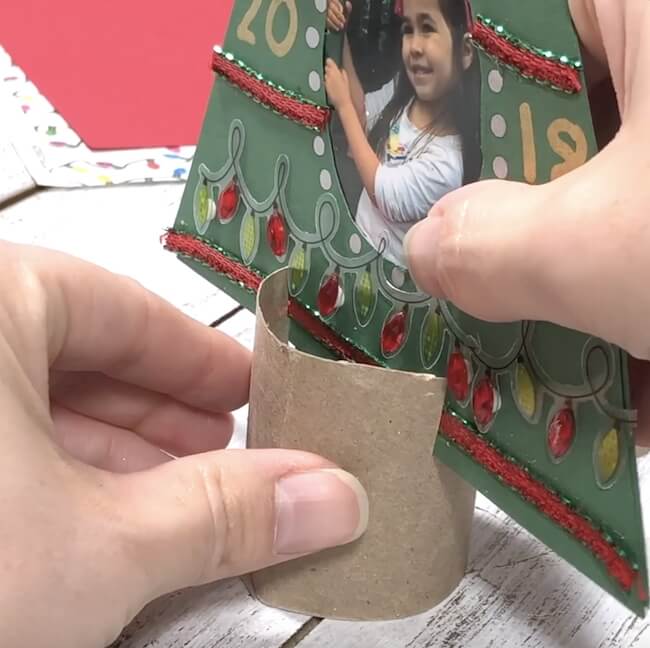
Make a slit on opposite sides of the tree stump, about 1/2″ deep.
Cut green card stock into two triangles, about 6-8″ tall. There’s not an exact size for the tree, but you want it to be big enough that it can frame a wallet-sized photo.
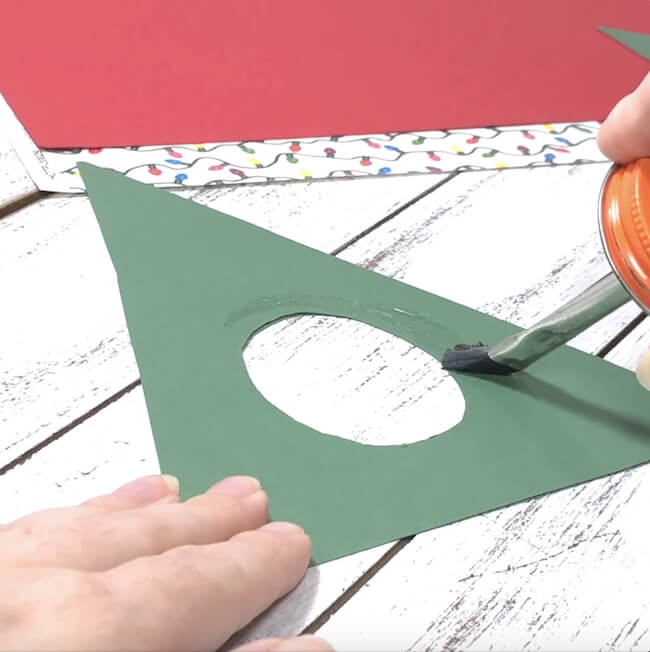
Cut an oval shape out of the middle of one of the green triangles, large enough so that your child’s face will be framed. Leave the other green triangle uncut.
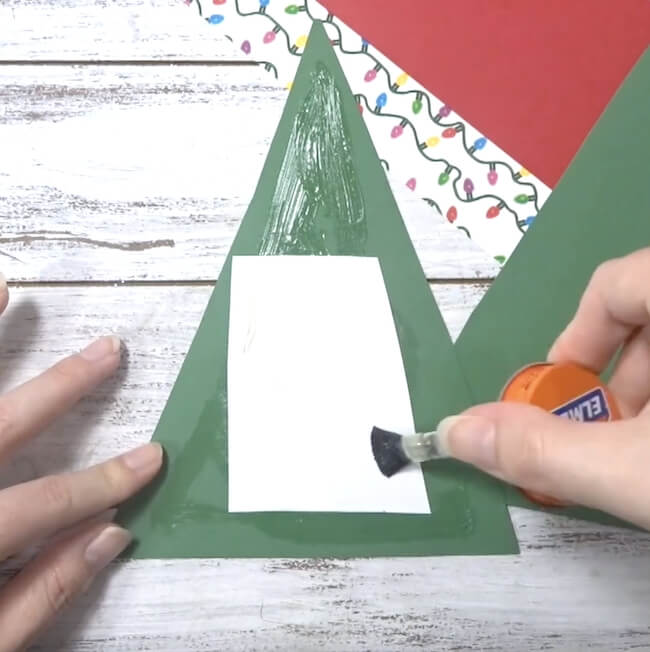
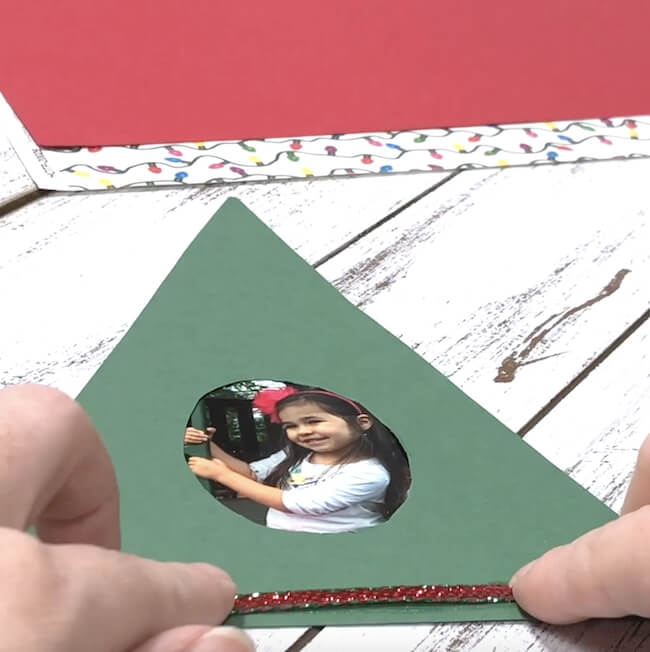
Glue the child’s photo behind the green triangle that you cut an oval out of the middle – make sure that your child’s face is framed just the way you want it before you secure in place.
Glue the other green triangle to the back of the first green triangle, so that the photo is fully enclosed.
Now you can decorate the front of your Christmas tree picture frame!
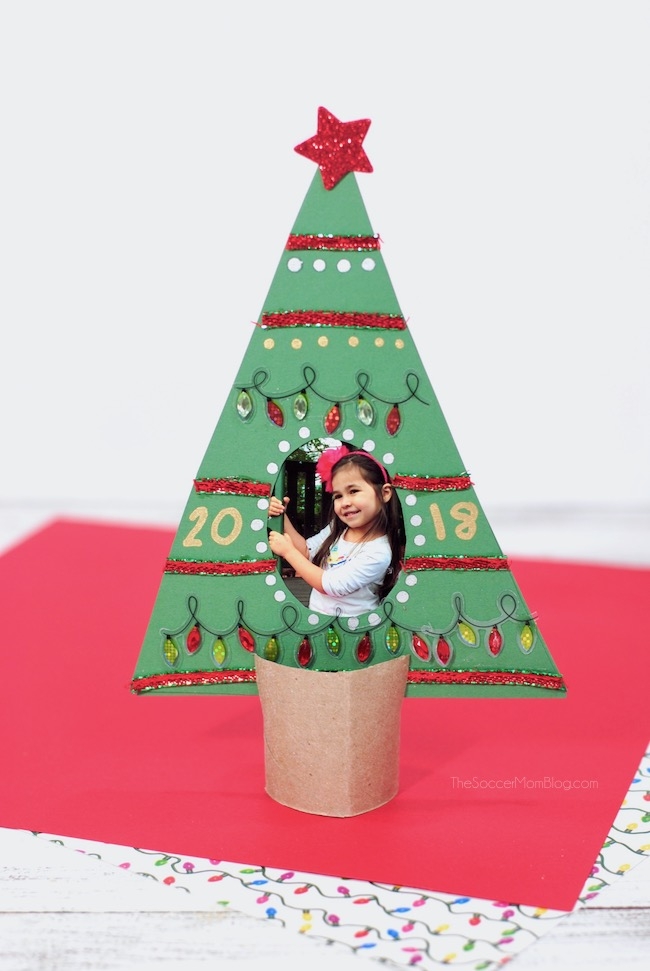
We used strips of ribbon, Christmas light stickers, and metallic paint markers for the decorations. We then topped the tree with a glittery star sticker.
Feel free to use our ideas or decorate however your imagination sees fit.
Once you’re finished decorating and all glue, paint, etc. is fully dry you can slide the bottom of your tree frame into the slits you cut in the tree base.
It should look like this:
You can use glue to keep the tree in place if you like, but it should stay put together and upright on its own.
Get holiday kids craft ideas delivered right to your inbox!
Sign up for our Soccer Mom Blog weekly inspiration newsletter and you’ll get more craft ideas, more slime recipes, more mom hacks delivered right to your inbox. It’s free!
[convertkit form=4956161]
More of our favorite easy Christmas paper crafts for kids:
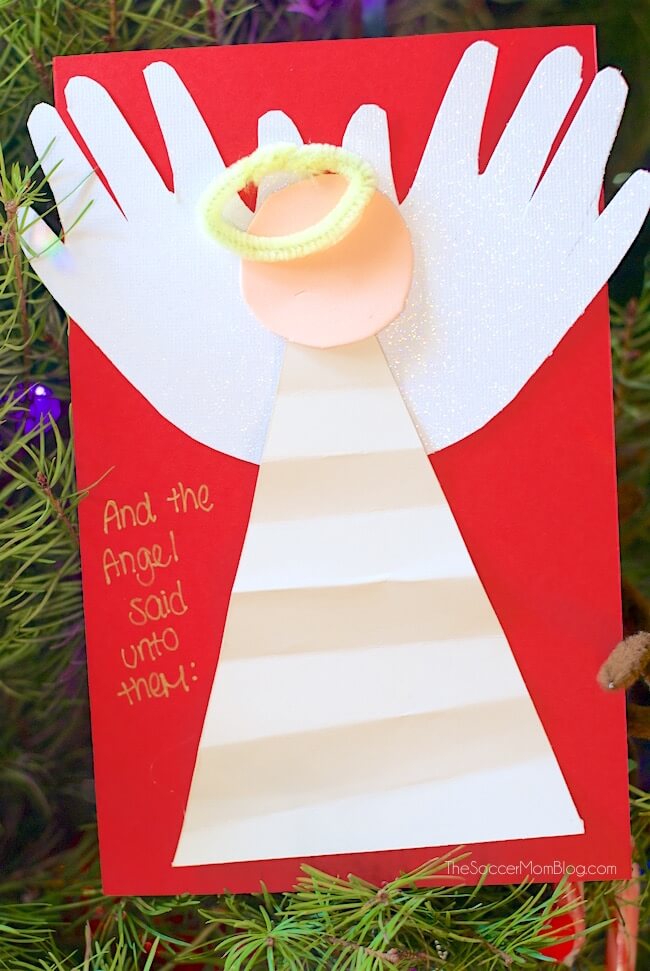
Handprint Angel Christmas Card
- Paper Chain Octopus Craft - April 24, 2024
- Amish Sugar Cookies - April 19, 2024
- Marshmallow Playdough - April 18, 2024

Leave a Reply