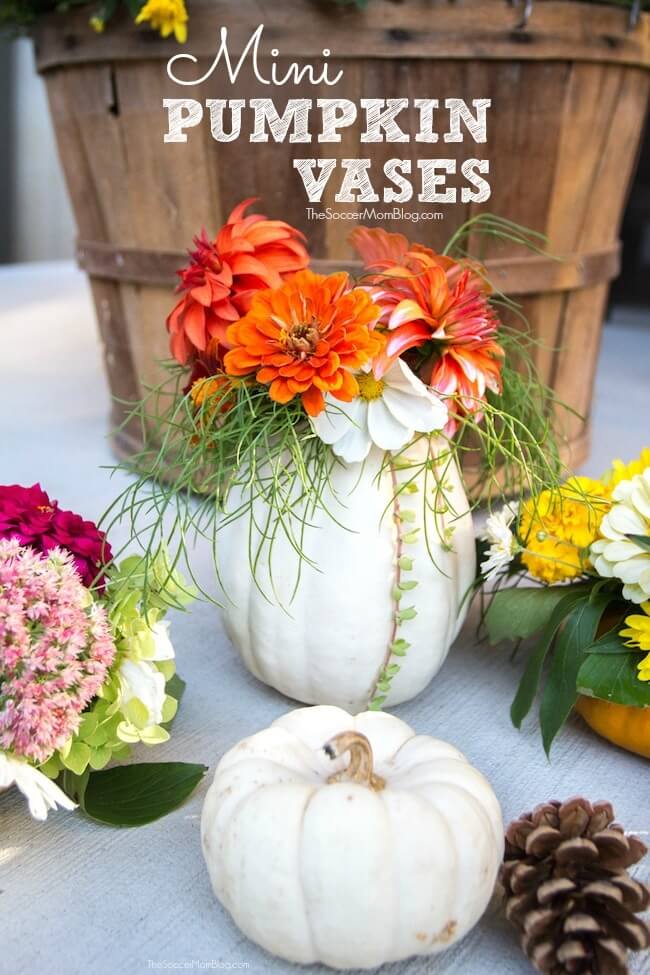
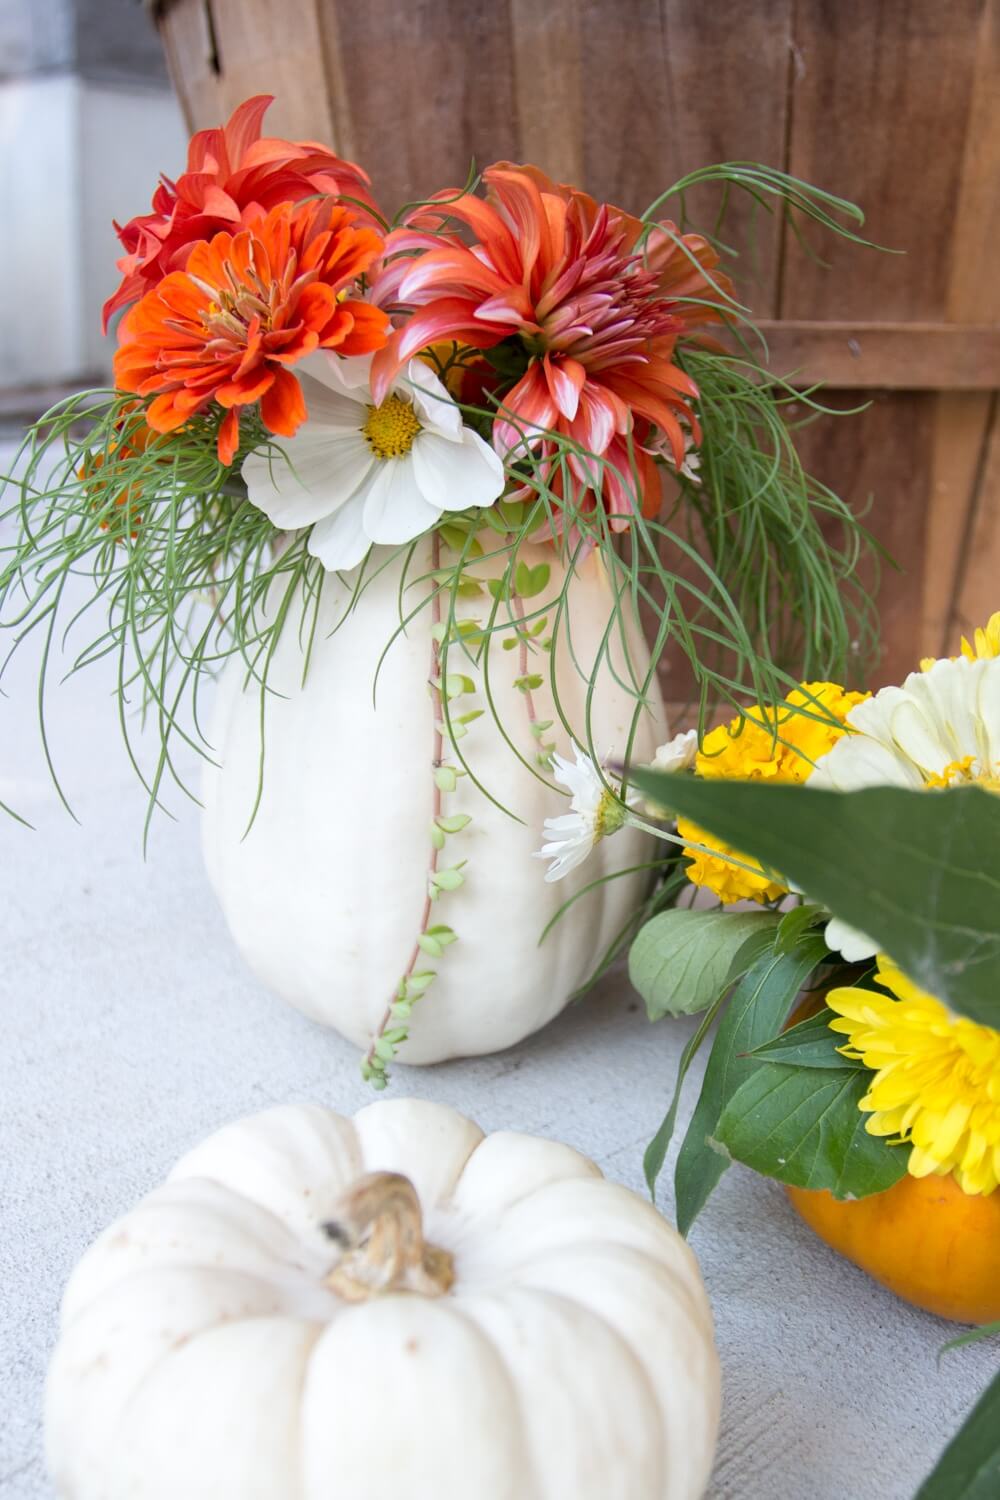
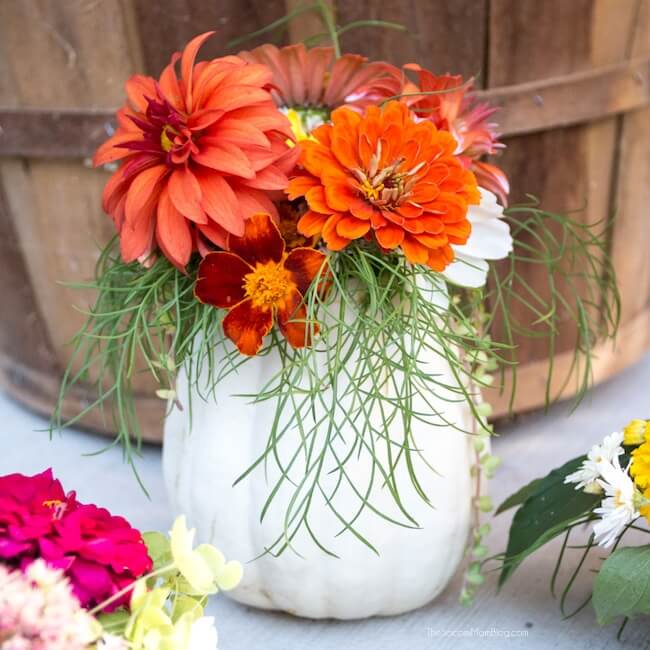
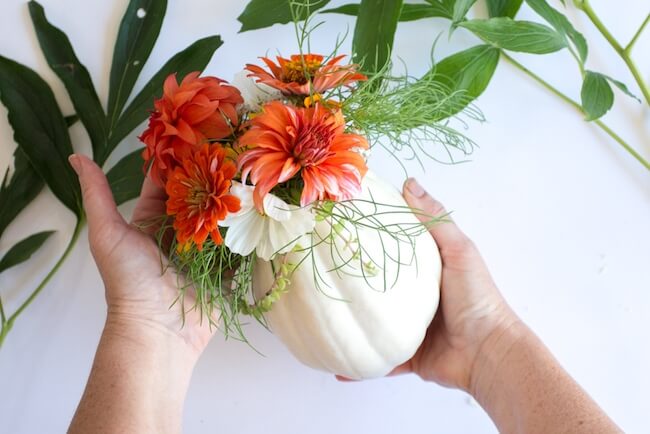
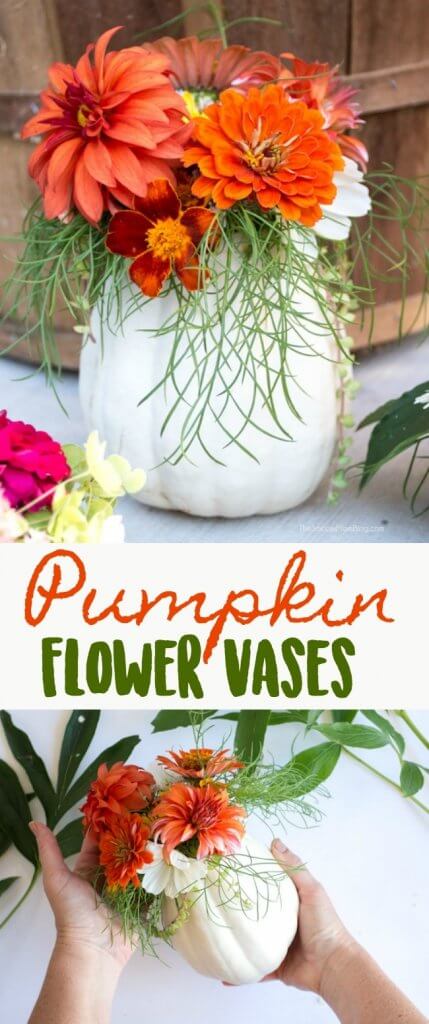
These gorgeous mini pumpkin vases are the perfect way to display fresh flowers for fall or a unique Thanksgiving centerpiece.
Fresh Mini Pumpkin Vases
I love fresh flowers in the home!
Not only are they beautiful to look at, but they can even help improve your mood! (See more benefits of fresh flowers in the home here)
Since it’s fall, why not add a special touch to your flower arrangements? These mini pumpkin vases are easy to make and bring that fall feeling to your home.
They’d also make a pretty Thanksgiving centerpiece!
Another plus: in a house full of kids, you don’t have to worry about your vases breaking if someone bumps into them or knocks them over. The worst that would happen is a little spilled water – totally manageable!
Fall is my favorite season, and these pumpkin vases make me so happy! They’re easy to make, so you can bring a little fall happiness into your home too!
Keep reading for a video tutorial to make these gorgeous pumpkin vases!
Supply List
For your convenience in re-creating our pumpkin vases, we’ve included shop-able ad links to some of the products used. Our disclosure policy is available here.
- Fresh miniature pumpkin
- Carving knife
- Spoon
- Fresh water
- Selection of cut flowers and greenery
TIP: This pumpkin carving kit has both a carving knife and a scraper to get all the “insides” out of your pumpkin vases.
(makes one mini pumpkin vase)
Instructions
Wash the surface of your pumpkin(s) with warm soapy water and dry completely.
TIP: You can use any color pumpkin that you like for these pumpkin vases. We used a variety of colors, both orange and white for a fun mix.
If the pumpkin does not sit flat on a table or wobbles, slice a small bit off the bottom. Take care not to cut deeply into the pumpkin, but just enough so that the bottom is flat and stable.
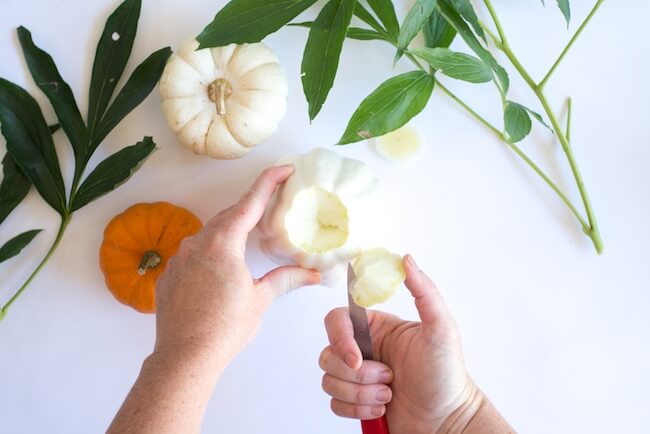
Using a sharp knife (like a paring knife), carefully carve out a small, round opening at the top of the pumpkin.
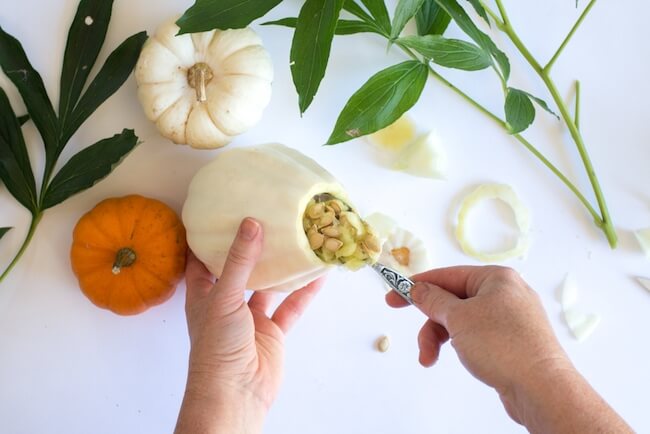
Scoop out all of the flesh and seeds from inside the pumpkin. Thoroughly removing all of the insides will help your pumpkin vases last longer.
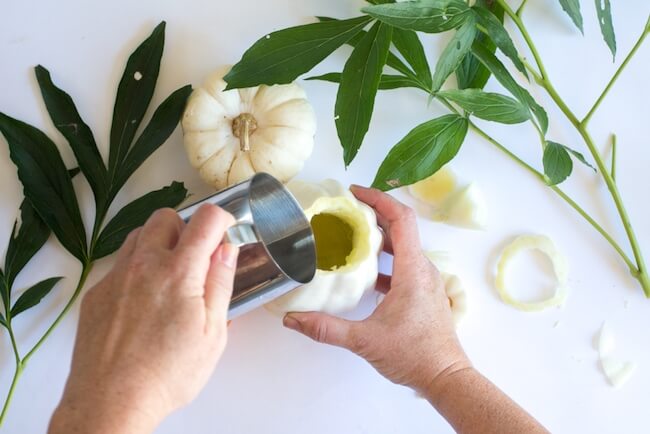
TIP: To make your pumpkin vase last longer, give it a vinegar bath before filling with flowers!
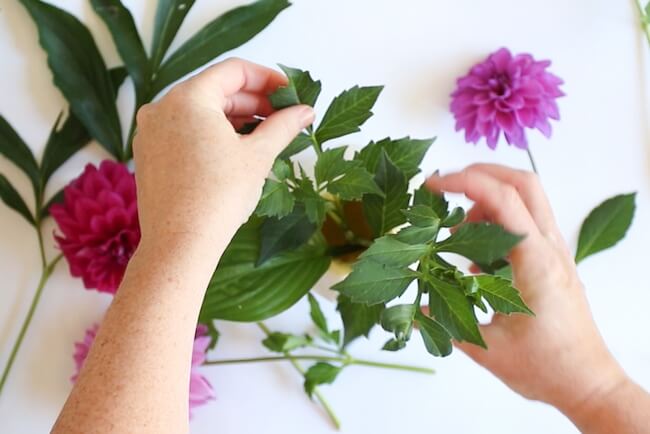
Fill your pumpkin vases about halfway with water, then place inside any type of greenery or flowers that you love.
TIP: Add the tallest flowers in the center and shorter ones toward the outside of the pumpkins for a full, round look.
How to Keep Your Pumpkins from Molding
Once carved, your pumpkin vases will last about 2 weeks.
However, if you soak the pumpkins before filling them with water and flowers, you can keep them fresher longer!
To do so, soak in a solution of vinegar and water, after you’ve hollowed out the insides. For more details, check out our post on how to preserve decorative pumpkins!
I don’t recommend using bleach because it’s messier and might not be good for the fresh cut flowers that you put into your vase.
Related: See ALL of our favorite Kids Pumpkin Crafts here (there’s more than 70!)
Be sure to pin our Pumpkin Flower Vases on Pinterest:
More of our favorite fall crafts:
- Lazy Enchiladas - May 10, 2024
- Diploma Cookies - May 9, 2024
- Paper Plate Fish Craft - May 7, 2024

Leave a Reply