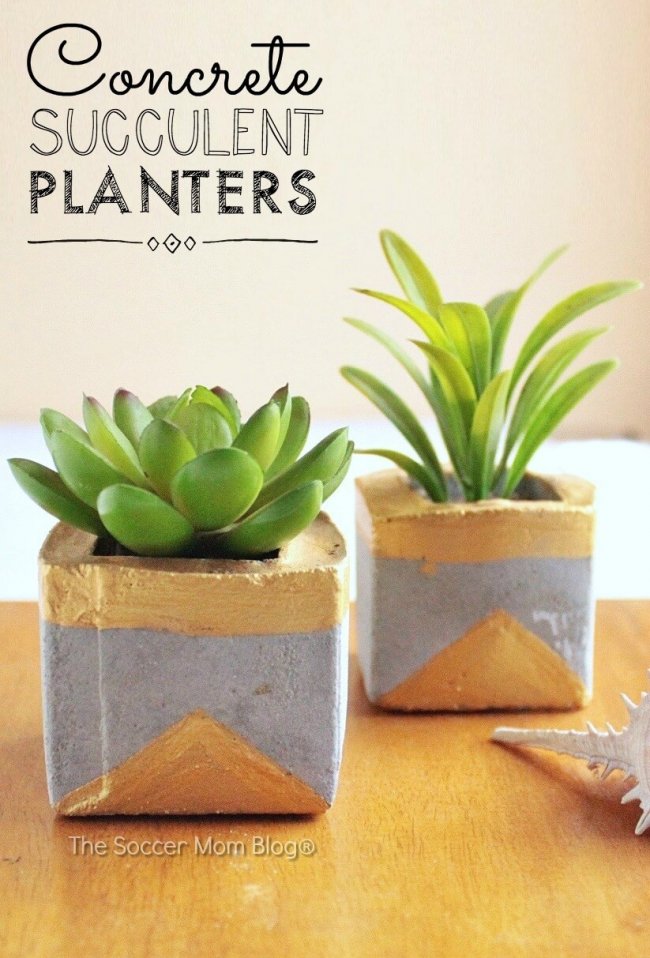
Inside: How to make chic gold and concrete succulent planters to bring a touch of green to your home.
DIY Concrete Succulent Planters
I’m not known for my green thumb.
Actually, I’m more accurately describe as having a brown thumb. Despite my best efforts, many of my attempts at growing long-living plants are not successful.
I like succulents because they require very little maintenance, and I’ve managed to keep mine alive for quite a while!
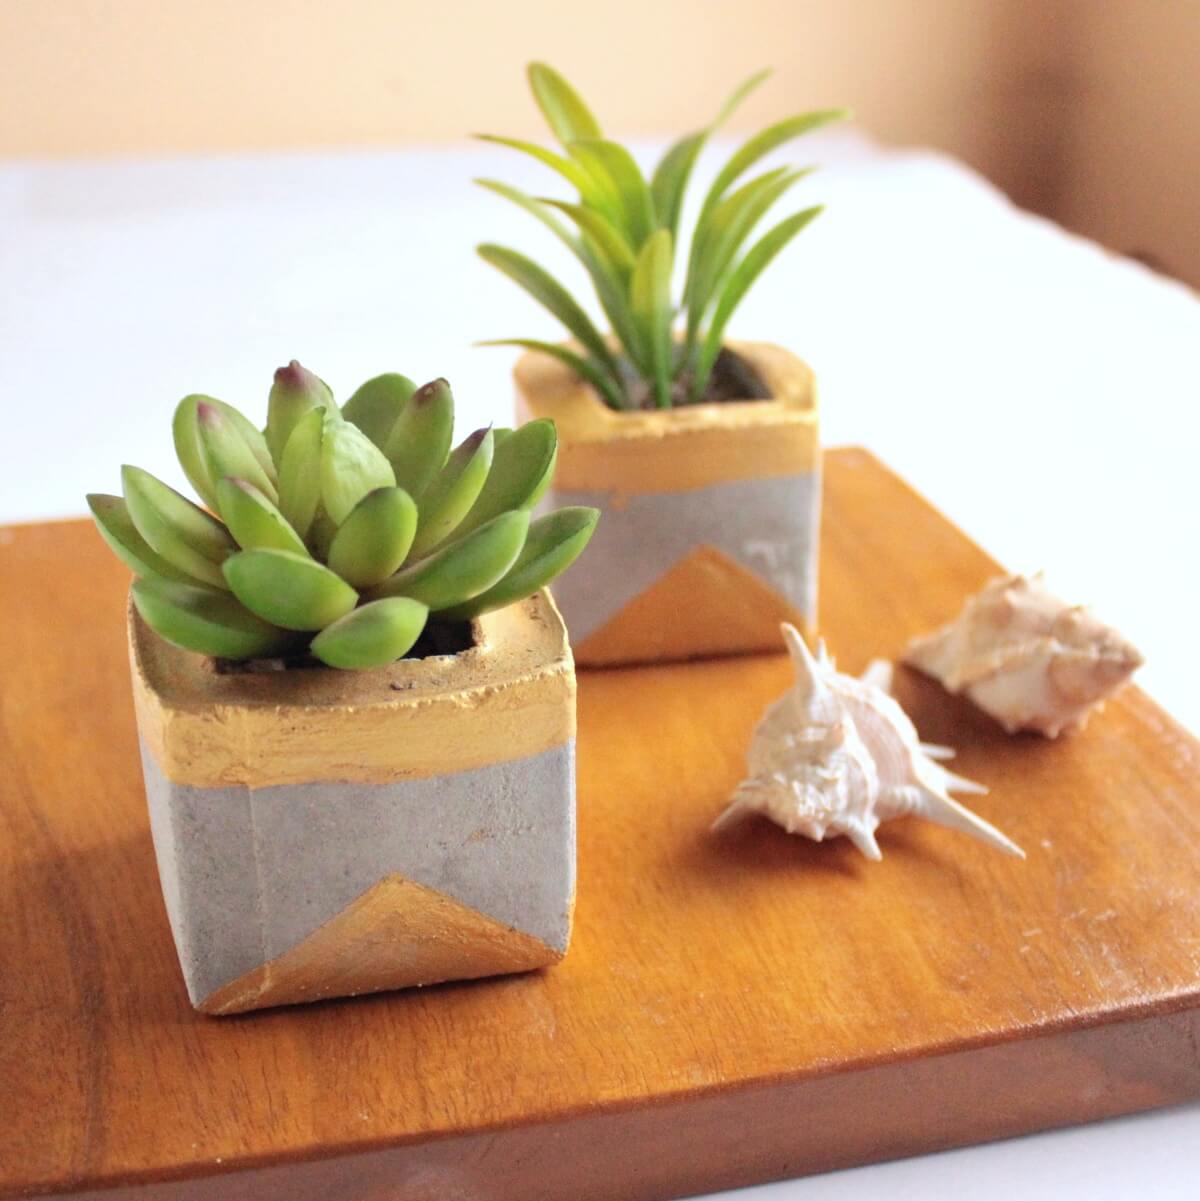
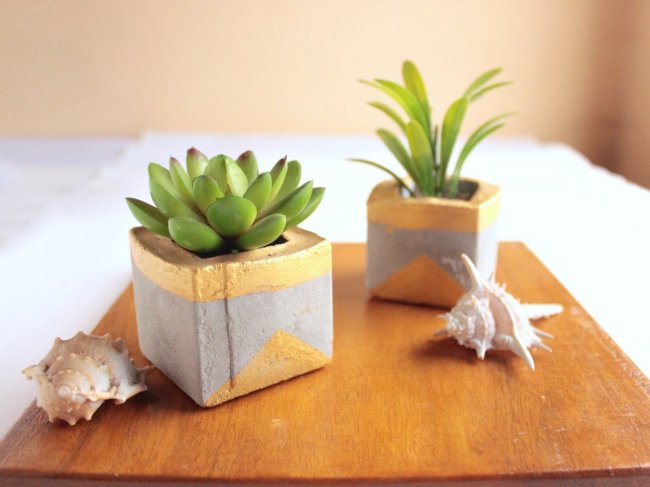
These DIY concrete succulent planters at a chic and rustic touch to your decor, and bring a little greenery into the home or your porch.
Since you’ll be mixing up a batch of cement, I recommend making a few planters at the same time. They make wonderful gifts!
Related: Check out one of my successful gardening projects, a vintage wagon garden planter using my childhood Radio Flyer!
Cement Planters Supply List
For your convenience, I’ve included shop-able ad links to some of the supplies used to make our concrete planters; read our disclosure policy here.
- Dry cement
- Sand
- Small cardboard boxes (the size you want to make your planters)
- Plastic bucket to mix cement
- Wooden stick or large paint stick to mix the cement
- Scissors
- Adhesive tape
- Gold acrylic paint & brush
How to make concrete succulent planters
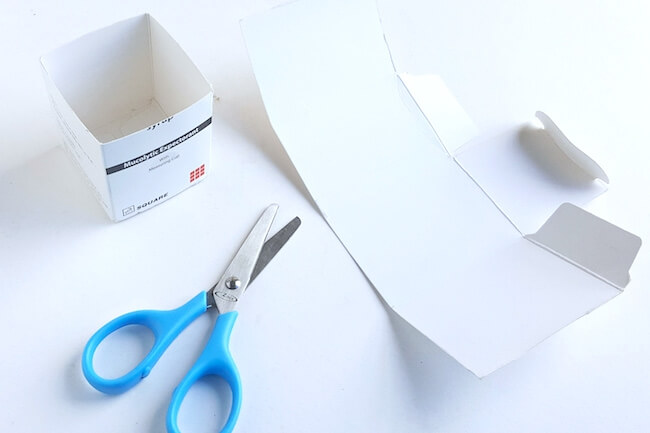
Collect two cardboard boxes in the approximate size you want to make your planter(s) — milk cartons, medicine syrup cartons etc. Each planter will require two boxes — one box will be the inner container, the other (slightly larger) will be the outer container.
Select two boxes: a big one for the outer moulding and a small one for the inner moulding. Decide the height of the inner container; measure the height from its bottom and cut it to the marked height. The secondary container should be longer than primary one so we’ll leave it the way it is.
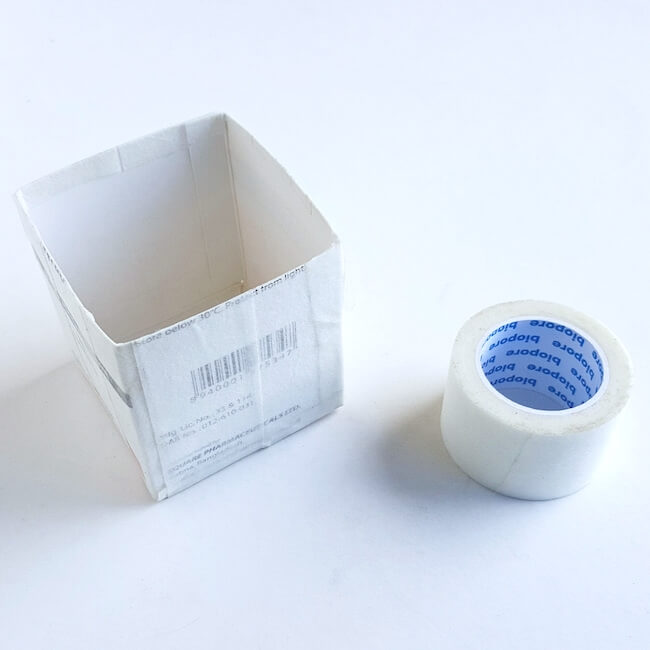
Use adhesive tape to wrap the outside of your larger box, to ensure there is no leakage while pouring cement.
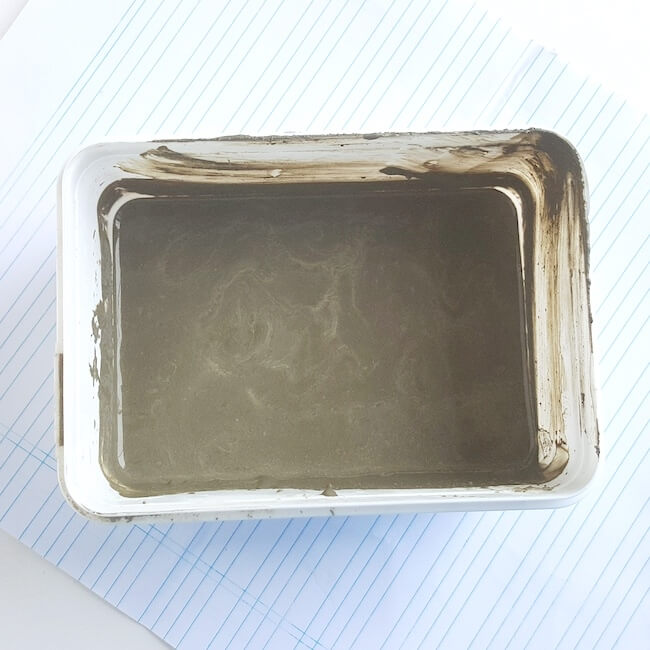
Add a 50-50 mixture of dry cement and sand to a large plastic bucket. Add water to your cement/sand mixture, stirring as you go until you have about a 50-50 ratio of water to cement mixture. You want your cement to be thick, but pourable.
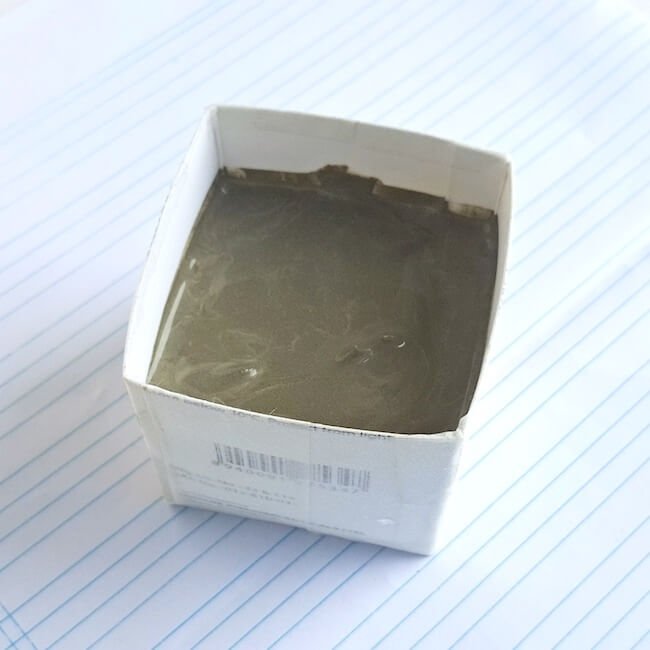
Pour the cement mixture into the outer container and fill one-third of the way (do not fill the entire container).
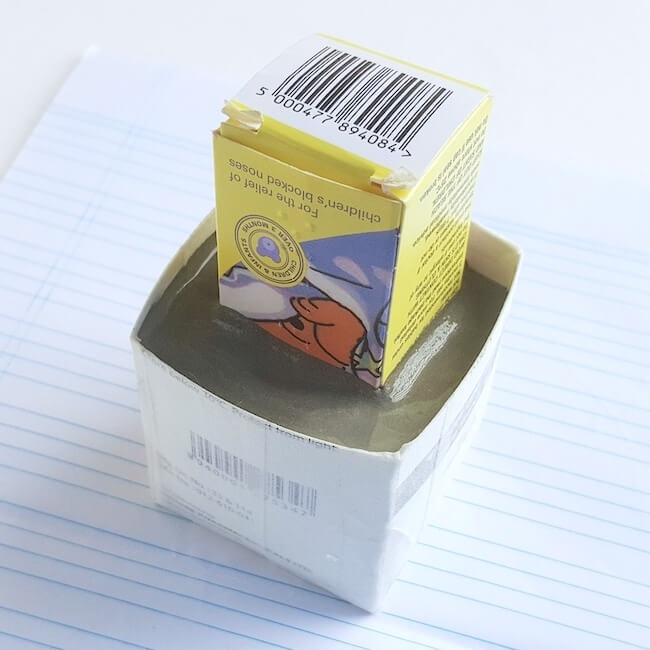
Place the inner container right in the middle of the cement filled container and push it in gently. Make sure that the inner container does not touch the bottom of the outer container; there should be at least half an inch gap between the bottoms of both containers.
Allow cement to dry a full day, or at least overnight.
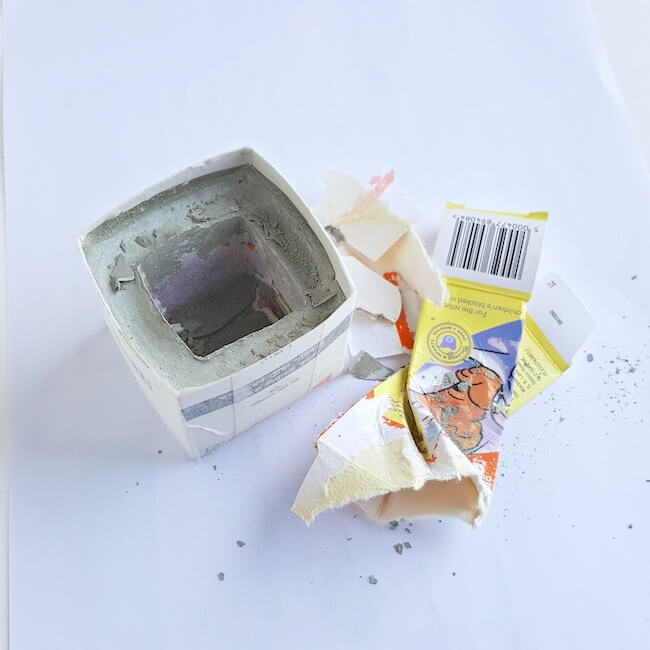
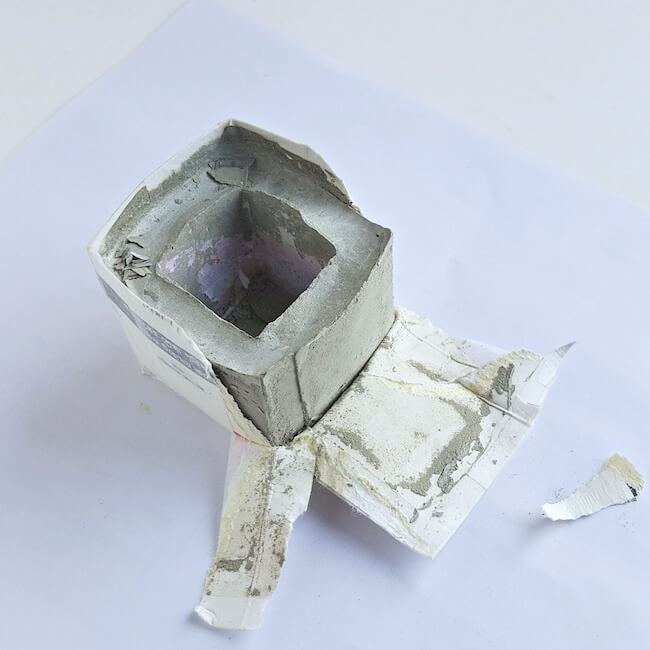
Once the cement is dry, remove the inner container first. Simply twist, crumble and take it out gently.
Next, carefully remove the outer container. Use sandpaper to smooth any rough edges on the outside of your concrete succulent planter.
You can leave your cement succulent planter as is, or decorate with acrylic paint. Allow paint to dry completely before planting.
A few tips for growing succulents:
- Succulents require at least 6-8 hours of full sun per day.
- Water your succulents at most once per week, allowing soil to dry out completely between waterings.
- Fertilizer given in the spring can help your succulents thrive.
Source: Better Homes & Gardens
You might also like…
15 Whimsical Backyard Decor Ideas
- Marshmallow Playdough - April 18, 2024
- Homemade Fruit Leather Recipe - April 17, 2024
- 7-Layer Dip Cups - April 16, 2024

Scott Dyer@Ace Concreting Canberra says
Hey Stacey! I love this idea for an inexpensive, but upscale-looking container! Love your ideas :))