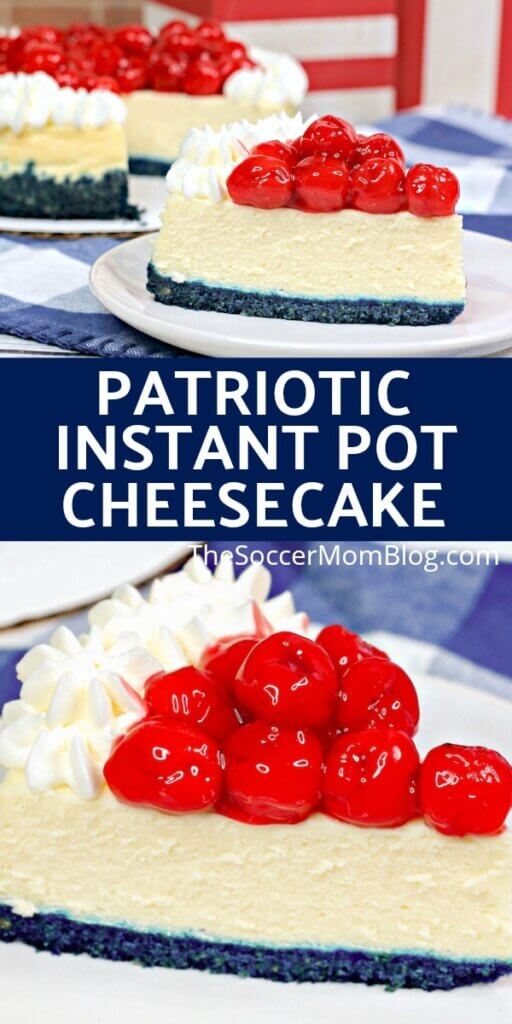
Instant Pot Red White and Blue Cheesecake
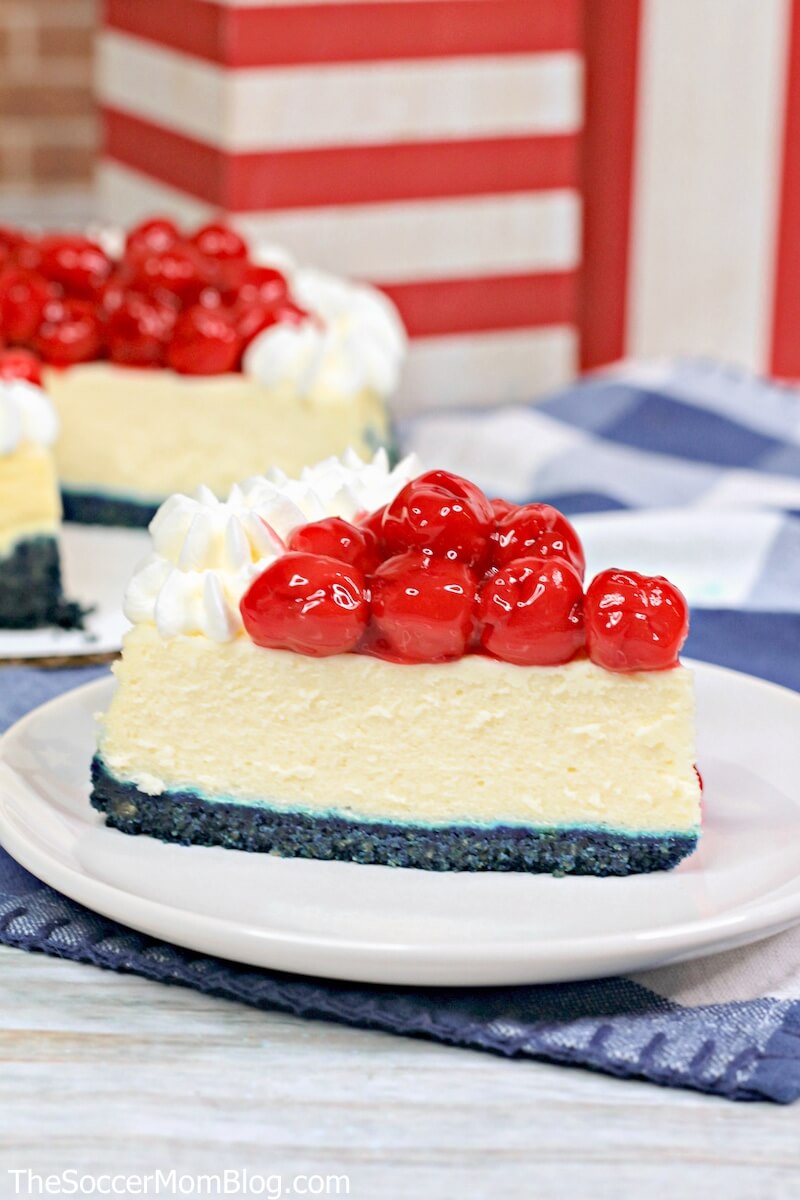
This red white and blue cheesecake is a gorgeous patriotic treat – and it’s easy to make in an Instant Pot!
Patriotic Red White & Blue Cheesecake
The 4th of July is one of my favorite occasions of the whole year! If you look at my holiday recipe categories, you’ll see that I have a TON of red white and blue recipes!
However, when I saw this gorgeous red white and blue cheery cheesecake, I knew I had to share! You can never have too many patriotic party treat ideas!
Many 4th of July gatherings will be smaller this year than in years past — this is the perfect sized treat! Instead of a giant cheesecake that might be too much to finish, this is a 7″ cheesecake that serves 6-8.
Or 3-4 people with seconds… 😉
This is an easy Instant Pot cheesecake recipe — it’s pretty much foolproof! Gotta love the Instant Pot!
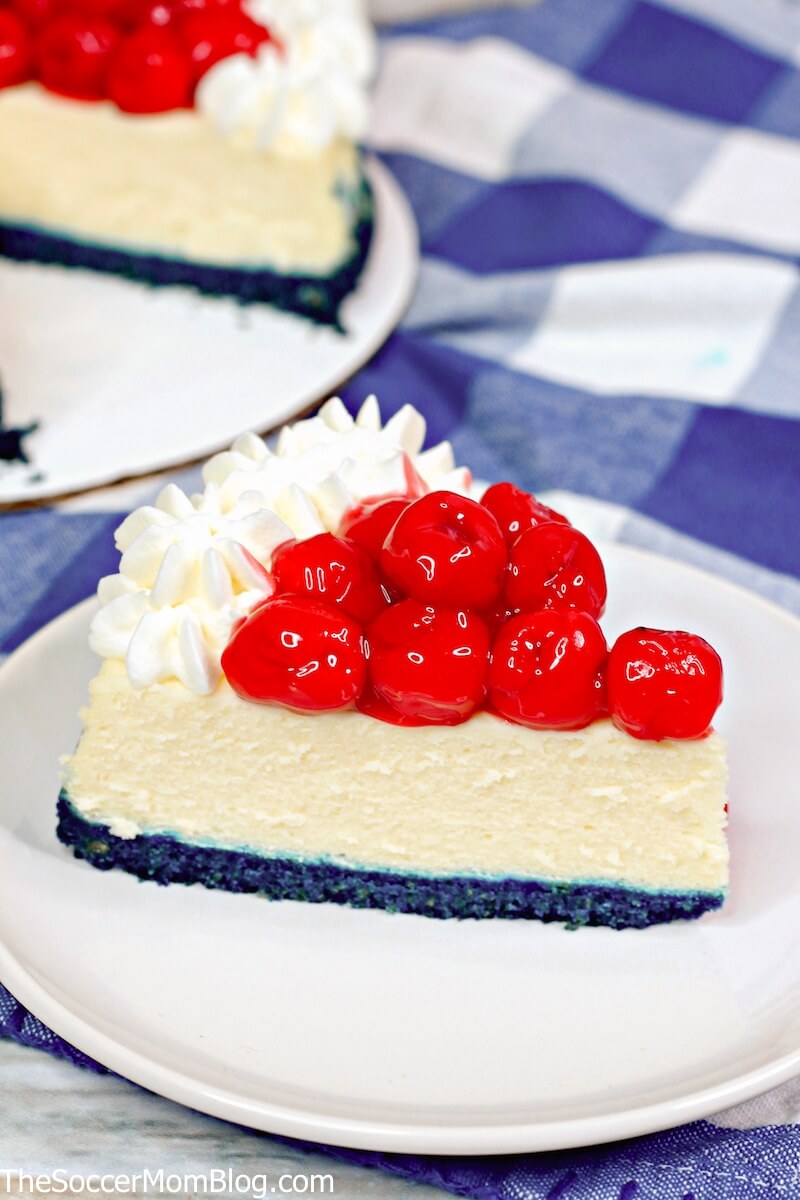
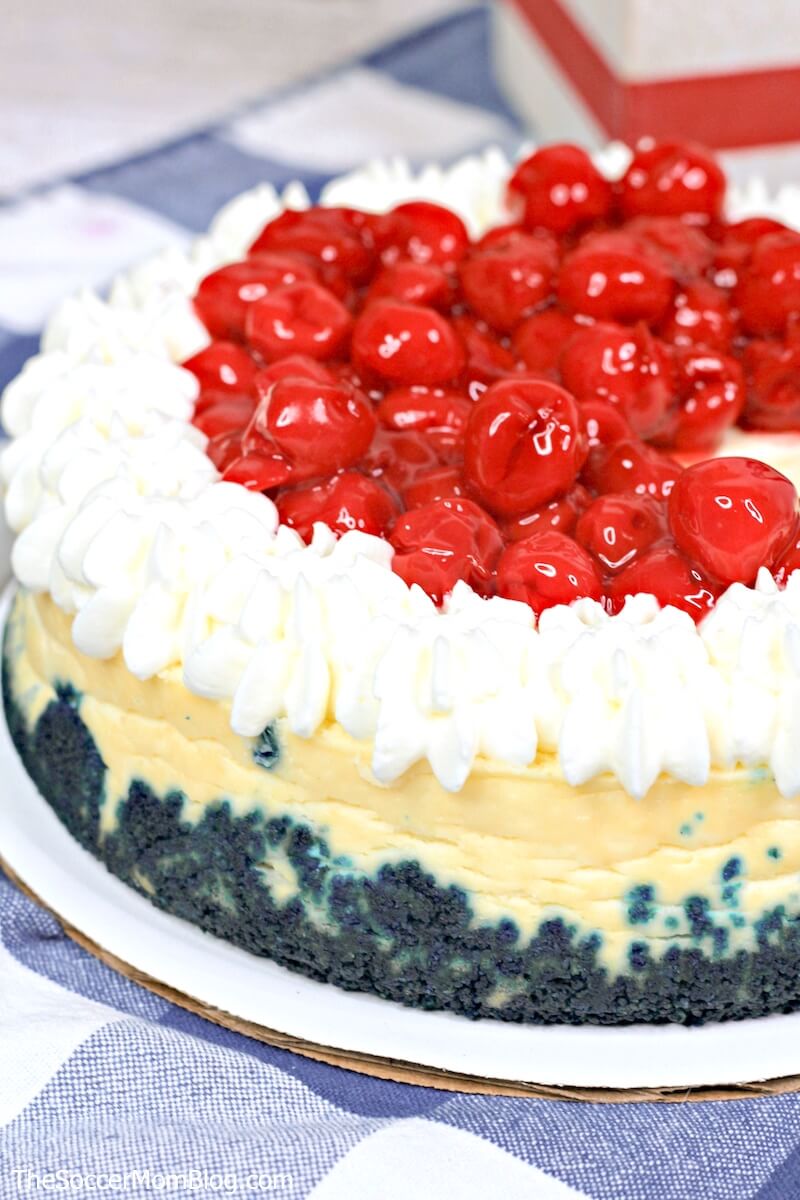
The crust is bright blue and we topped the cheesecake with vibrant red cherries. It’s a total show-stopper!
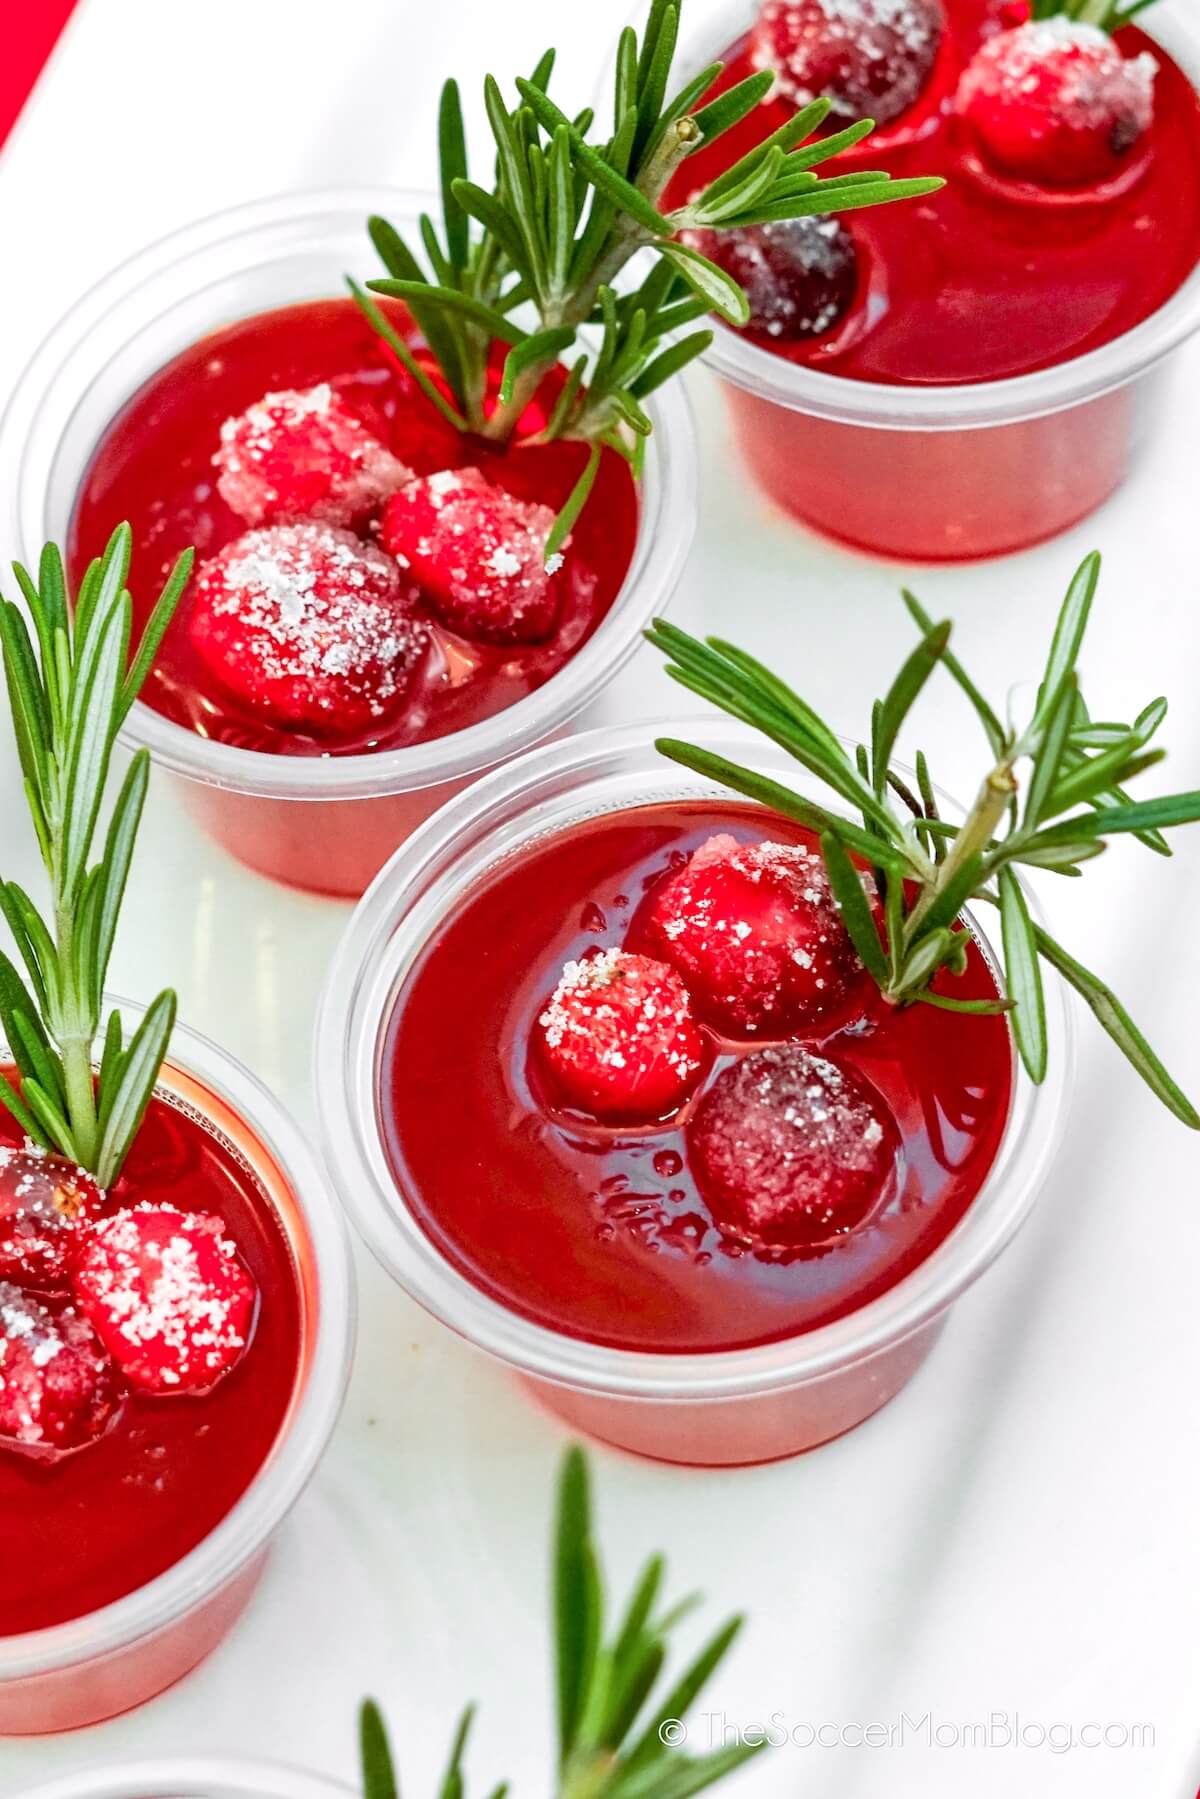
Related: 20+ Red White and Blue Cocktails for the 4th of July
What You Need to Make Red White and Blue Cheesecake
For your convenience in re-creating our Instant Pot cherry cheesecake, I’ve included shop-able ad links to some of the products we used. Disclosure policy available here.
- Graham cracker crumbs
- Butter — We generally use unsalted butter for desserts, but you can use salted too.
- Blue gel food coloring — We love gel food coloring because it makes such vibrant colors!
- Cream cheese — Two 8oz blocks
- Sugar — Both white sugar and powdered sugar will be needed
- Cornstarch
- Large eggs
- Vanilla extract
- Heavy whipping cream
- Cherry pie filling
Kitchen Tools Used
- Instant Pot
- 7.5″ Spring form pan — The official Instant Pot spring form pan is 7.5″ but you can use an 7″ size too. If an 8″ pan will fit in your Instant Pot, you can use that too.
- Stand mixer — We bought our KitchenAid mixer refurbished and saved a lot of money that way!
- Frosting decorating bag with star tip
Tips for Making Cheesecake in an Instant Pot
- When adding water to the Instant Pot, it helps to use hot or boiling water. Because the water is already hot, it reduces the amount of time it takes for the Instant Pot to get up to pressure.
- Covering your cheesecake with foil is a must because it keeps condensation from getting into your cake and making it soggy. Try to seal the foil as tightly as possible.
- We recommend chilling the cheesecake overnight if possible, but if you’re in a hurry, try to give it at least a couple hours to set.
What size pan do I need to make cheesecake in Instant Pot?
The official Instant Pot spring form pan is 7.5″ — however, you can use an 7″ springform pan. If you have a larger Instant Pot and an 8″ pan will fit inside, that is also ok to use. Keep in mind that with a bigger pan that the cheesecake won’t be as tall as in the photos here.
If you want to check out the pan or purchase on Amazon, here’s the link: 7.5″ Spring form pan
More Prep Tips:
When making the crust, mix the melted butter and graham cracker crumbs first, then add the blue coloring.

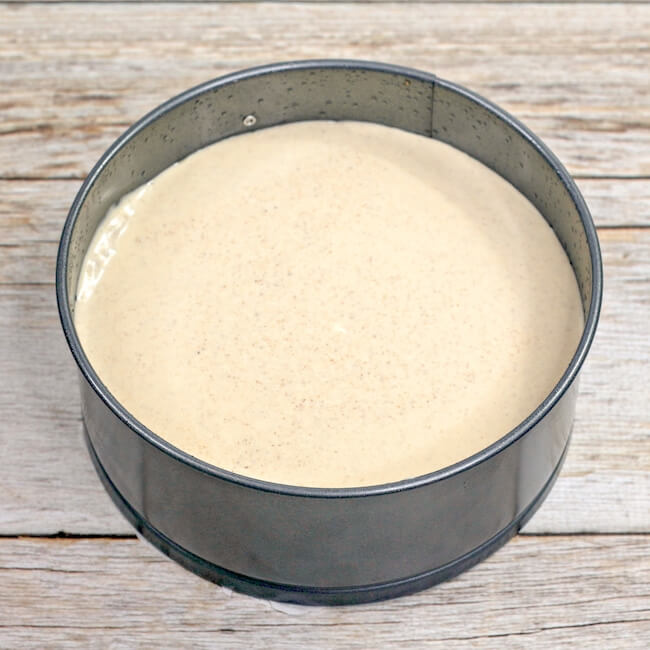
Pour the batter into the prepared springform pan; there will still be some space between the top of the cake and the top of the pan. Cover well with foil.
Instant Pot Settings:
- Manual setting, high pressure — 40 minutes
- Natural release for 20 minutes
Place pan on wire rack to cool to room temperature, then into the fridge for at least 4-6 hours. If you can chill it overnight, even better!
When ready to serve, top with whipped cream and cherry pie filling.
More of our favorite Instant Pot dessert recipes:
- Instant Pot Godiva Cheesecake
- Instant Pot Apple Cake
- Instant Pot Apple Butter
- Instant Pot Mango Coconut Bundt Cake
Red White and Blue Cheesecake Recipe (Printable Copy)
If you like this recipe, please rate it! We’d also love to hear your thoughts in the comments below!
Want to Save This Recipe?
Enter your email & I'll send it to your inbox. Plus, get great new recipes from me every week!
By submitting this form, you consent to receive emails from The Soccer Mom Blog

Instant Pot Red White and Blue Cheesecake
Equipment
- Instant Pot
Ingredients
Crust Ingredients
- 2 cups graham cracker crumbs
- ¼ cup butter melted
- 2-3 drops blue gel food coloring
Cheesecake Ingredients
- 16 ounces cream cheese softened
- ½ cup sugar
- 1 Tablespoon cornstarch
- 2 eggs
- 2 teaspoon vanilla extract
Toppings
- ½ cup heavy whipping cream
- ¼ cup powdered sugar
- 8 ounces cherry pie filling (1 can)
Instructions
Crust Directions
- Line the bottom of a 6-inch springform pan with parchment paper and coat the sides with non-stick baking spray.
- Add melted butter and graham cracker crumbs to a large bowl and mix well.
- Add blue food coloring and mix until the crust is a rich, even shade of blue.
- Press the crust into the bottom of the prepared springform pan and place in the freezer while you make the cheesecake batter.
Cheesecake Directions
- In a large bowl or the bowl of a stand mixer, whisk together sugar and cornstarch.
- Using stand mixer or electric hand mixer, beat together the cream cheese and sugar mixture until smooth.
- Add the eggs one at a time, continuing to mix.
- Add vanilla extract and then pour the cheesecake batter into your prepared, chilled crust.
- Cover the springform pan with foil.
- Fill the instant pot with 1 cup of water and place a trivet inside.
- Place the springform pan onto the trivet, close the Instant Pot lid, and seal.
- Bake on manual setting, high pressure for 40 minutes. When time is up, allow for natural release for about 20 minutes.
- Remove the Instant Pot lid and carefully remove pan. If needed, use a paper towel to soak up any condensation on top of the foil.
- Place pan on a wire rack and allow to cool completely. Chill in fridge overnight.
Topping Directions
- Using a hand mixer, beat together the heavy whipping cream and powdered sugar until stiff peaks form.
- Scoop whipped cream into a frosting bag and pipe dollops around the edge of the cheesecake.
- Scoop cherry pie filling into the center of the cheesecake and spread gently if needed.
Notes
Nutrition
Be sure to pin this recipe:
You might also like:
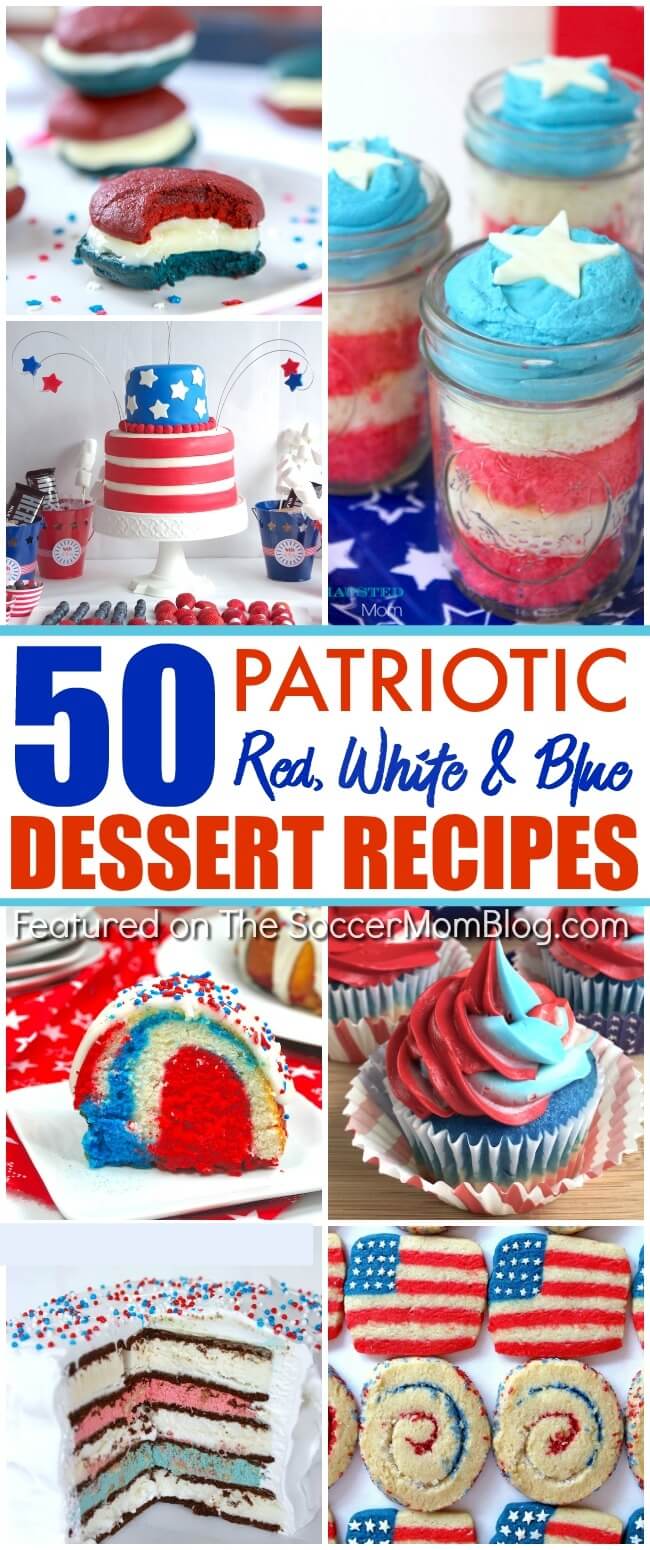
50+ Red White and Blue Dessert Recipes

- Beach Day Rice Krispie Treats - June 23, 2026
- Pickled Jalapeños Recipe - June 15, 2026
- Homemade Nesquick Mix - June 11, 2026