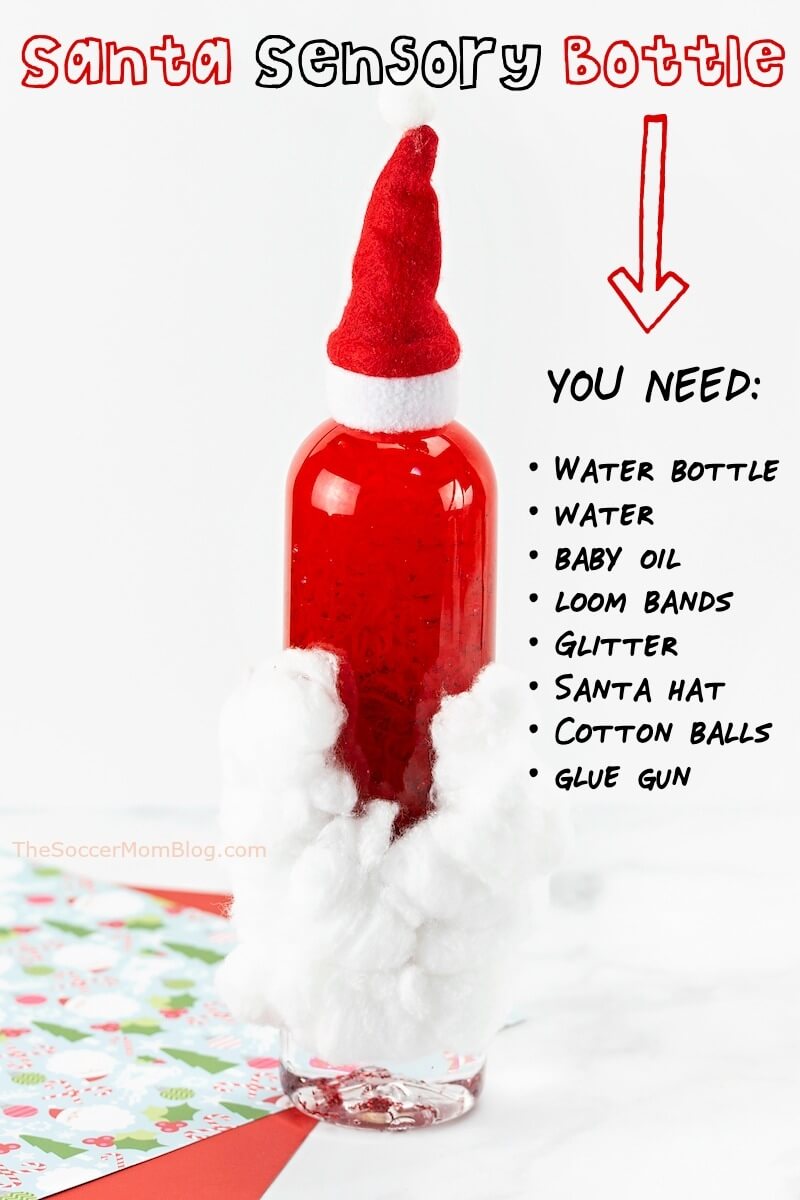
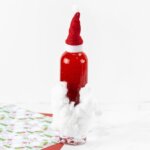
Santa Sensory Bottles DIY
How to make cute and easy Santa sensory bottles for Christmas — a festive craft and calming toy for kids!
Santa Sensory Bottles
Looking for a fun and easy Christmas craft for kids? Have you tried sensory bottles??
We love making sensory bottles for different occasions and this year we made glitter sensory bottles to look like Santa!
What are the benefits of sensory bottles?
Sensory bottles are a type of sensory play, which is an experience designed to stimulate a child’s senses. While we love messy sensory play, like edible slime, the great part about sensory bottle is that they are mess-free!
Sensory bottles are also useful as a fidget or “calm down” tool because they are soothing and kids can watch the ingredients fall from one side of the bottle to the other.
Instead of buying expensive sensory toys, we like to make our own DIY sensory bottles because they require only simple supplies and you can make them for different seasons and occasions, like our Halloween sensory bottles.
Supplies Needed to Make Christmas Sensory Bottles
Note: I’ve included affiliate links for your convenience in finding supplies used to make this Halloween sensory bottle; disclosure policy available here.
- Plastic water bottle
- Baby oil
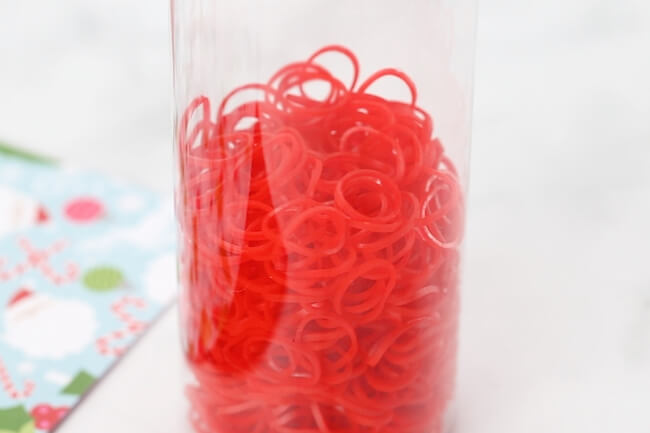
- Red loom bands
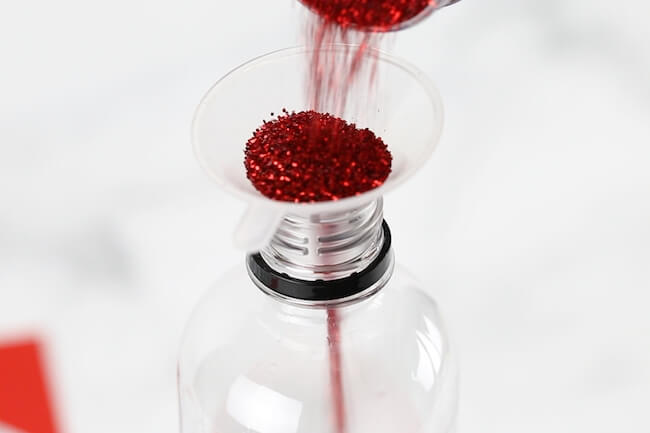
- Red glitter
- Mini Santa hat
- Cotton balls
- Hot glue gun
How to Make Sensory Bottles for Christmas
First, watch our quick video demo (1 minute) to see how we made our easy Santa Sensory Bottles. Then keep reading for photo step-by-step directions and printable instructions.
Click video to play:
First, remove wrapper/label from outside of plastic water bottle and wipe clean.
TIP: If there is any sticky residue left behind, try this trick! Massage Lestoil into the residue, then wash off with dish soap and warm water. Wipe clean with a dry paper towel.
Fill the bottle halfway with water, then add red loom bands and red glitter.
The exact amount is up to you! Fill the remainder of your sensory bottle with baby oil.
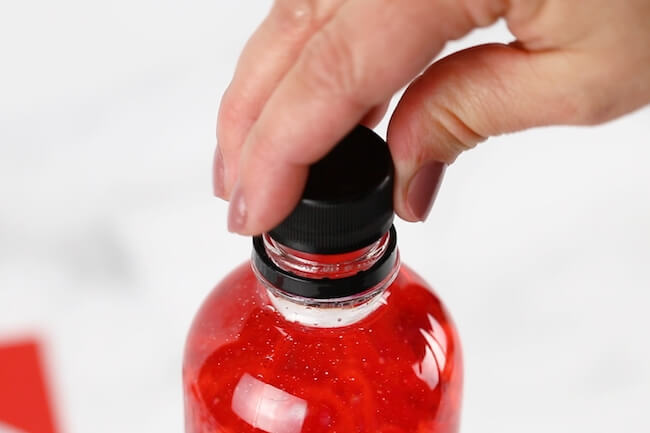
Close the lid tightly and seal with hot glue gun.

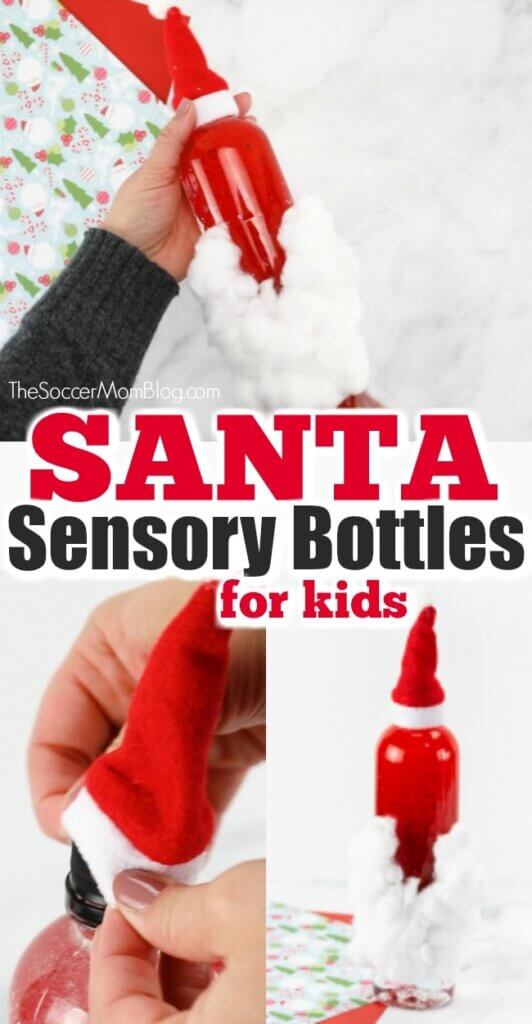
Glue mini Santa hat to cover the lid to your sensory bottle.
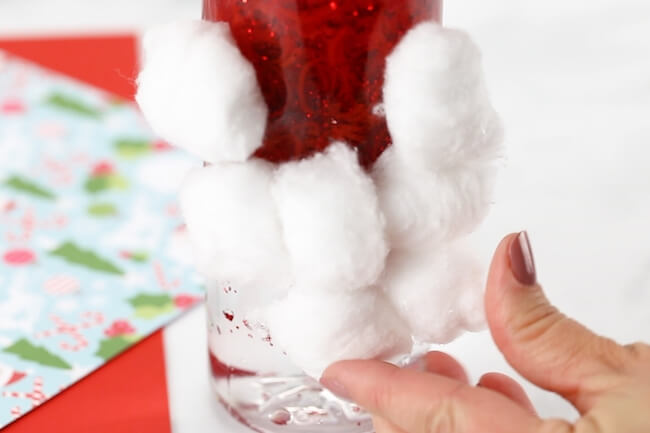
Attach cotton balls to bottle with glue to resemble Santa’s fluffy beard.
Now you’re ready to play!

Santa Sensory Bottles DIY Instructions
Want to Save This Recipe?
Enter your email & I'll send it to your inbox. Plus, get great new recipes from me every week!
By submitting this form, you consent to receive emails from The Soccer Mom Blog
Santa Sensory Bottles DIY
Equipment
- Glue
Ingredients
- Plastic water bottle
- Baby oil
- Red loom bands
- Red glitter
- Mini Santa hat
- Cotton balls
Instructions
- Remove label from water bottle and wipe clean.
- Fill the bottle halfway with water, then add red loom bands and red glitter. A handful of loom bands and a Tablespoon of glitter should be a good starting point.
- Fill the remainder of your sensory bottle with baby oil, then close the lid tightly and seal with hot glue gun.
- Glue mini Santa hat over the lid.
- Attach cotton balls to bottle with glue to resemble Santa's fluffy beard.
Video
Pin our Santa Sensory Bottles on Pinterest:
Click here for more easy Christmas crafts for kids or check out some of our favorites below:
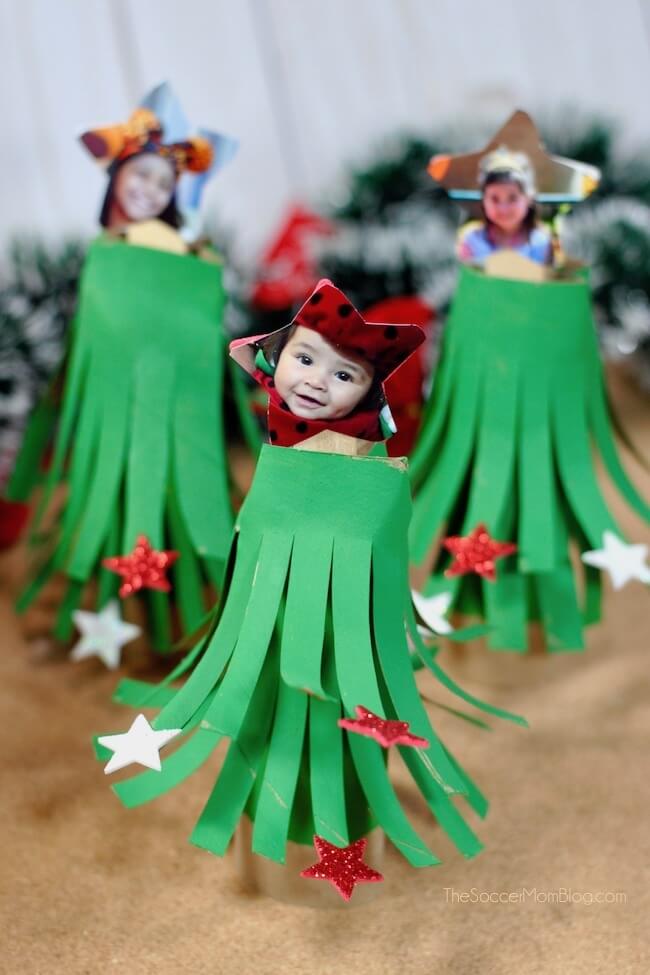
Cardboard Tube Christmas Trees

- Beach Day Rice Krispie Treats - June 23, 2026
- Pickled Jalapeños Recipe - June 15, 2026
- Homemade Nesquick Mix - June 11, 2026