Make coloring fun with these DIY Lego Crayons, a creative way to up-cycle old and broken crayons!
DIY LEGO Crayons
Growing up I was obsessed with all things LEGO, so I’m super excited that my kids are starting to discover LEGO too!
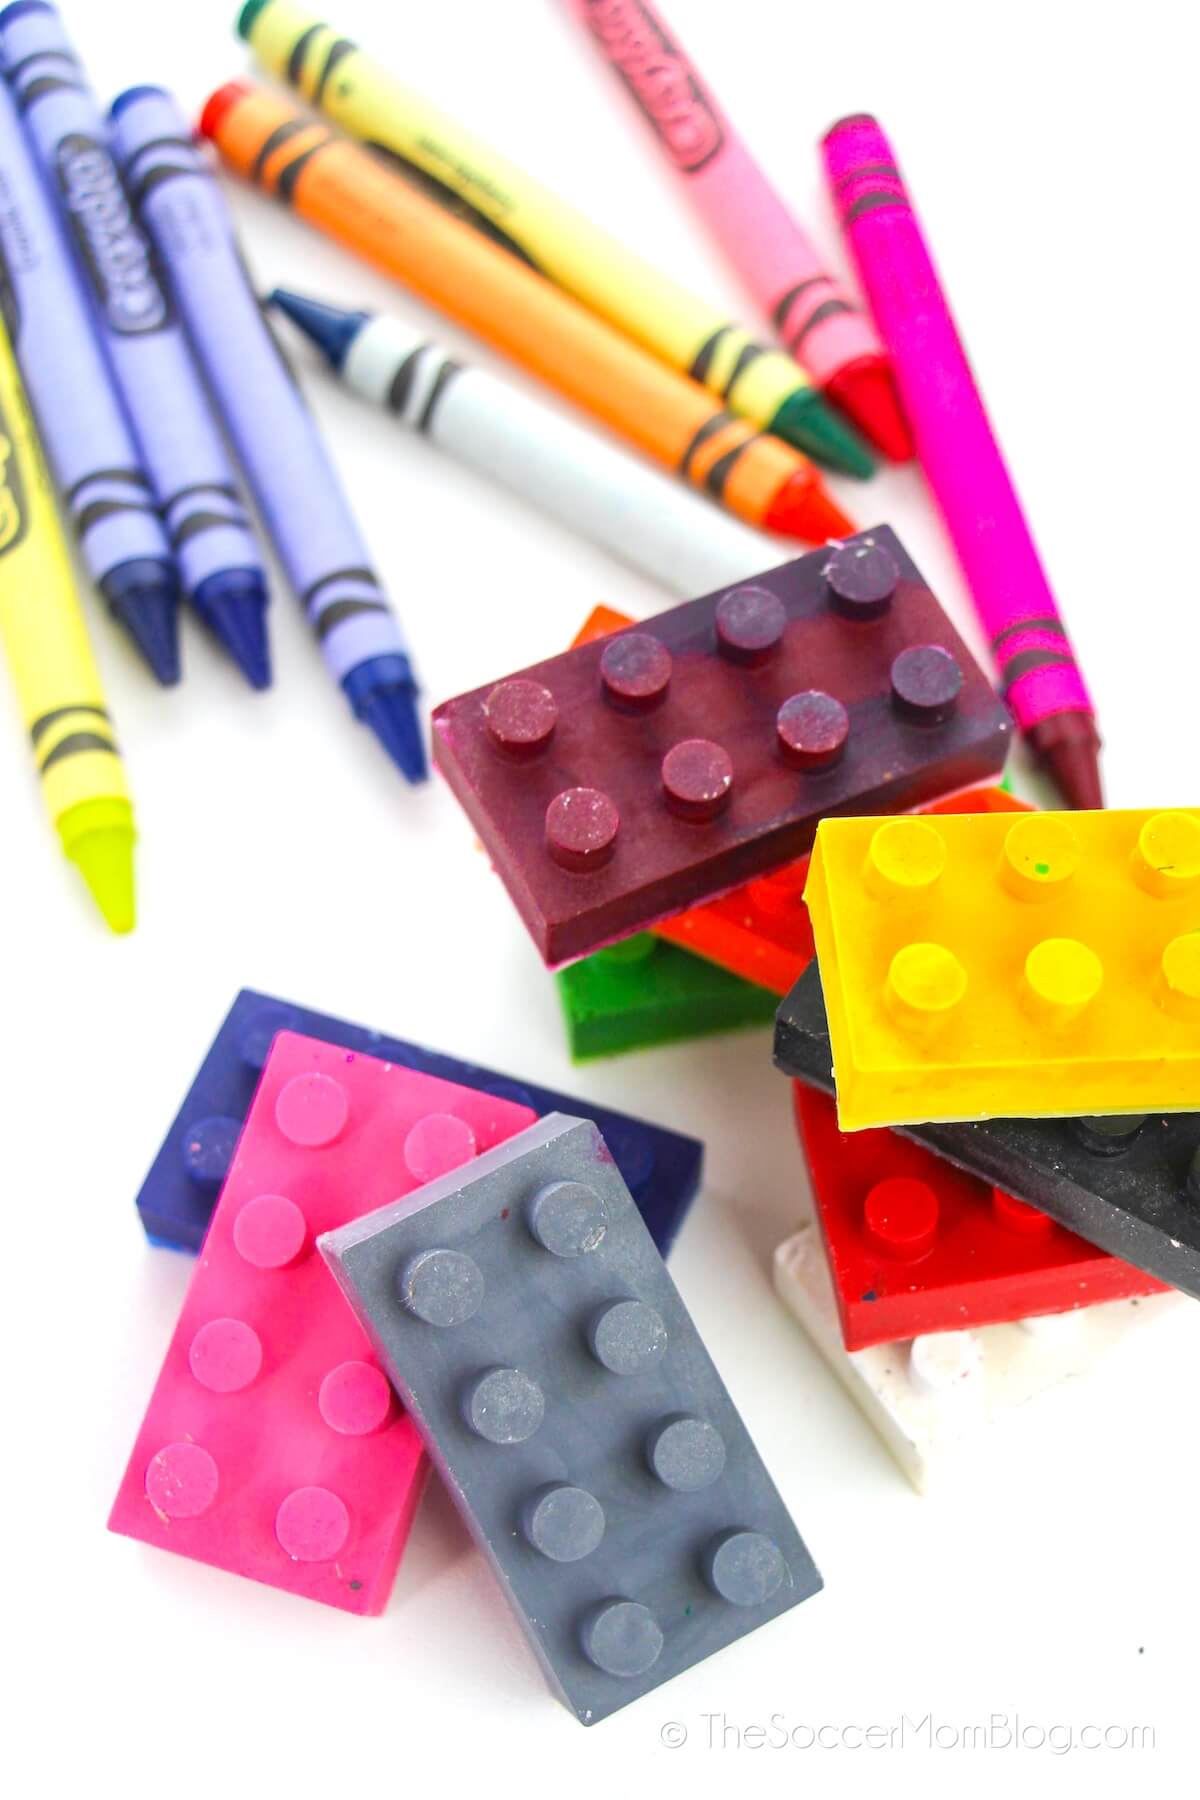
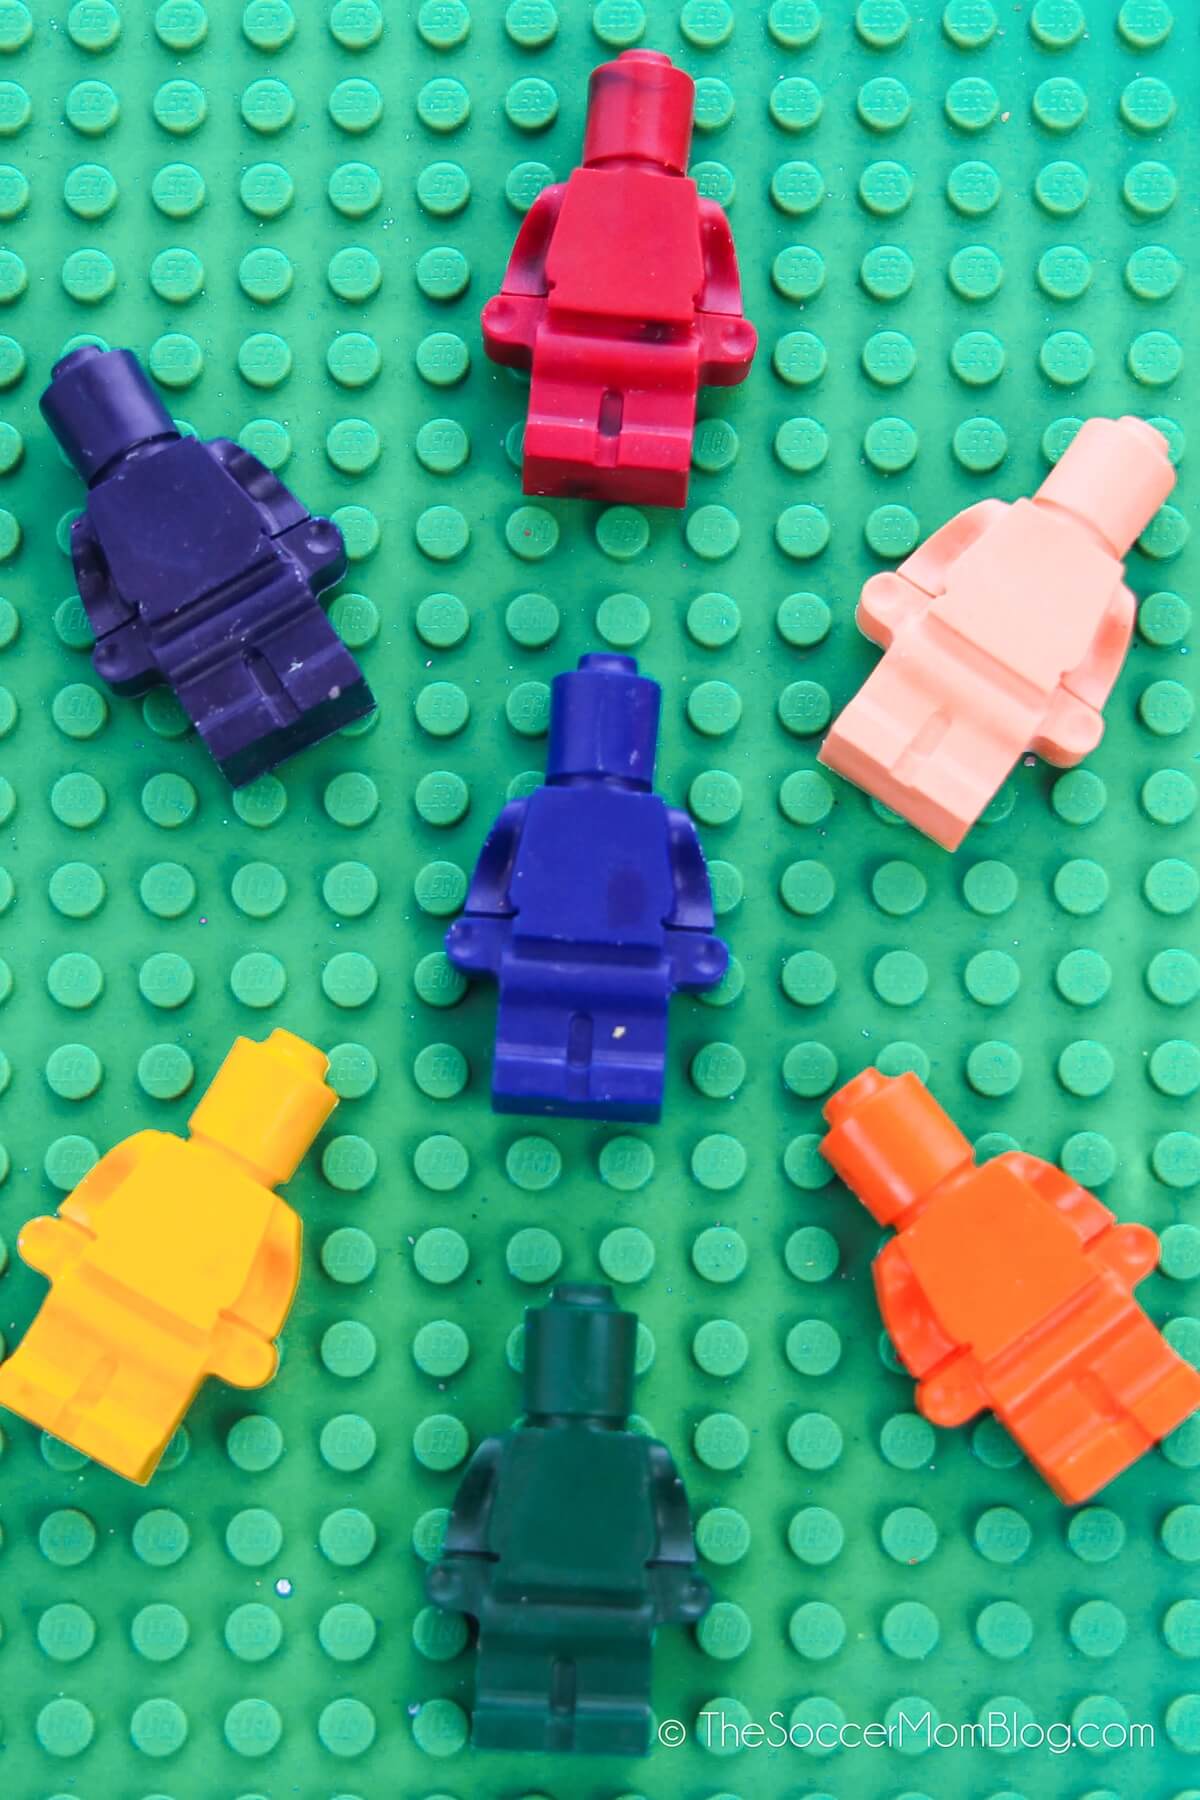
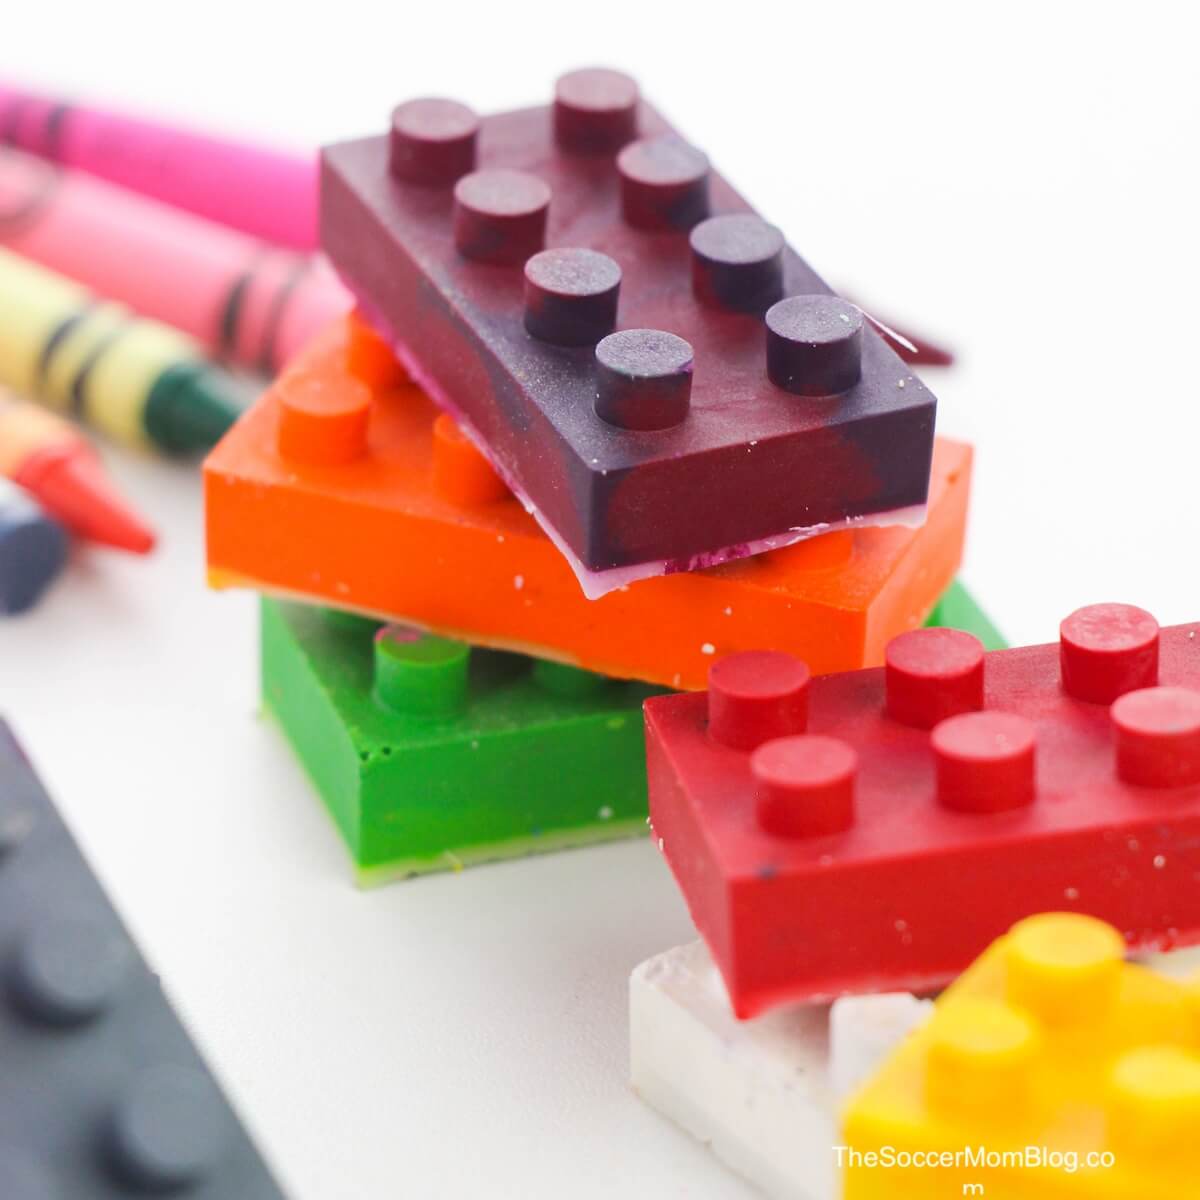
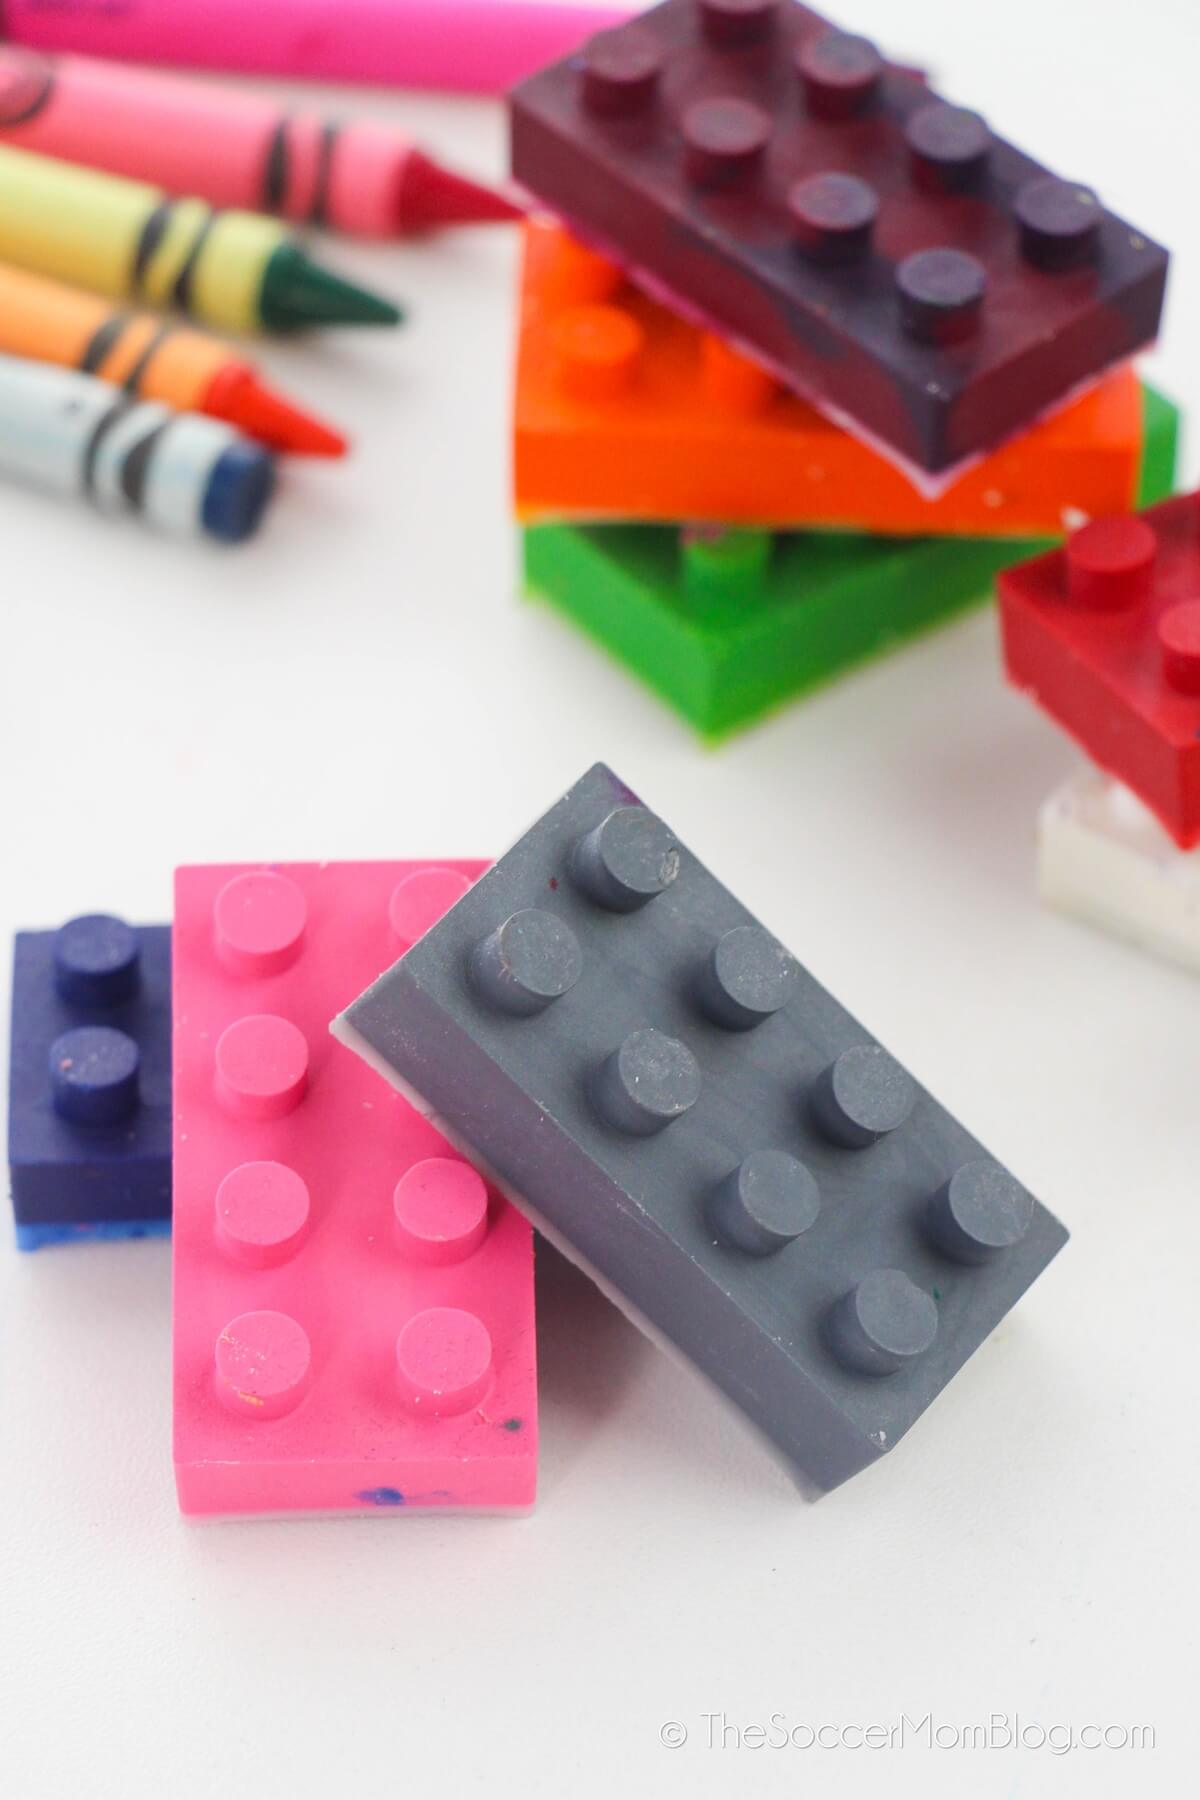
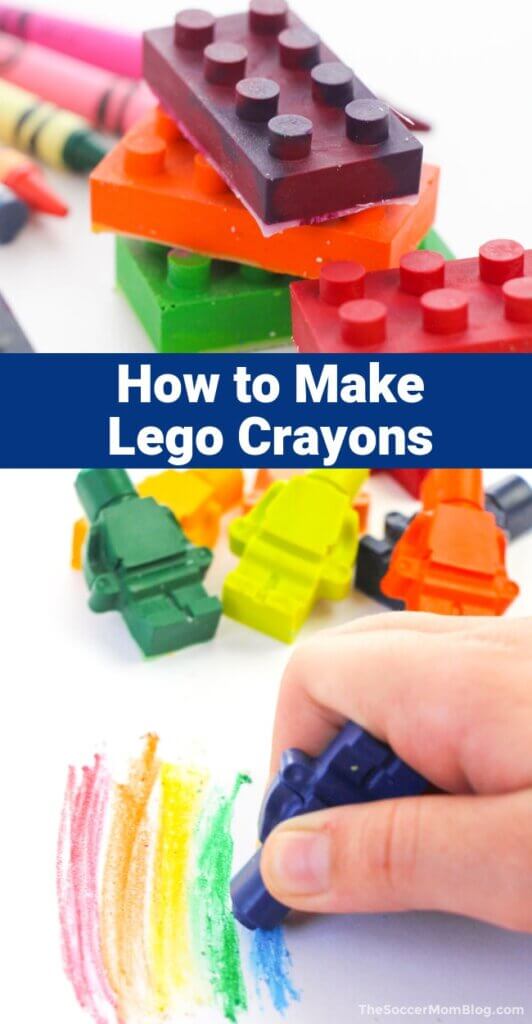
These homemade LEGO crayons look just like real building blocks and minifigs, but they’re crayons! And they’re so easy to make!
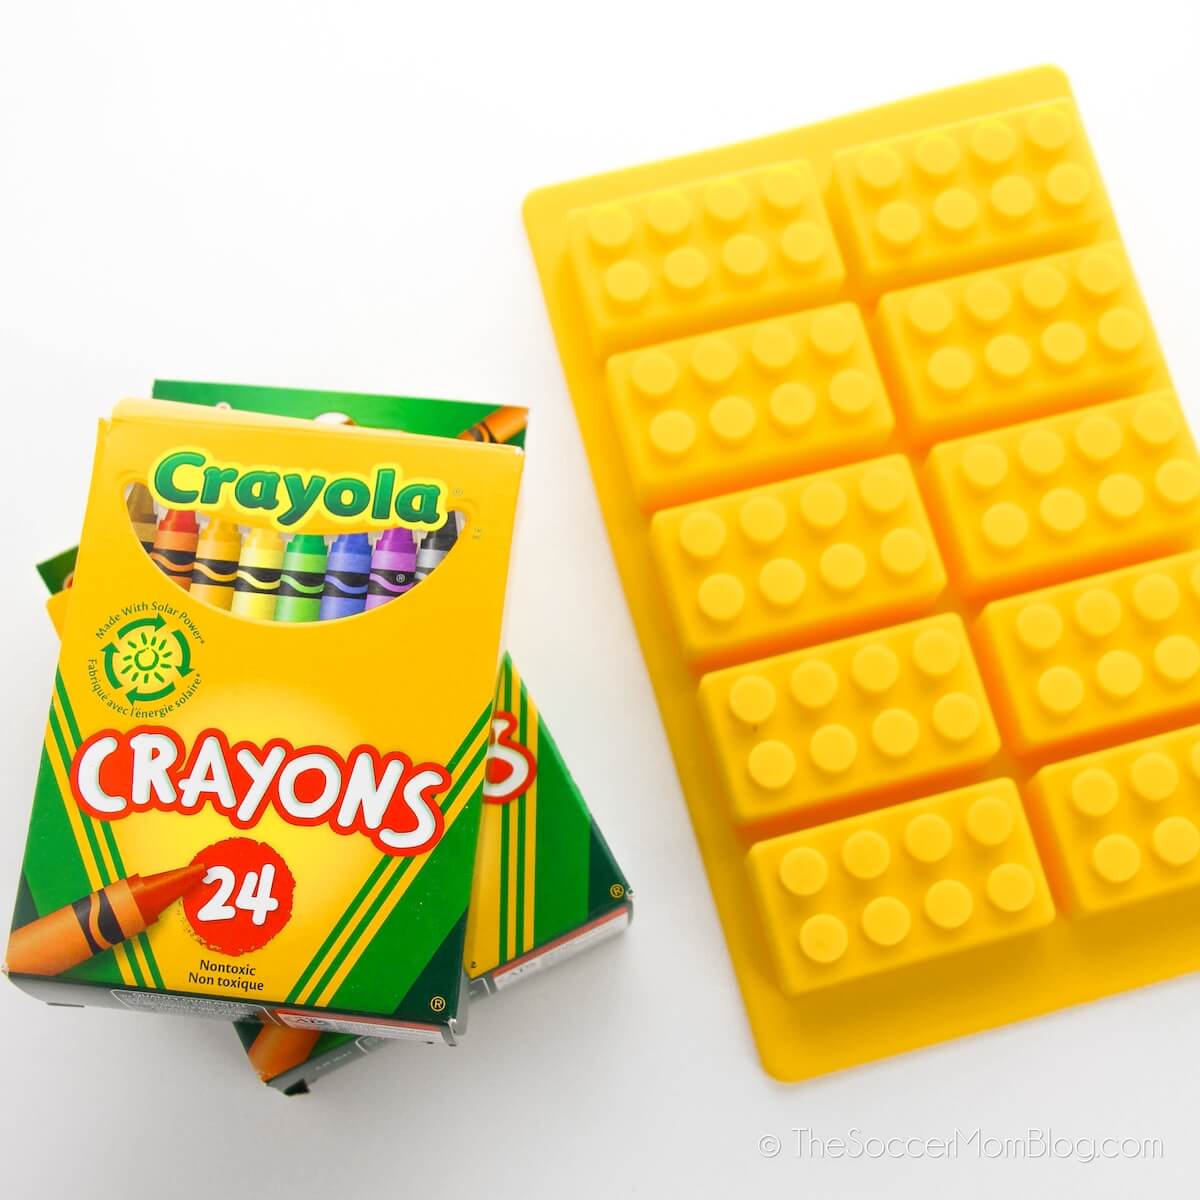
If you’re a parent, then you know that you always end up with a bunch of old, dull, broken crayons. Instead of throwing them away, save them and give them a new life! All you need are a set of molds and crayons to get started.
If you’re looking for a quick and easy crayon recipe, you can’t go wrong with this Lego crayon idea. In under an hour, you have a new and unique set of crayons for your little ones! They’re also a great gift that kids can make themselves for their friends.
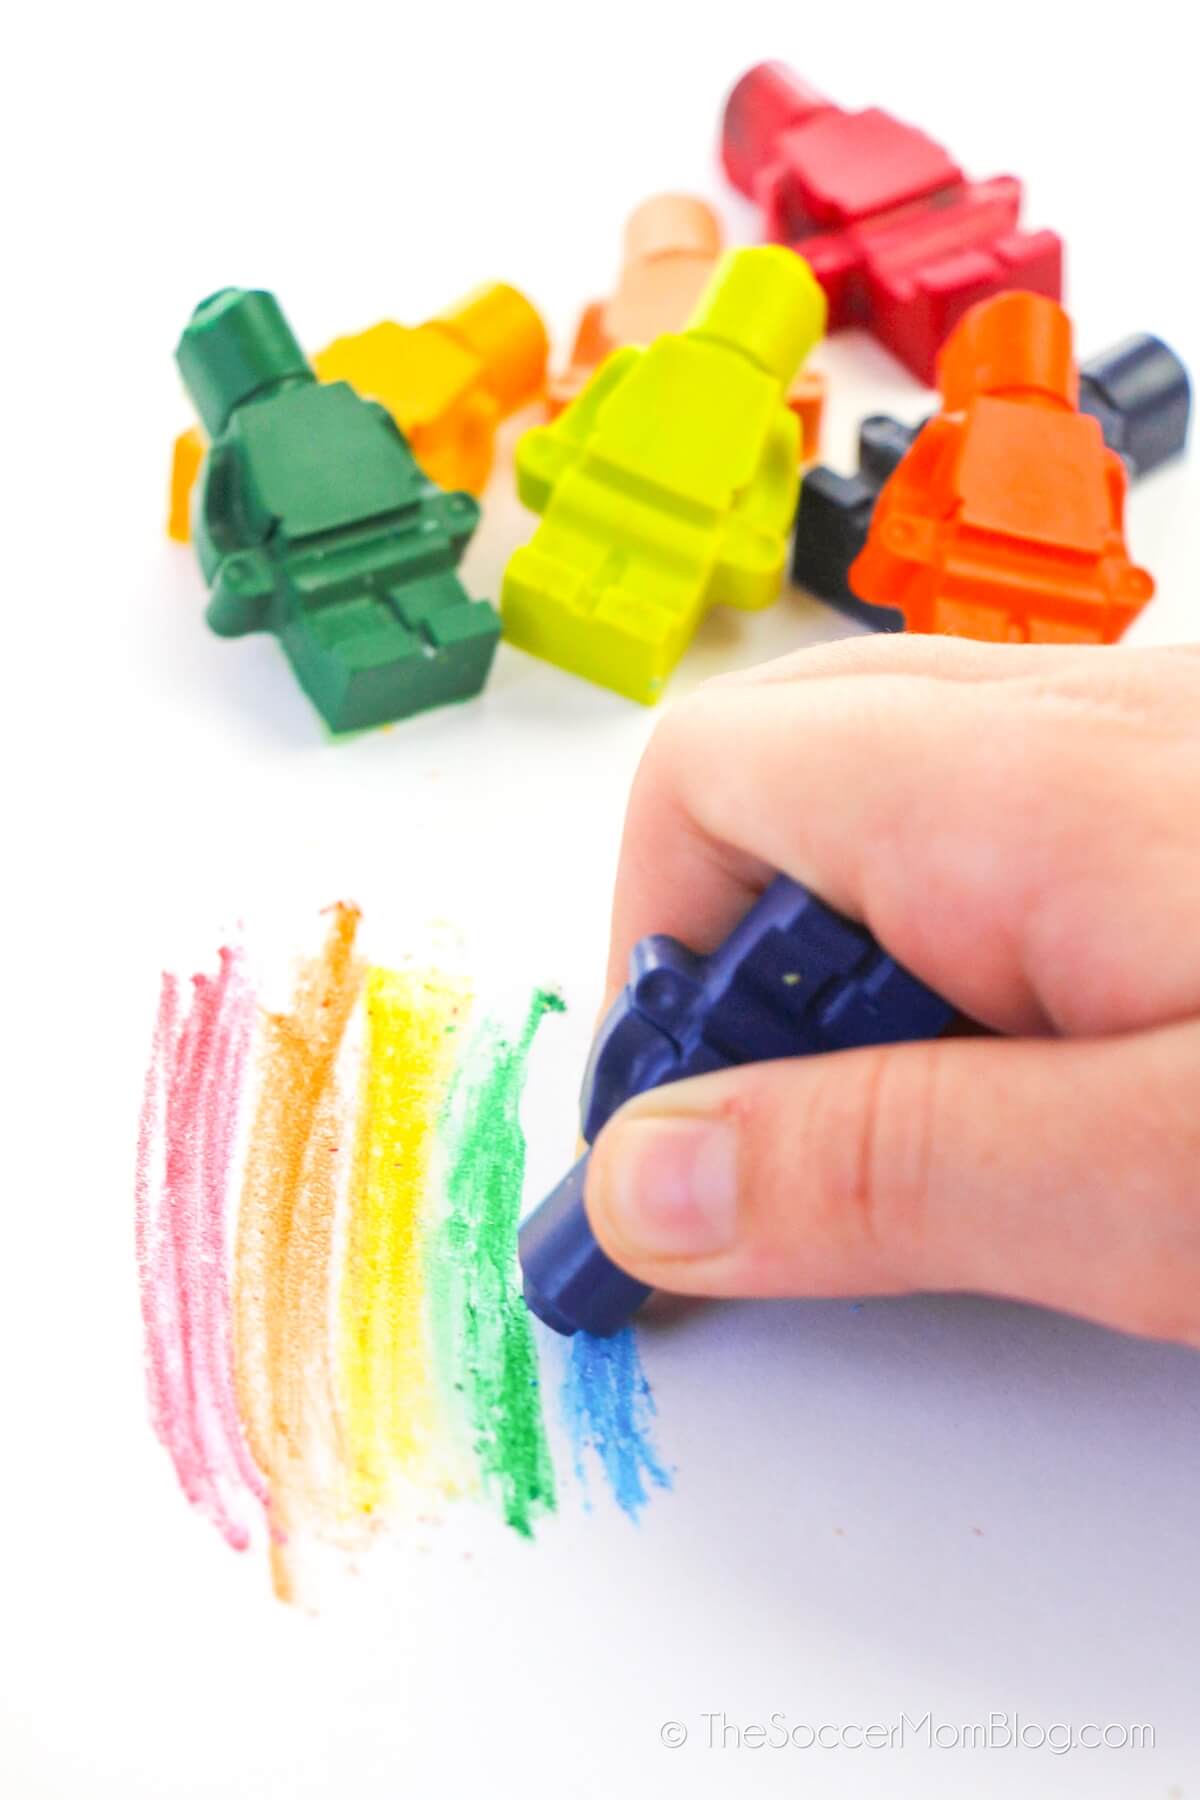
They work just as well as the original crayons…just look at those vibrant colors!
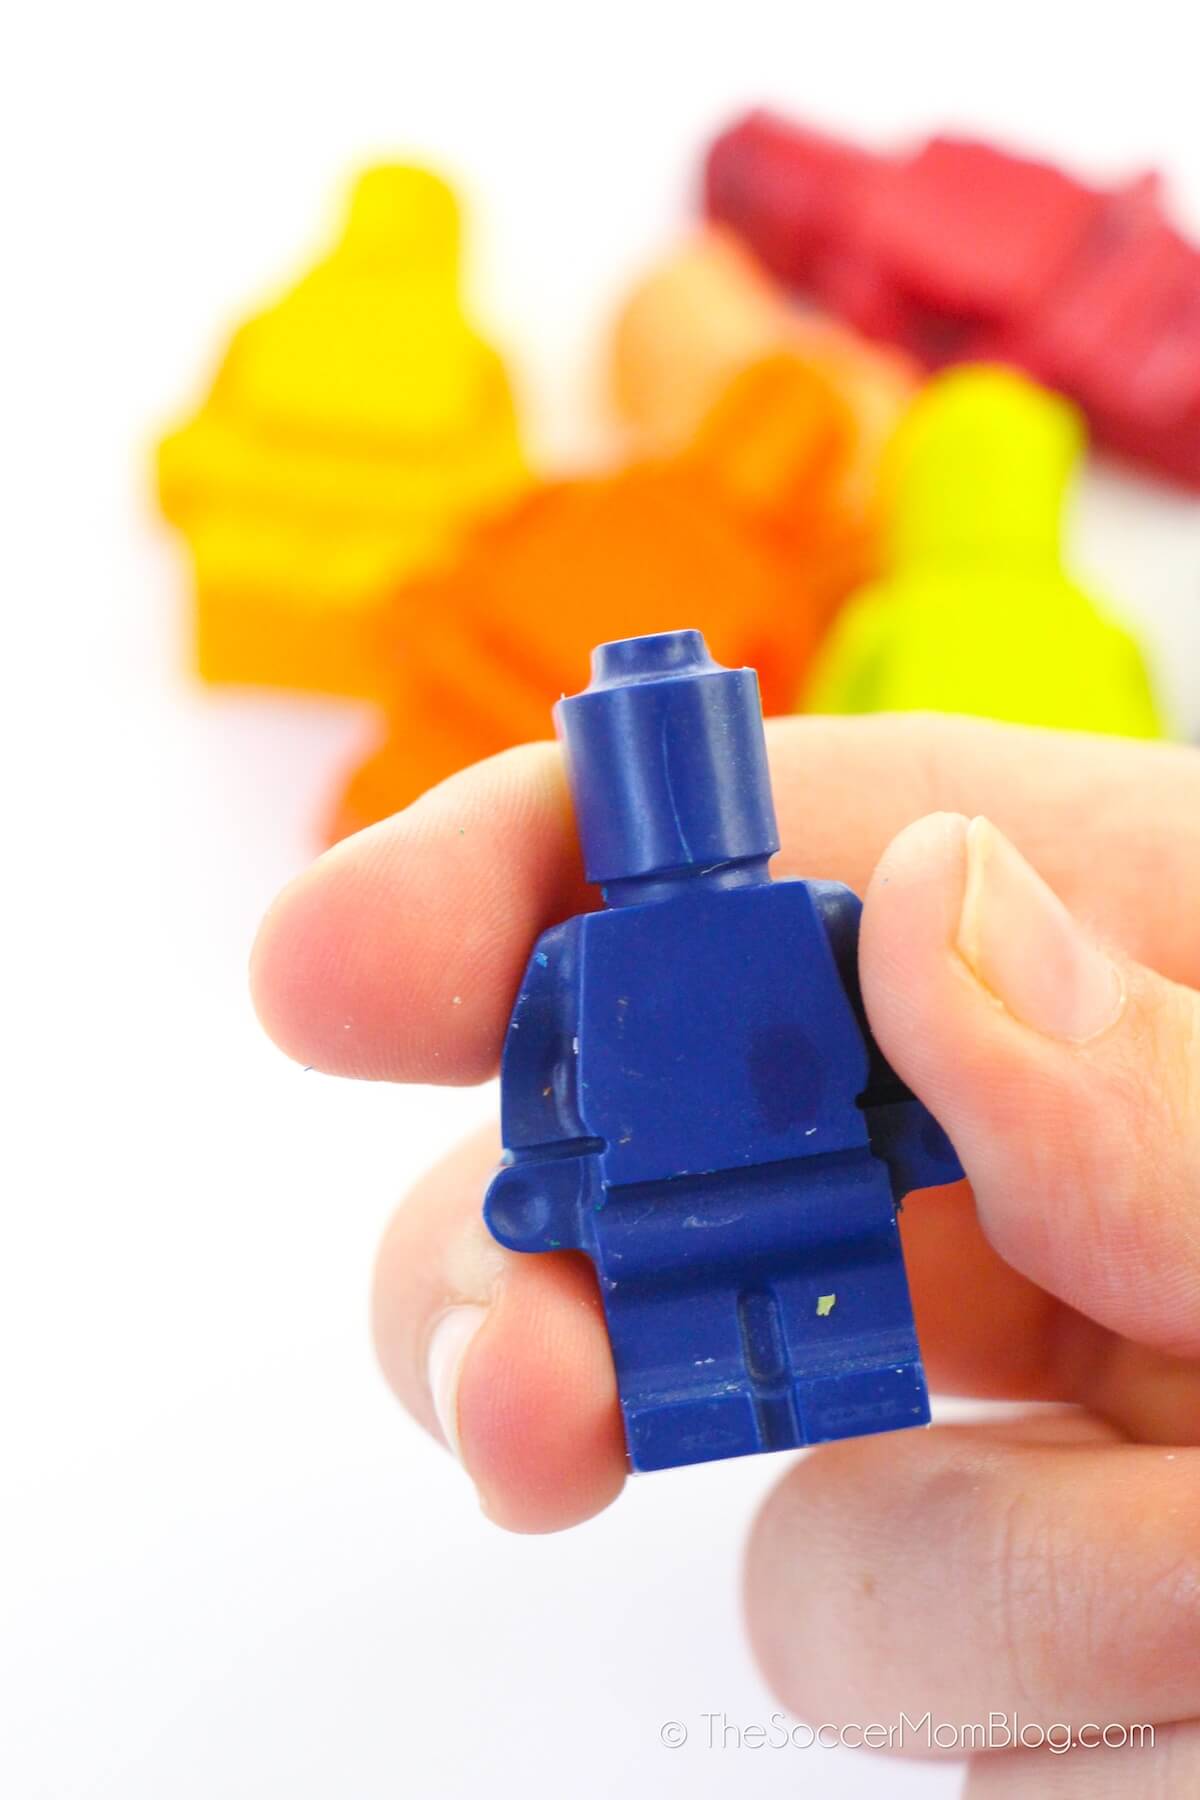
You can also use a different mold to make LEGO minifigure crayons:
Materials & Supplies Used
For your convenience, I’ve included shop-able ad links to products used to make lego crayons. Our disclosure policy is available here.
- Crayons — You can start with a box of new crayons, but this is also a fantastic way to use old crayons or even tiny pieces!
- LEGO Silicone Mold — This may be labeled as a candy mold or a soap mold in stores or online. It needs to be silicone and heat-safe for this project.
- Large Baking Sheet — Make sure to use a sturdy sheet that won’t bend, that way you can carry the tray of melted crayons in and out of the oven without spilling.
How to Make LEGO Crayons
To Prep: Preheat the oven to 325°F and place the silicone mold on top of a sturdy cookie sheet or baking pan.
- Peel any remaining wrappers off the crayons. There can be no paper in the molds!
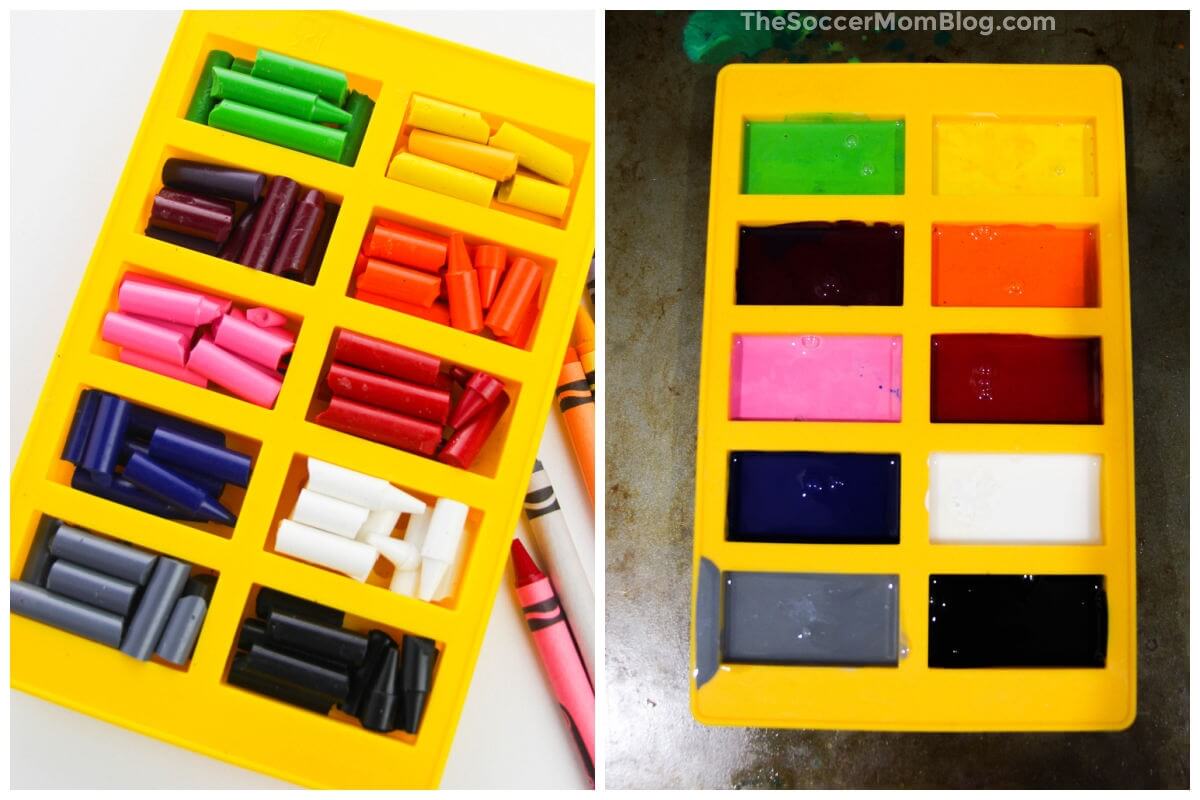
- Sort the crayons by color and break crayons into smaller pieces that will fit inside the cavity of your mold.
- Place the crayon pieces into each of the individual cavities of the crayon molds. You can keep like colors together, or mix them up to make different colors or rainbow swirl crayons.
- Melt the crayons in the preheated oven for 10-12 minutes, or until completely melted.
Prep Tips
- You can use a toothpick to stir the hot wax ensure there are no lumps remaining in the crayons. Grown-ups only for this step, as the wax will be hot!
- Be sure to allow the crayons to cool completely before removing them from the molds. Otherwise the crayons may bend and lose their shape. You also don’t want to touch the hot wax!
- If you have room in your freezer, you can place the mold in there to cool faster.
Frequently Asked Questions
Can You Melt Crayons In The Microwave?
Yes, you can use a microwave to melt your crayons. To do so, you will prepare the crayons and mold the same as the instructions above, but instead of putting the mold on a baking sheet, place mold on a microwave-safe plate. I repeat, do not put a metal pan in the microwave!
Start by heating the crayons for 2 minutes, stirring if needed, then heating in 1-minute intervals until fully melted. Remove carefully from the microwave and allow to cool completely before removing the LEGO crayons from the mold.
How Many Times Can You Re-Melt Crayons?
You can melt and re-melt many times as you like! Crayons are mostly made from paraffin wax and color pigment, so you can just re-use and re-cycle them over and over. When your LEGO crayons wear down and start to lose their shape, melt them down and make them look new again!
Enrichment Activity: Reversible Change
This DIY LEGO Crayons project is not only an art activity, it can also be a science activity!
Melting crayons is a fantastic and easy-to-understand way to illustrate the science concept of physical change, or reversible change. A physical change may alter an object’s size or shape, but does not change its chemical properties.
When we melt our old crayons, we change their shape. However, they are still comprised of the same material and can be melted and re-formed again and again. This is different than a chemical change, such as burning a piece of paper, because that piece of paper is chemically altered into ashes and can’t be re-assembled into its original form.
Making this craft is not only a great example of reversible change, but it is also a fun way to get kids excited about science. You could also use this activity to illustrate states of matter, as the crayons turn from solid to liquid and back to solid again.
Related: For more activities about types of changes, check out our Skittles Color Experiment or any of our favorite slime recipes!
More LEGO Themed Crafts and Recipes
DIY Lego Crayons Craft (Printable Instructions)
If you like this recipe, please rate it! We’d also love to hear your thoughts in the comments below.
Want to Save This Recipe?
Enter your email & I'll send it to your inbox. Plus, get great new recipes from me every week!
By submitting this form, you consent to receive emails from The Soccer Mom Blog
DIY LEGO Crayons
Ingredients
- 1 Crayons unwrapped
- 1 Lego Block Silicone Mold
- 1 Baking Sheet
Instructions
- Preheat your oven to 325F and place silicone mold on a sturdy cookie sheet.
- Peel the wrappers off all of the crayons.
- Break into small enough pieces to fit in the mold. Sort by color and place into the cavities of the mold.
- Melt the crayons in the preheated oven for 10-12 minutes until completely melted.
- Allow the crayons to cool completely before removing from mold.
Video
Pin our Homemade LEGO Crayons craft on Pinterest:
You might also like:
- Amish Sugar Cookies - April 19, 2024
- Marshmallow Playdough - April 18, 2024
- Homemade Fruit Leather Recipe - April 17, 2024


Leave a Reply