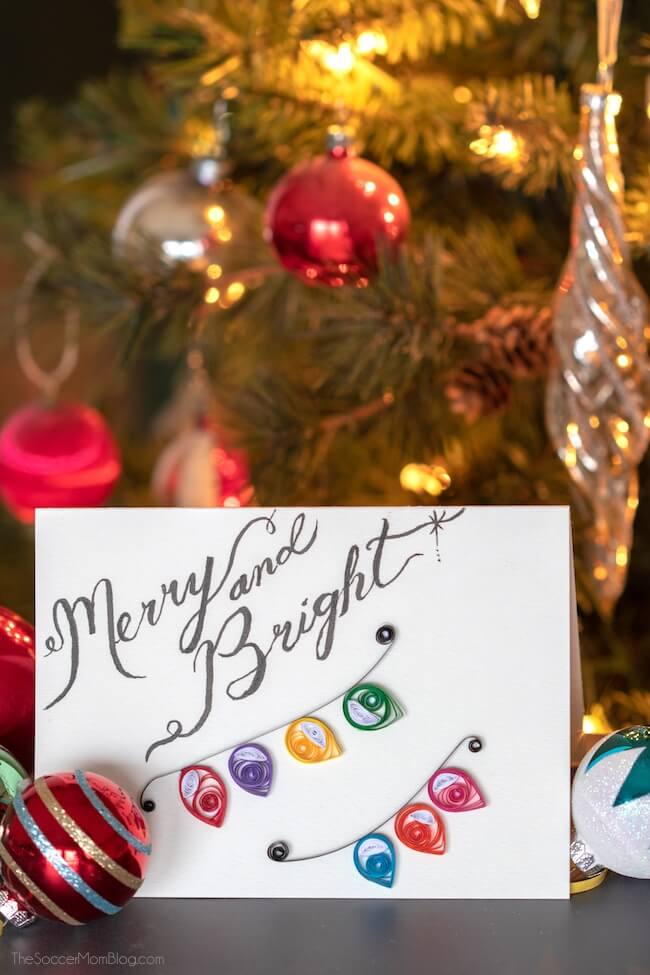
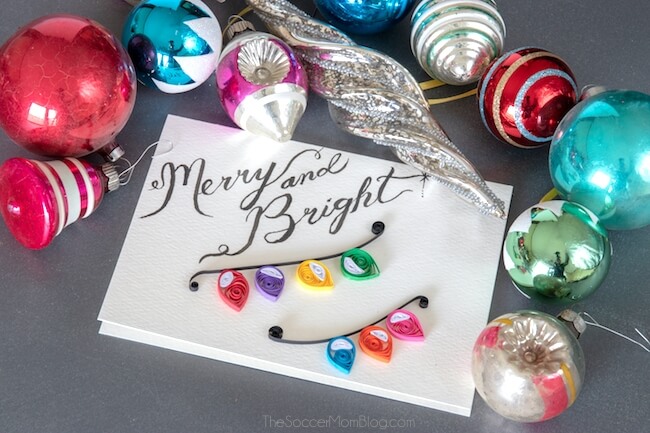
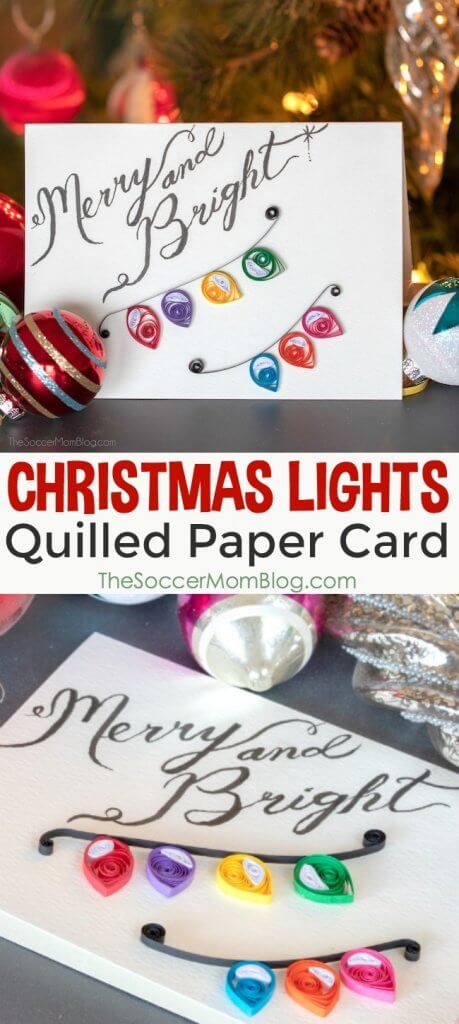
A simple, yet beautiful Quilled Christmas Lights Card that is easy enough for beginners to make. Step-by-step video and photo tutorial inside.
Easy Quilled Christmas Card
The first time I saw a quilled paper card project, I thought it looked complicated. But I couldn’t have been more wrong!
Surprisingly, quilled paper crafts are easy enough for a novice crafter like me. Quilling would also be a fun project for older kids and teens!
Our first quilling project was this Quilled Pumpkin for Halloween. It was so cute that we decided to make another quilled craft for Christmas.
You only need a few basic supplies to make this Quilled Christmas Card (listed below). You can make your own quilling strips by cutting regular craft paper, but I find it easier to buy a set of quilling paper because it takes less time. A quilling tool is also fairly inexpensive, and you can use it again and again for other quilled paper projects.
Quilling paper is a little like curling ribbon — you just insert a strip of quilling paper into a slotted quilling tool and turn until the paper is tightly wound around the tool. Then you can press and glue your curled quilling paper into teardrop shapes that look just like Christmas lights. So pretty!
Keep reading to see how we made this easy quilled Christmas card – there’s even a quick video tutorial to help show you how it’s done!
Quilled Christmas Card Supplies
For your convenience in re-creating our Quilled Christmas Lights Card, I’ve provided shop-able ad links to some of the products used; disclosure policy available here.
How to Make Quilled Christmas Lights
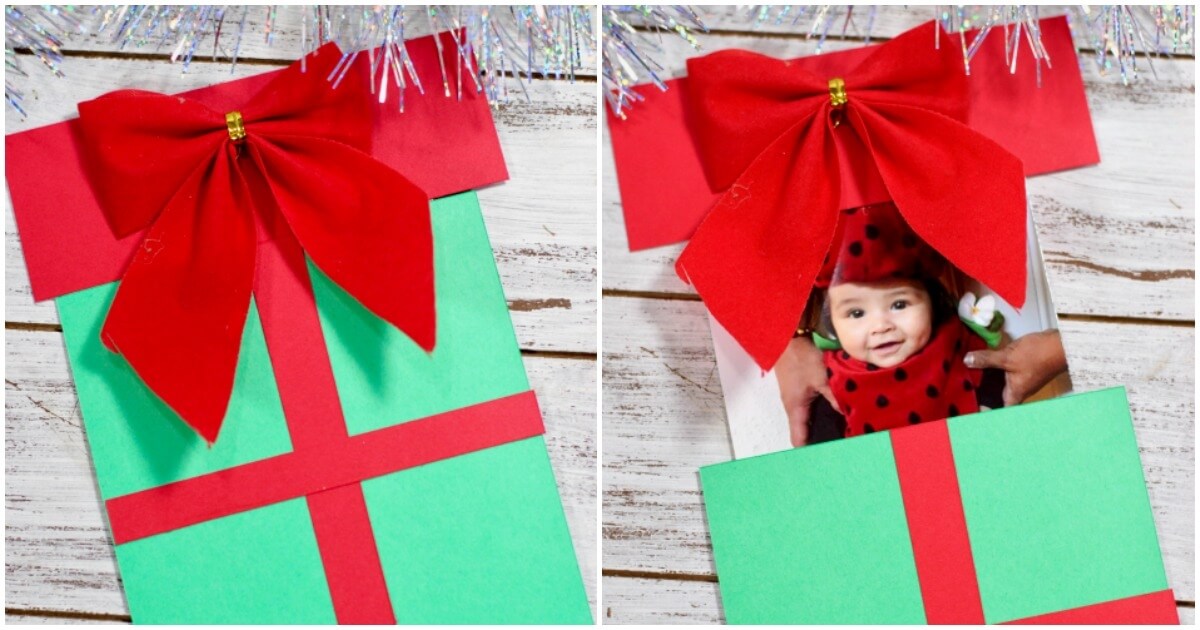
First, watch our quick video tutorial to see exactly how we made our Christmas Present Pop-Up Card. Then keep reading for full photo step-by-step instructions below.
Click video to play:
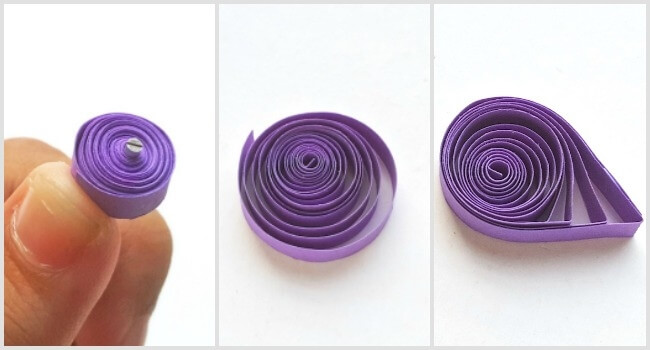
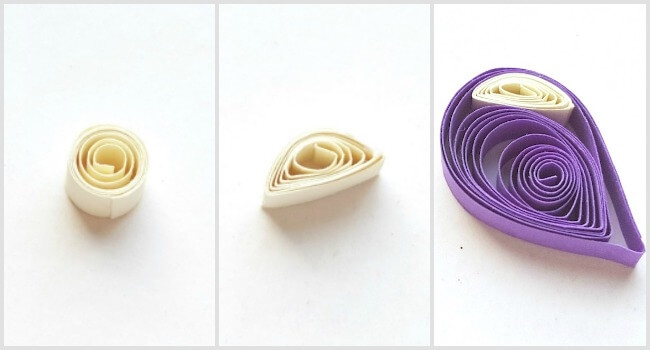
Take a 20 inches long colored quilling strip and use the slotted quilling tool to coil the entire strip. Once the coiling is done, take out the coiled strip from the tool and allow it loosen up.
Press any one side of the loose coil to form a teardrop shape and glue the open end to secure the shape.
Take a 3 inches long white colored quilling strip and create a loose coil shape with it. Press 2 opposite sides of the loose coil to form a lens shape.
Take the teardrop shape prepared in the previous steps. Insert the lens shape created in step 5 into the teardrop shape, through the gap of any coils near the curved end – this forms a bulb.
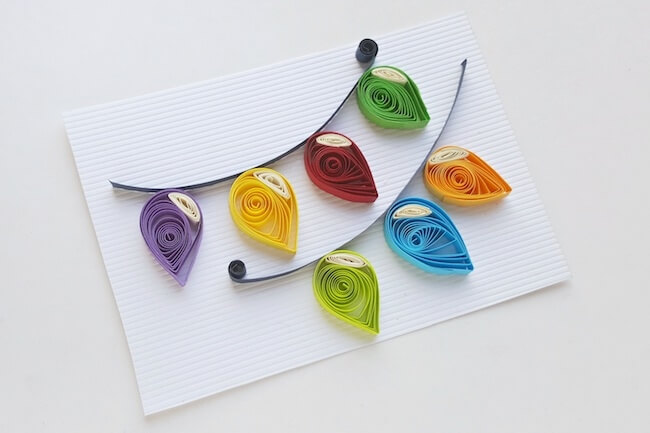
Use the above process to create as many different colored Christmas light bulbs as you like.
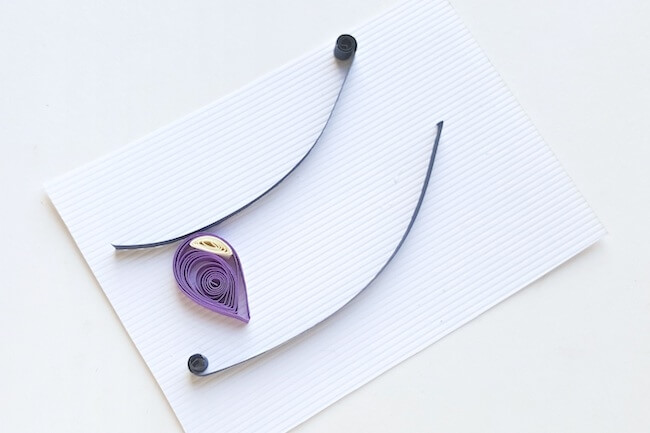
Use a 6 inch long black quilling strip and create a small twirl on any of its ends. Use about 2 or 3 cm to create the twirl pattern. Repeat with a second black quilling strip.
Glue the 2 black twirled strips on the paper by creating a slight curvy pattern with them. Glue the 2 strips in 2 rows, keeping at least an inch gap between them.
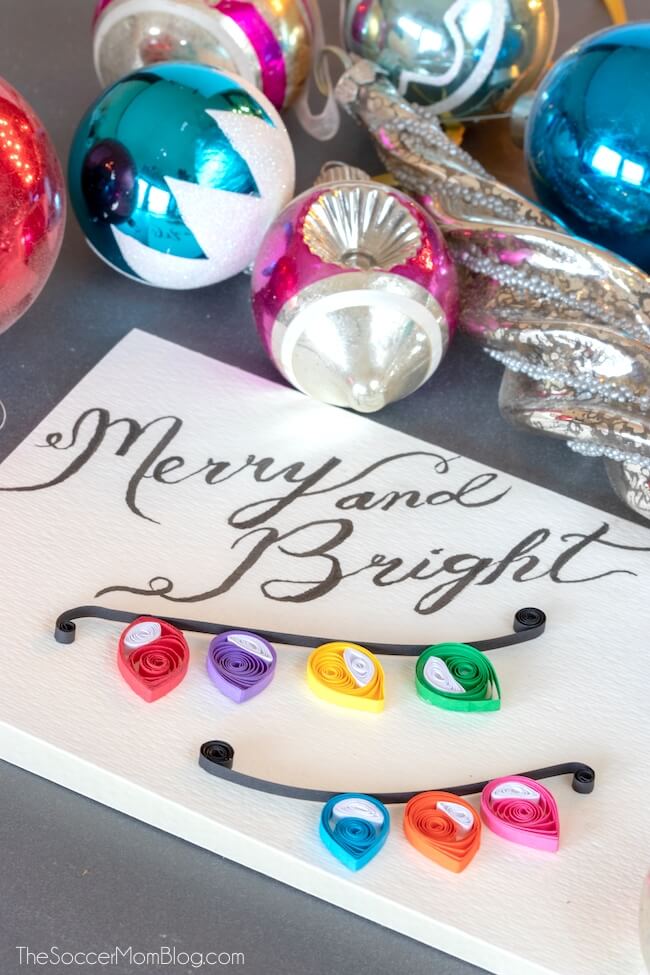
Glue your brightly colored paper Christmas light bulbs and glue them along the black “wire,” keeping the curved ends of the bulbs adjacent to the black strips.
One by one add your bulbs to fill the black strip.
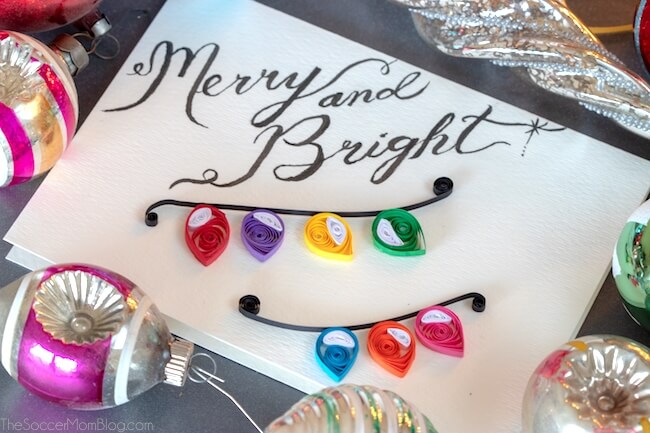
Allow the glue to dry and write your own unique Christmas message on the front of your card.
Related: Click here to see a HUGE collection of over 100 Easy Christmas Crafts for Kids!
Be sure to pin this Easy Quilled Christmas Card on Pinterest:
Get holiday kids craft ideas delivered right to your inbox!
Sign up for our Soccer Mom Blog weekly inspiration newsletter and you’ll get more craft ideas, more slime recipes, more mom hacks delivered right to your inbox. It’s free!
[convertkit form=4956161]
More of our favorite easy handmade Christmas card ideas:
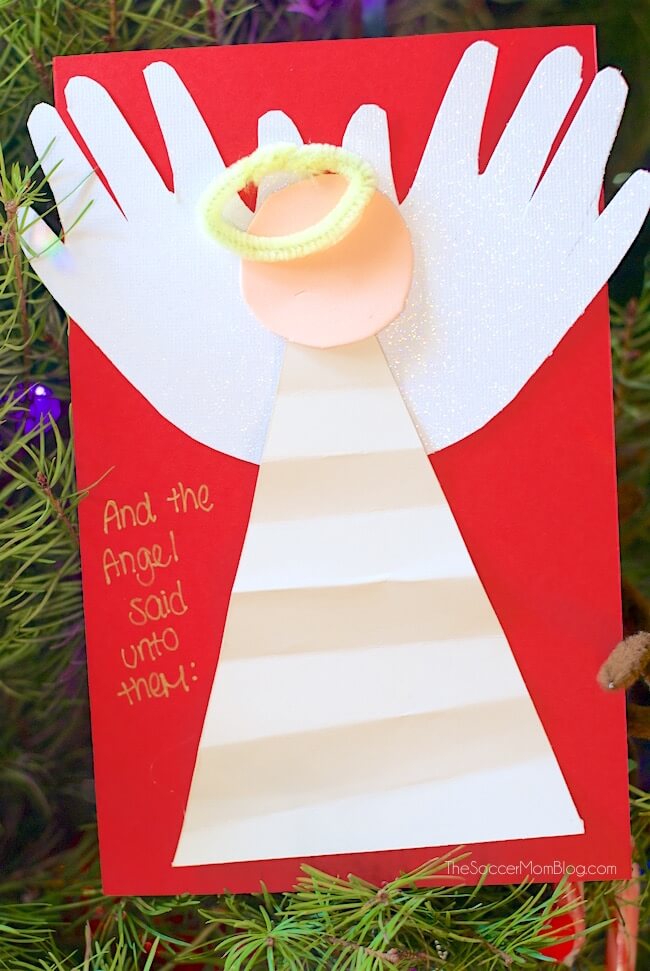
Handprint Angel Christmas Card
- Amish Sugar Cookies - April 19, 2024
- Marshmallow Playdough - April 18, 2024
- Homemade Fruit Leather Recipe - April 17, 2024

Leave a Reply