Easy Buckeye Candy
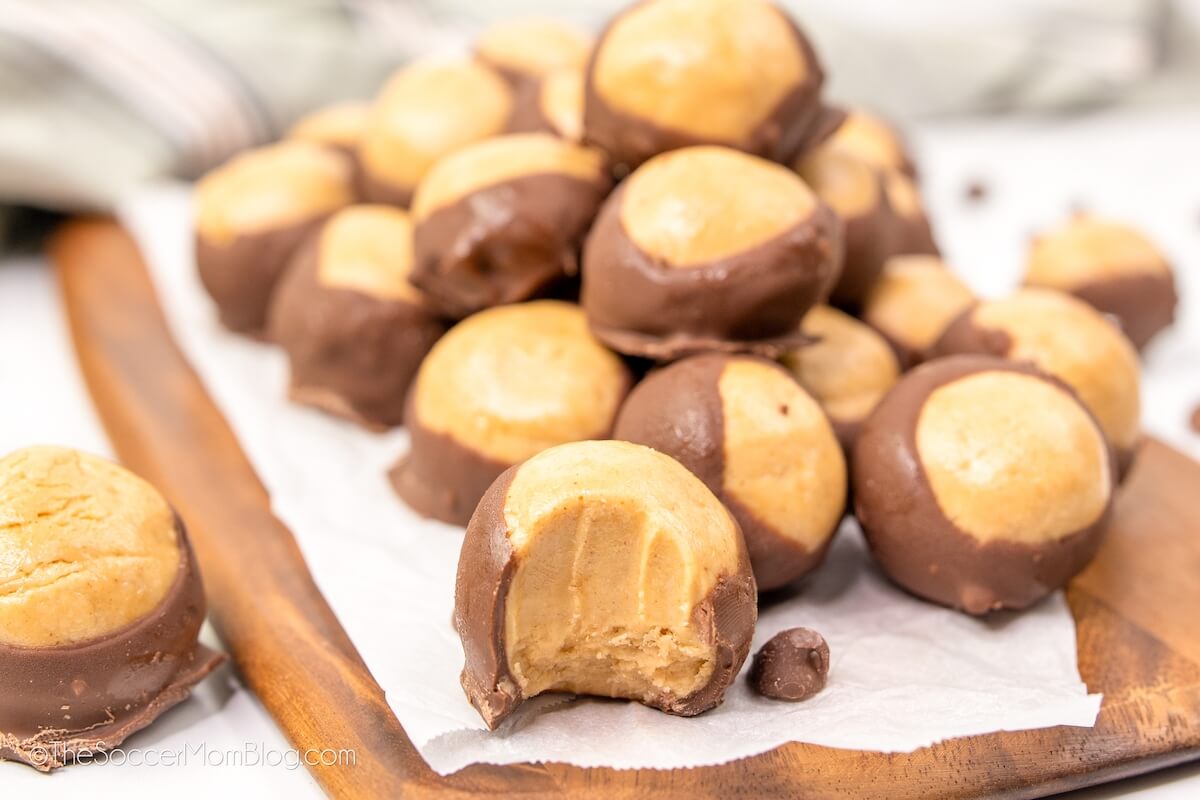
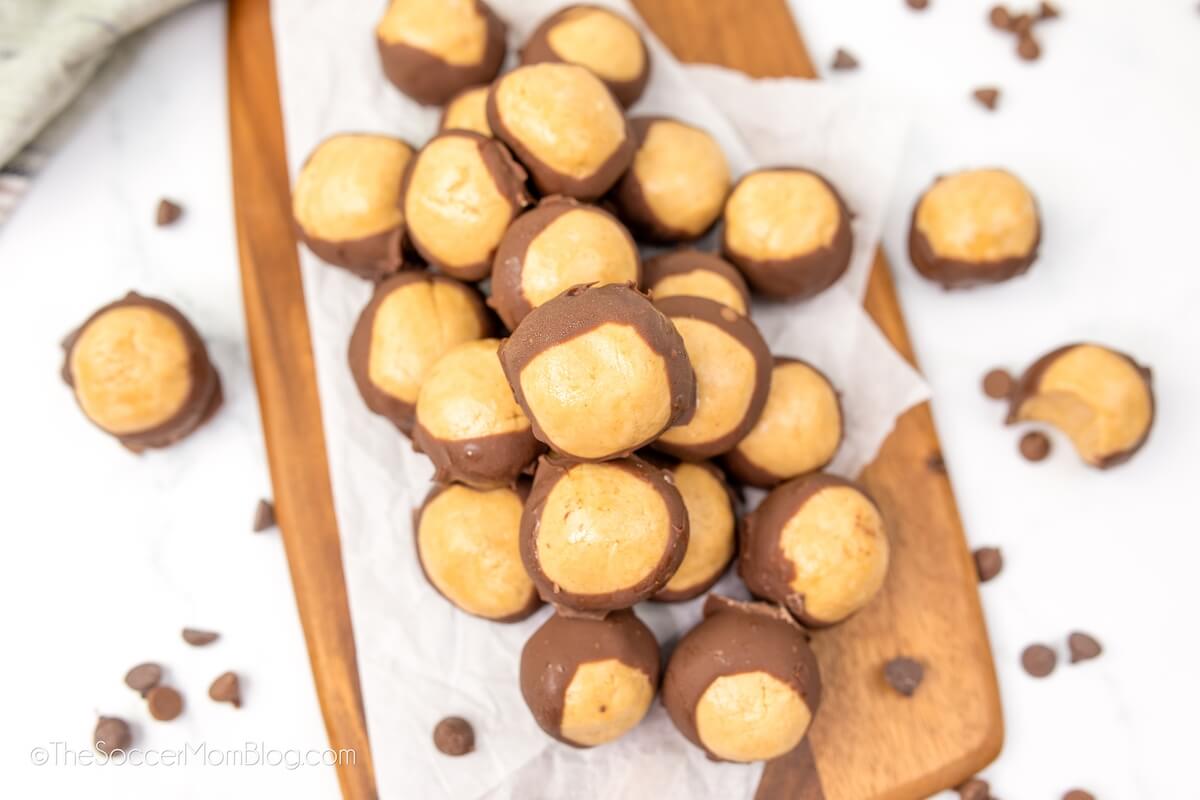
Buckeye Candy (also known as Buckeye Balls) are a classic treat made by dipping decadent peanut butter balls in chocolate.
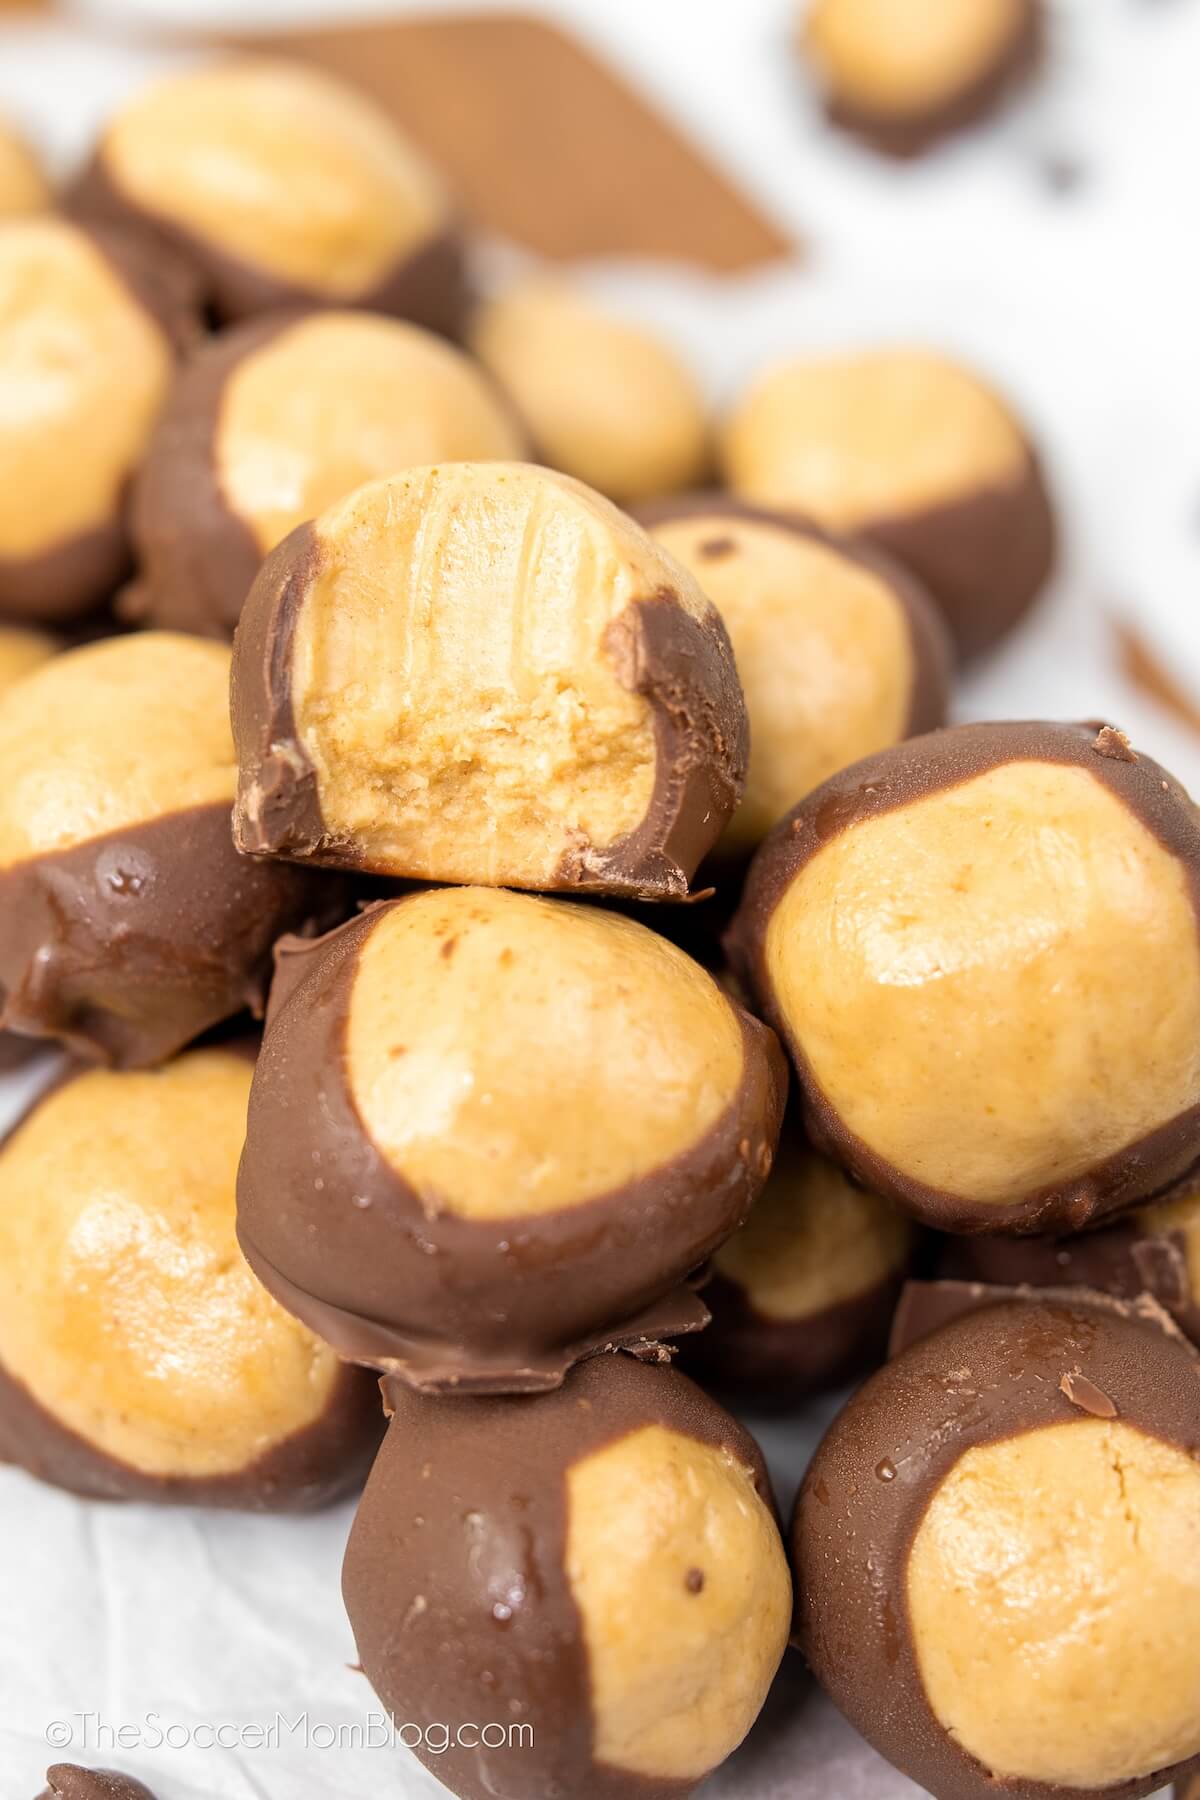
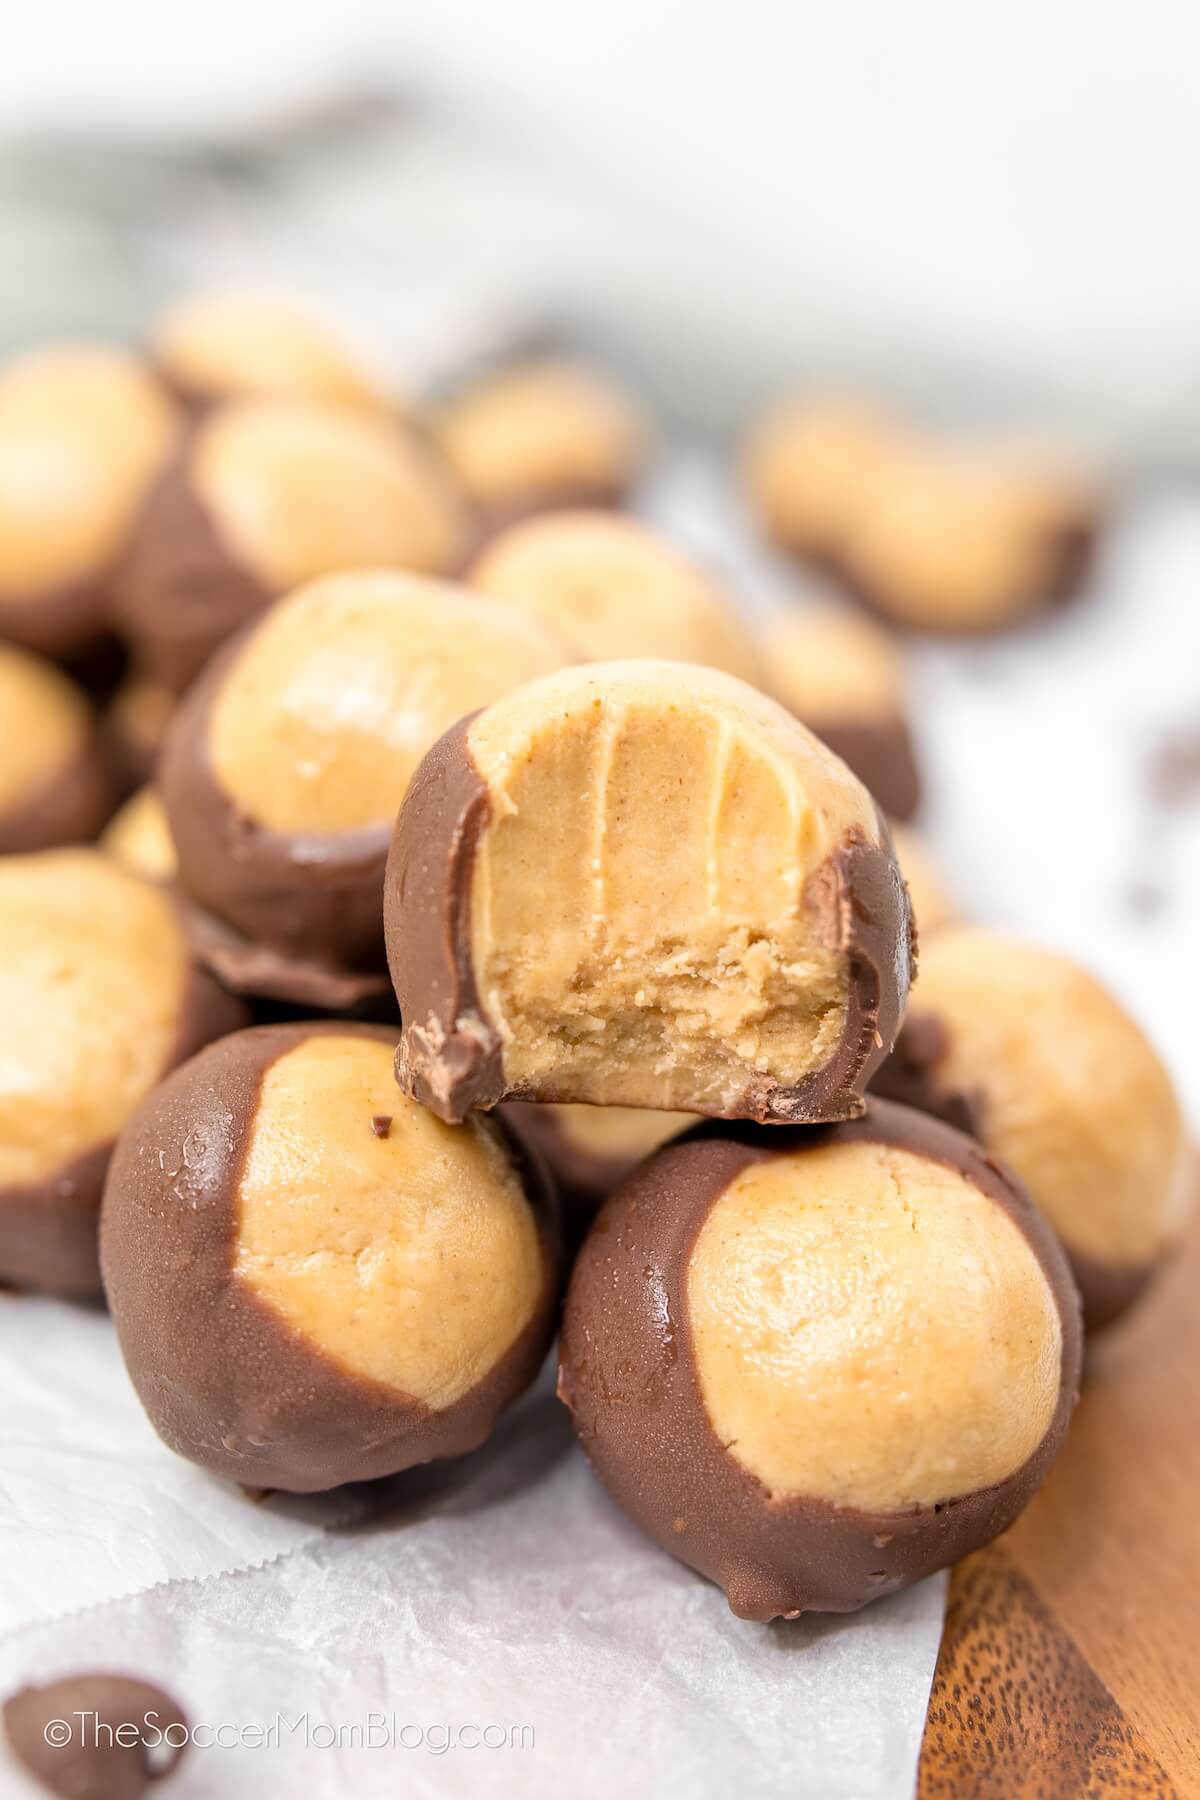
Chocolate Peanut Butter Balls (aka Buckeye Candy)
It really doesn’t get any better than the classic combination of peanut butter and chocolate. If you love Reese’s peanut butter cups, then you will love these chocolate peanut butter balls! Also known as Buckeye Candy, the base of this recipe is a ball of fluffy peanut butter whipped with powdered sugar to make something light, fluffy, and fabulous.
Then this ball of peanut butter deliciousness is dipped in smooth melted chocolate, for just the right balance of flavor. Now, I love my Reese cups, but they don’t hold a candle to homemade Buckeyes!
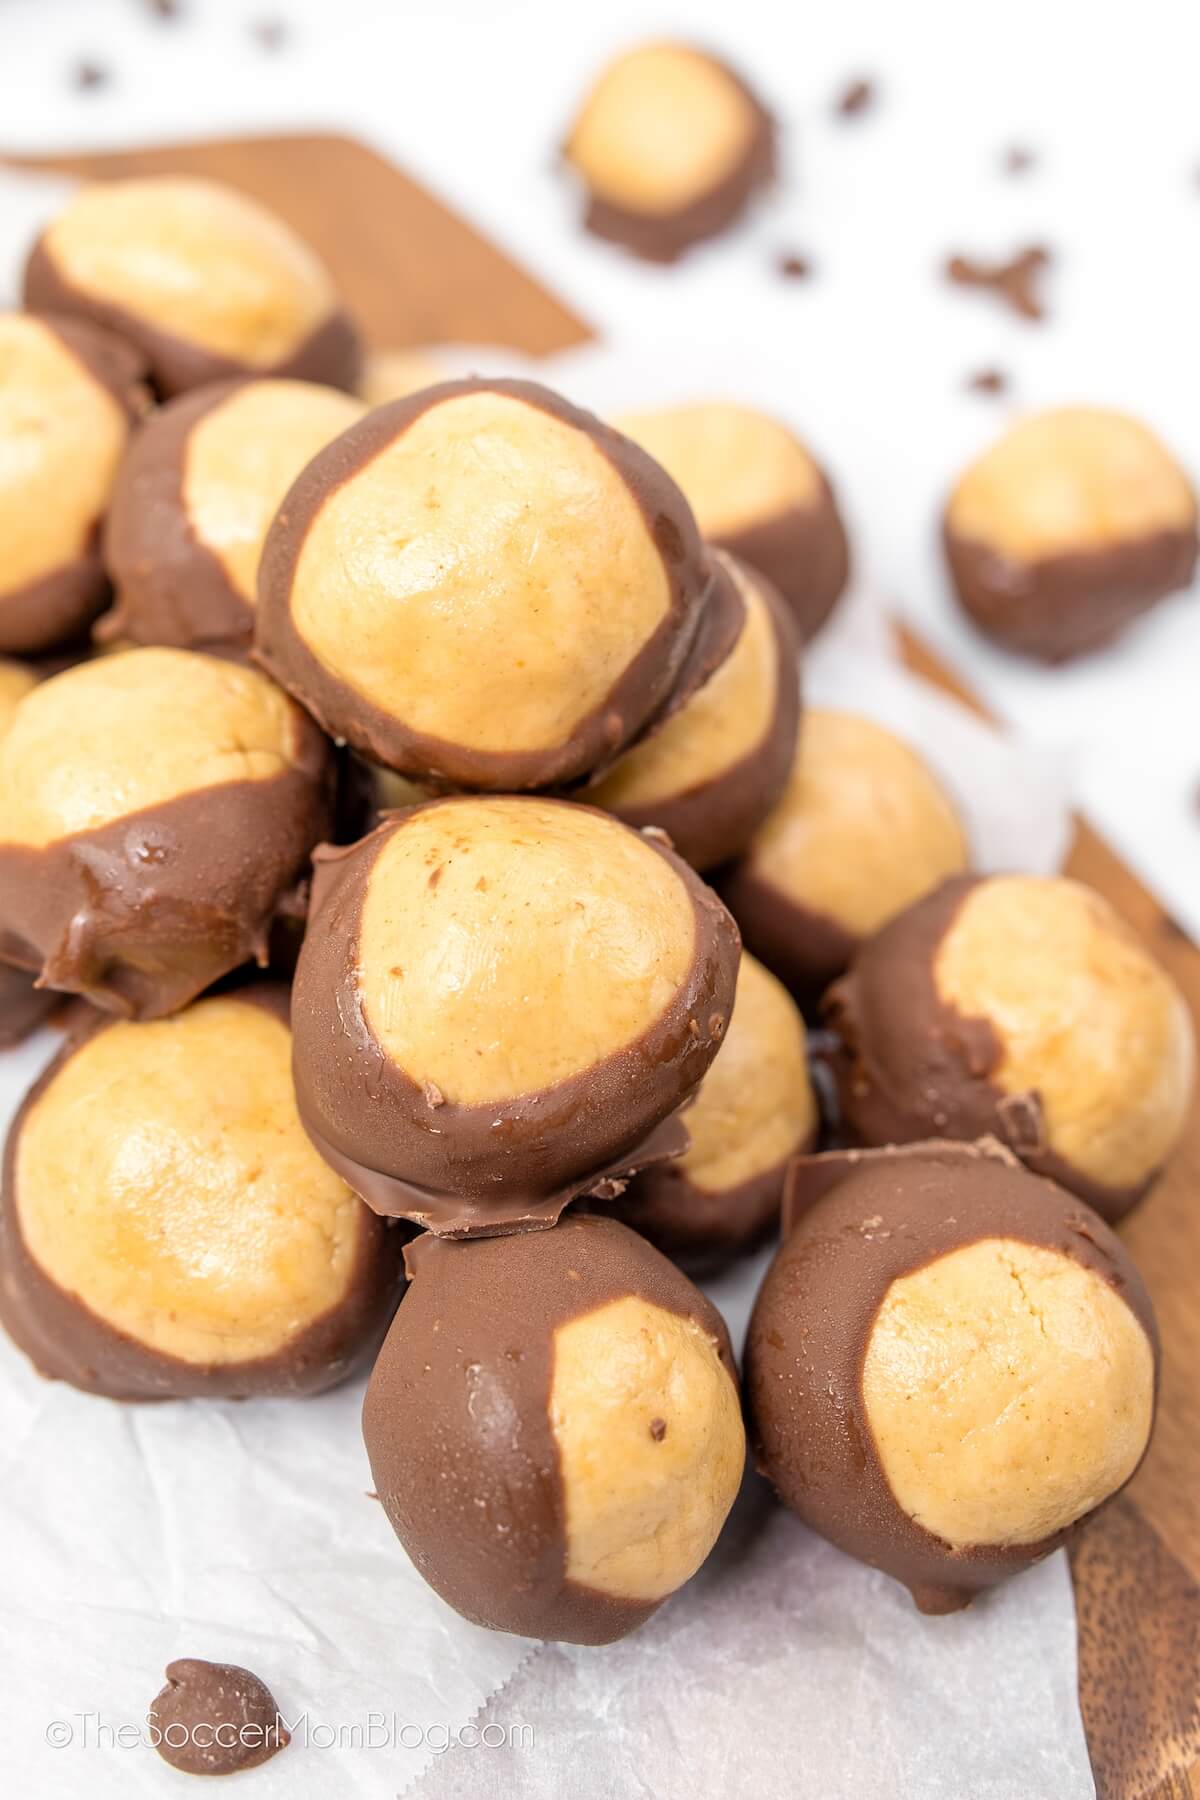
These peanut butter buckeye candies are fudge-like despite not requiring any baking. Unbelievably easy and delicious!
With no oven required, these No Bake Peanut butter Balls are a great dessert option that the kids can help make! These decadent peanut butter balls are a sweet choice year round, but when chilled they’re perfect for cooling down in summer!
They also make a fabulous (and quick!) holiday treat to share with family and friends during the Christmas season!
Where Did Buckeye Candy Originate?
If you grew up in Ohio (or nearby West Virginia like I did), you might be familiar with the buckeye tree. It is most recognizable by the big shiny brown seeds/nuts that fall to the ground every autumn and it is the state tree of Ohio.
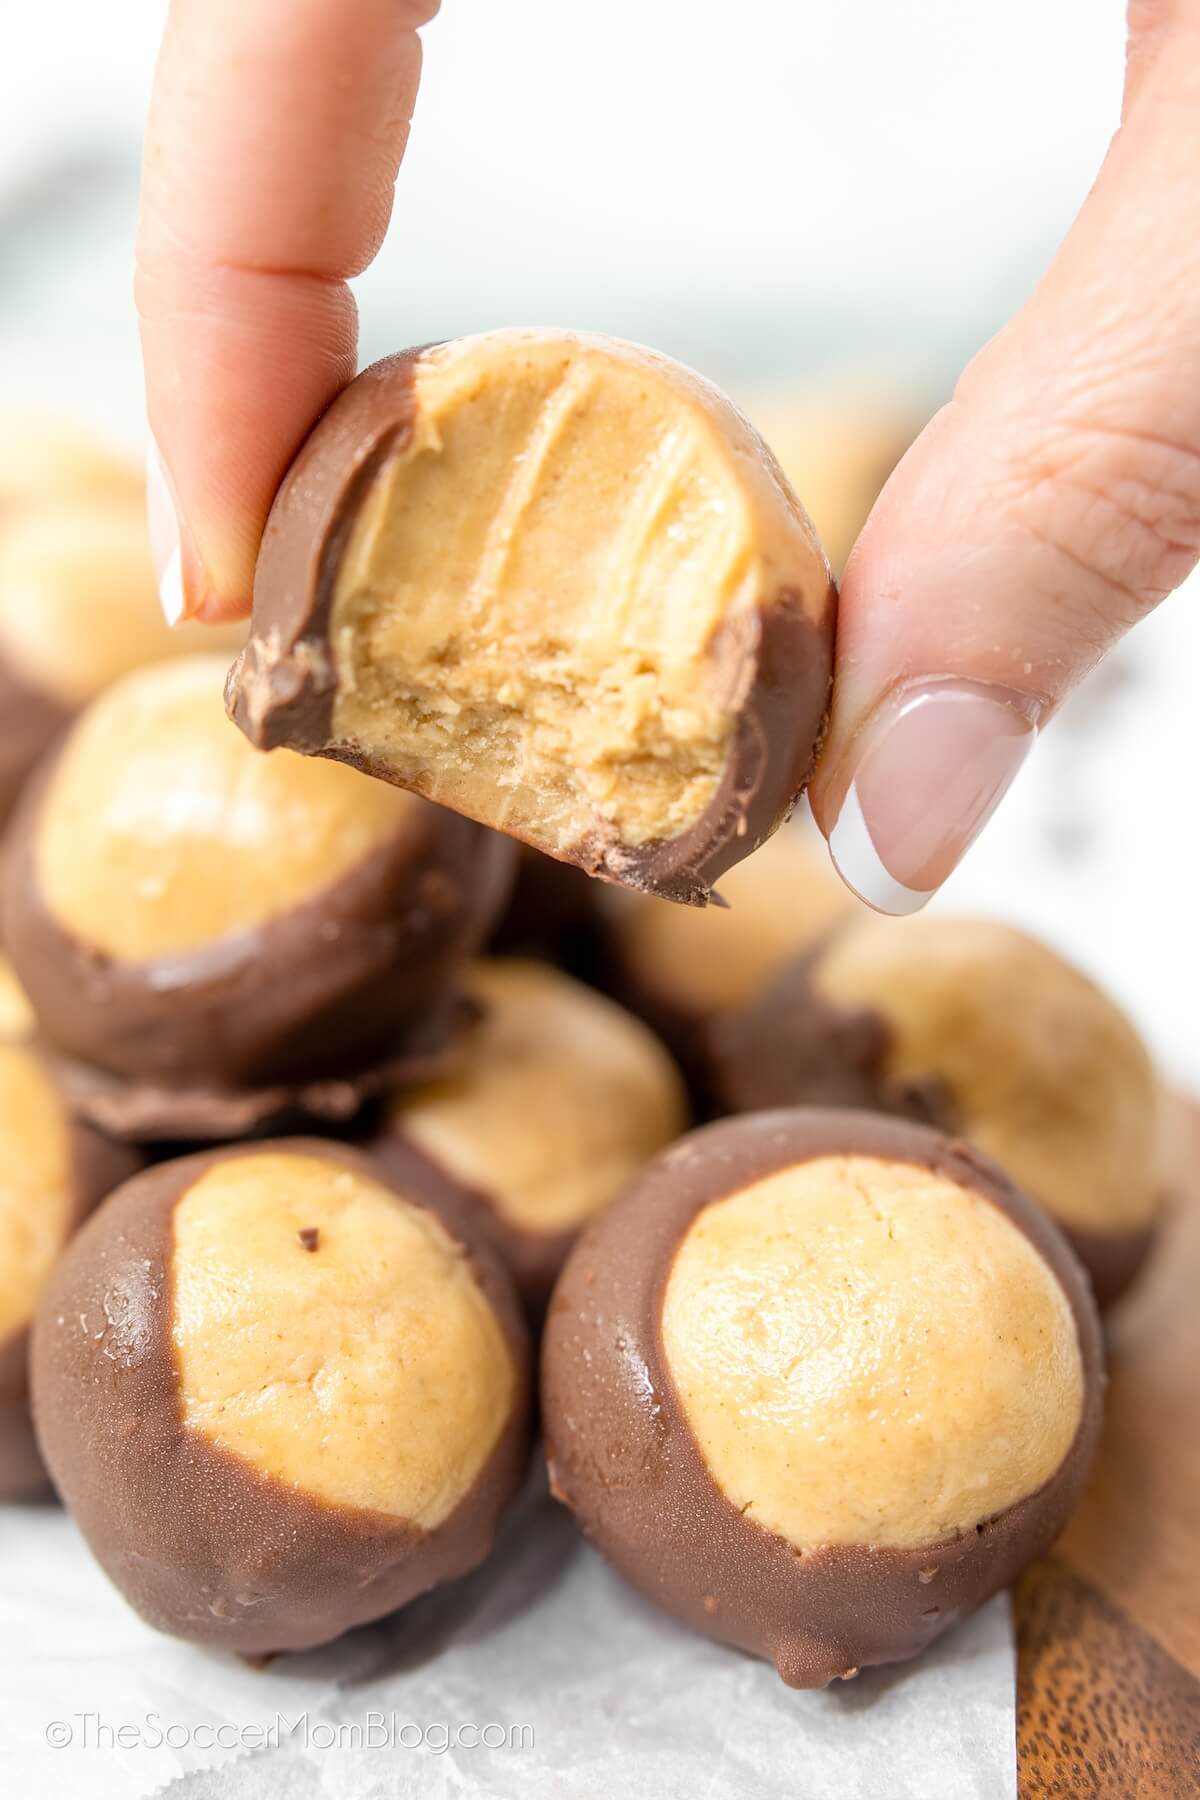
Buckeye candy, with its creamy peanut butter center and chocolate coating, bears a striking resemblance to those shiny buckeye nuts, and that’s no coincidence! The story goes that Ohio resident (and Ohio State Buckeye fan) Gail Tabor invented this sweet treat in the 1960s. She brought her famous Buckeye Candy to Ohio State University – Michigan football game every year, and eventually the recipe spread beyond the local fans.
Now we all can enjoy it!
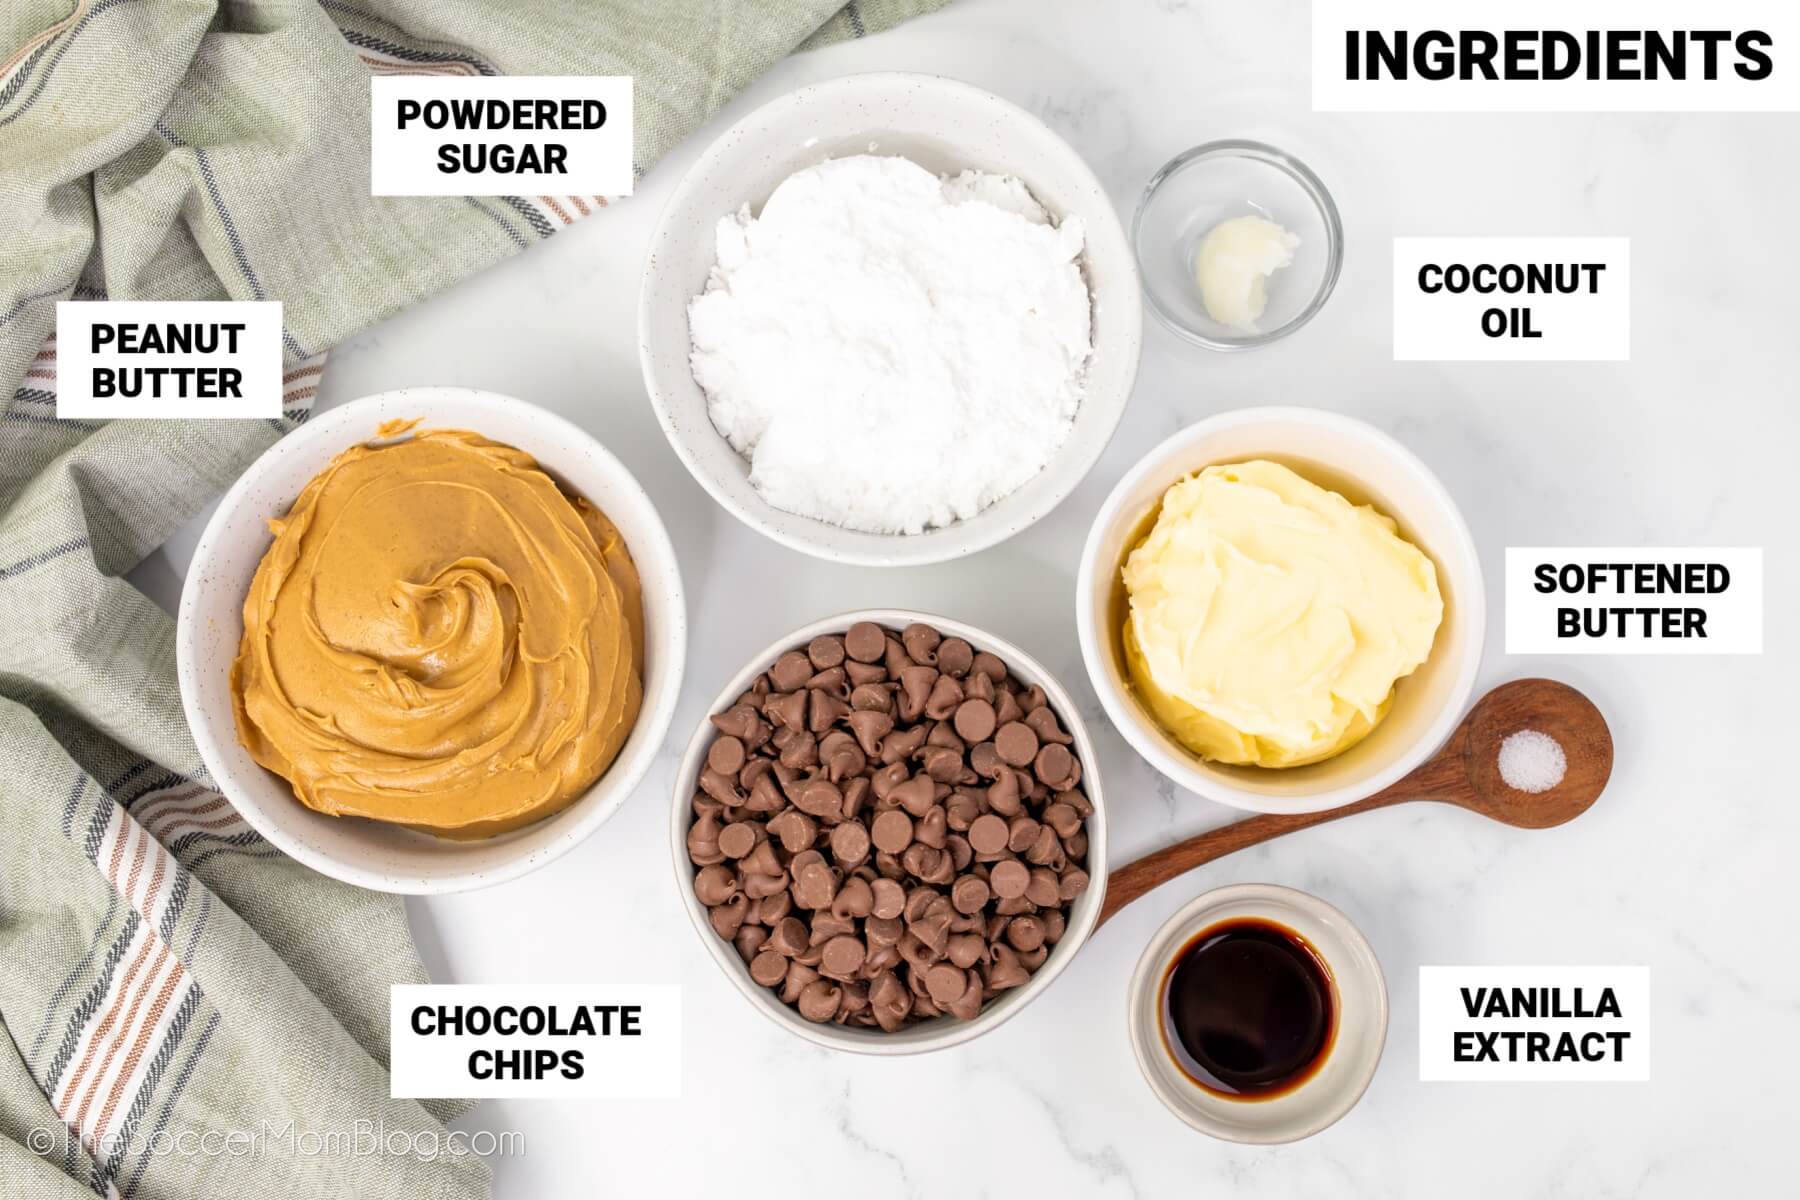
Ingredients
I’ve included ad links for your convenience in re-creating this recipe; disclosure policy available here.
- 1 ½ cups creamy peanut butter
- 1 cup unsalted butter — room temperature
- 1 teaspoon vanilla extract
- Pinch of salt
- 6 cups powdered sugar
- 1 bag semisweet chocolate chips — a typical 12 oz bag (can also use melting wafers or almond bark)
- 1 teaspoon vegetable shortening or coconut oil (only needed if using chocolate chips, not melting wafers)
Kitchen Supplies Used
- Cookie sheet or baking sheets
- Parchment Paper, wax paper, or Non-stick silicone baking mat
- Medium Cookie Scoop
- Microwave-safe bowl (or double boiler) — for melting the chocolate
- Toothpick — for dipping the balls in chocolate
Instructions
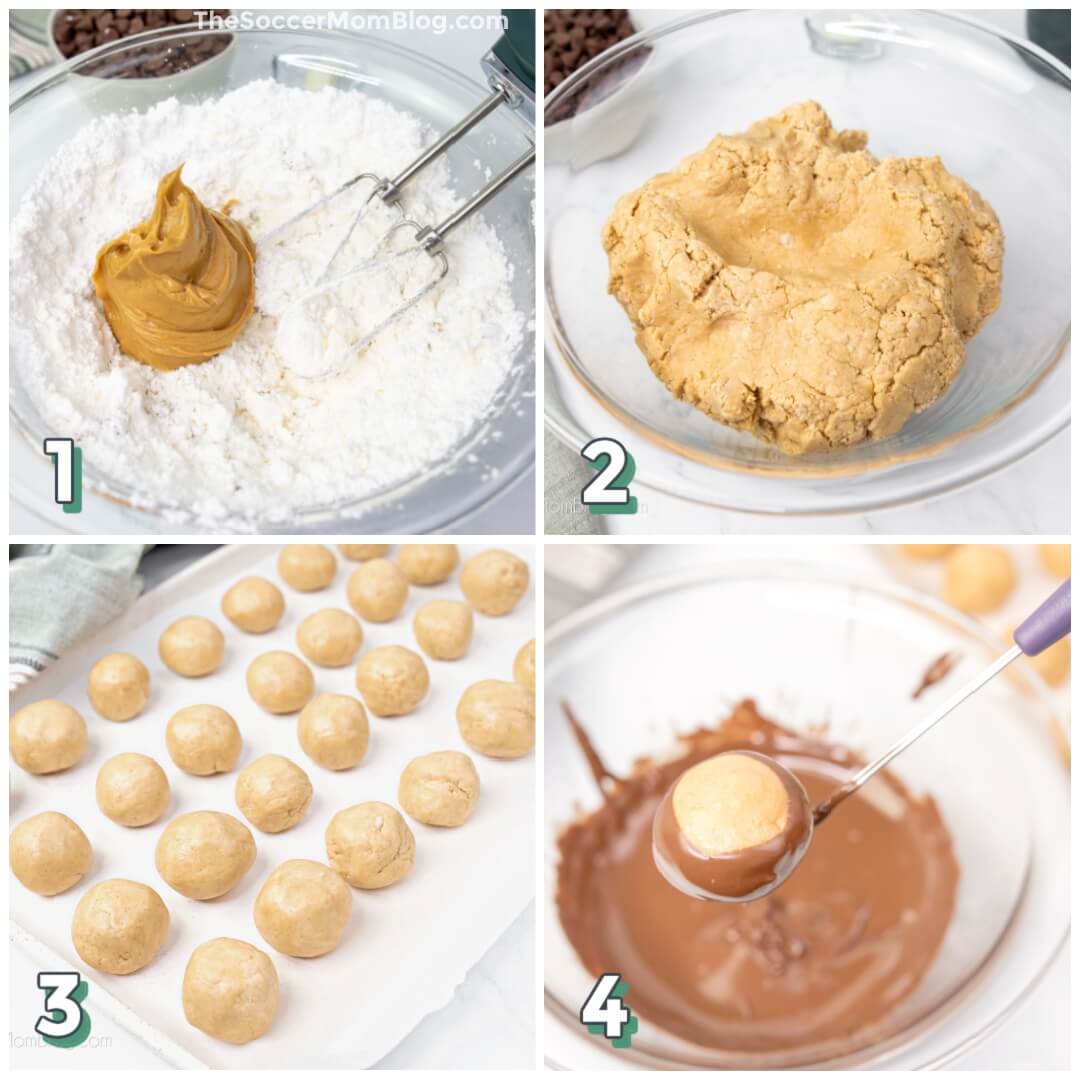
- In the bowl of a stand mixer using paddle attachment, or using a large mixing bowl and a hand mixer, cream together butter and half of the confectioner’s sugar until light and fluffy. Scrape down the sides of the mixing bowl as you go, to make sure everything is incorporated. Add vanilla and a pinch of salt and mix for 30 more seconds.
- Add the peanut butter and the other half of the powdered sugar and mix it in. Place the mixing bowl in the refrigerator to chill for about an hour. This will help the peanut butter mixture set up so that it is easy to form into balls that will keep their shape.
- Use a medium cookie scoop to portion the peanut butter batter into even balls, about the size of a ping pong ball. Place on your lined baking sheet. Once all the dough has been portioned out into 1-inch balls, place the baking sheet in the freezer for an hour.
- When you’re ready to coat the peanut butter balls in chocolate, melt your semi-sweetchocolate chips or melting wafers using a double boiler or the microwave. If microwaving, heat in 20 second intervals and stir in between, until smooth. Be sure to use a microwave safe bowl. Use a toothpick or tongs to pick up each peanut butter ball and dip the bottom in the melted chocolate. Allow excess chocolate to drip back into bowl. Once they’ve all been coated, place the puffs back on the cookie sheet or platter and freeze for another 15 minutes to set the chocolate.
Prep Tips
- Chocolate – You can also use Ghirardelli chocolate melting wafers (or similar) instead of chocolate chips. If using melting wafers, you won’t need to use shortening, as the wafers are specially formulated to melt smoothly. You can also use a different flavor of chocolate that you like, such as milk chocolate or dark chocolate.
- Prep Time – While this is a super easy recipe to make, you will want to plan ahead as it does require about two total hours of chilling time. This step is important because it helps the peanut butter balls to keep their shape when you dip them in the melted chocolate.
Frequently Asked Questions
Can You Use Natural Peanut Butter?
I’m all about trying to eat less processed food when possible. However, in this case, we want to use regular ol’ peanut butter, like Skippy or JIF. The reason being that oils often separate in natural peanut butter. This makes it less suitable for our candy making purposes.
This also means that many other nut butters, such as almond butter or cashew butter, might not work well for this recipe. The main thing to look for is texture — you want to make sure that any substitute is smooth and stable like normal peanut butter.
How to Store Buckeye Candy?
I recommend storing your homemade buckeye candy in an airtight container in the fridge to keep them from melting or softening too much. My husband always keeps his candy in the fridge (homemade and store-bought) because he thinks it tastes better that way. I do have to admit that it is delicious chilled!
You can also freeze these chocolate peanut butter balls for up to three months. A freezer bag does the trick perfectly, and allows you to take out a single serving any time a craving strikes.
More of our Favorite No Bake Dessert Recipes
- Easy Keto No Bake Cookies
- No Bake Cookie Monster Cheesecake
- Chocolate Eclair Cake
- Frozen S’Mores
- Oreo Ice Cream Sandwich Cake
- Nutella Microwave Fudge
- Low Carb Peanut Butter Protein Balls
- 3-Ingredient Peanut Butter Granola Energy Bites
Peanut Butter Buckeye Recipe (Printable Recipe Card)
Tried this recipe and liked it? Please rate it!
Want to Save This Recipe?
Enter your email & I'll send it to your inbox. Plus, get great new recipes from me every week!
By submitting this form, you consent to receive emails from The Soccer Mom Blog

Easy Buckeye Candy
Equipment
- Mixer
- microwave safe bowl
- Lined Cookie Sheet
Ingredients
- 1 ½ Cup creamy peanut butter
- 1 Cup butter room temperature
- 1 teaspoon vanilla extract
- Pinch salt
- 6 cups powdered sugar
- 12 oz chocolate chips 1 typical bag
- 1 teaspoon shortening or coconut oil
Instructions
- Cream butter and half of the powdered sugar together until fluffy. Add vanilla and a pinch of salt, and mix for 30 seconds.
- Add peanut butter and mix. Add remaining powdered sugar and mix until well incorporated and you have a cookie dough like consistency. Place bowl of peanut butter mixture in fridge for an hour.
- After one hour, use a cookie scoop to form dough balls. Place on lined cookie sheet and freeze for one hour.
- Melt the chocolate chips and shortening together using either a double boiler or the microwave. If microwaving, heat in microwave safe bowl in 20-second increments.
- Dip the bottom of each puff into the melted chocolate. Place the puffs back on the cookie sheet or platter and freeze for another 15 minutes to set the chocolate.
- Store any leftovers in an airtight container in the fridge.
Video
Nutrition
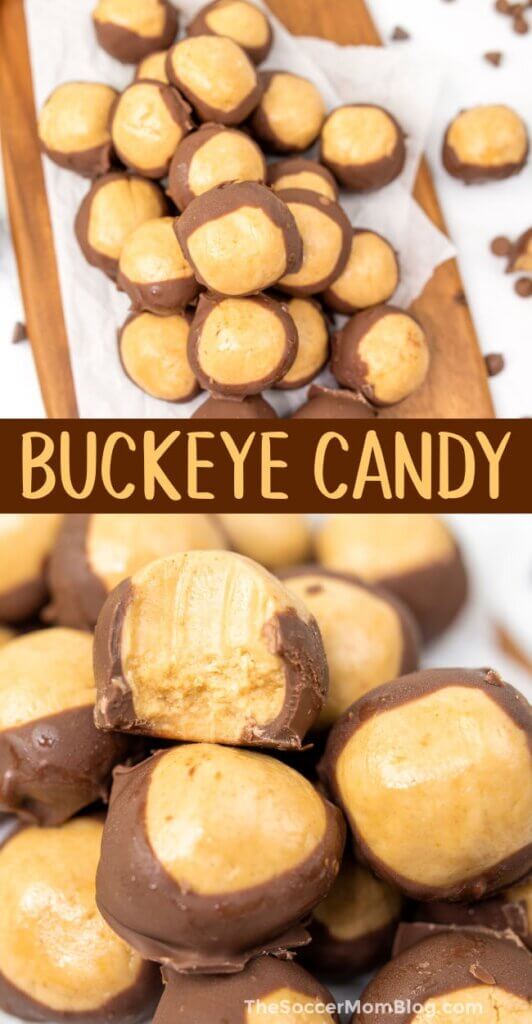
Pin Our Easy Buckeye Balls Recipe on Pinterest:
You might also like:

- Beach Day Rice Krispie Treats - June 23, 2026
- Pickled Jalapeños Recipe - June 15, 2026
- Homemade Nesquick Mix - June 11, 2026