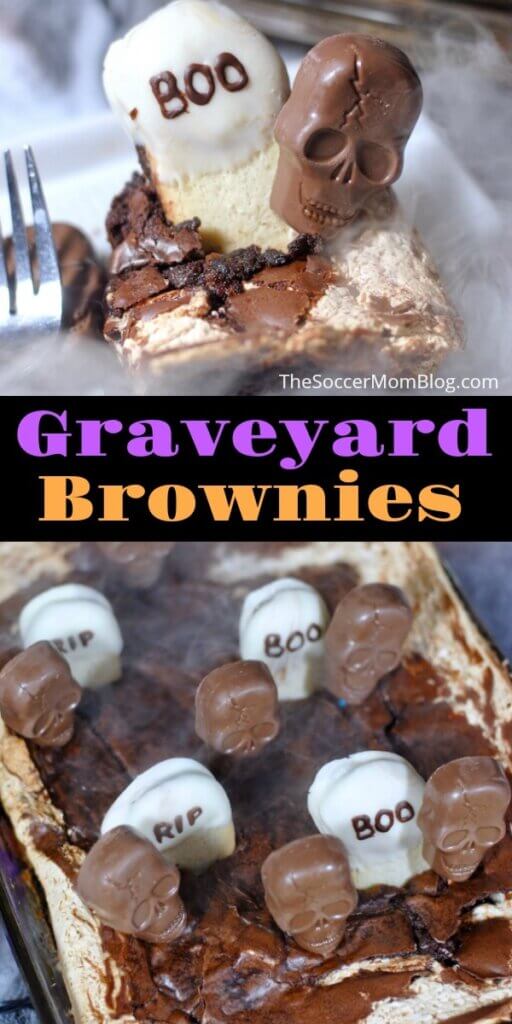
Easy Graveyard Cake
Graveyard Cake is a spooktacular Halloween party recipe made with rich brownie, creamy marshmallow, and crunchy Butterfinger Peanut Butter Skulls. Only 4 ingredients! This is a sponsored post written by me on behalf of Butterfinger. All opinions are 100% mine.
Halloween Graveyard Brownie Cake
Growing up, I looked forward to Halloween all year, both for the costumes and the candy.
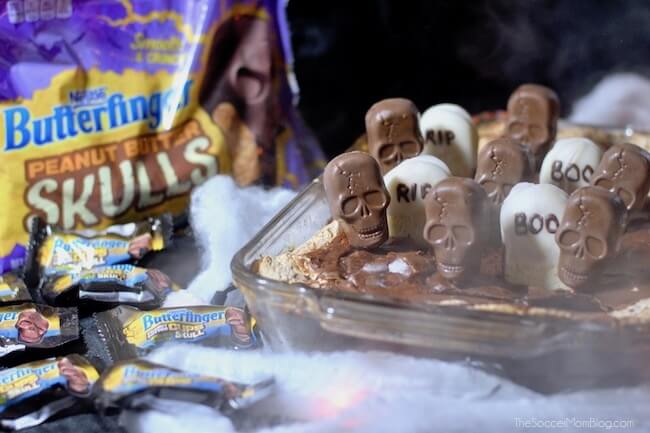
Butterfinger Peanut Butter Skulls are one of the coolest Halloween candies I’ve ever seen! The skull shape is perfect for creating creepy desserts, and is the inspiration for our Graveyard Cake.
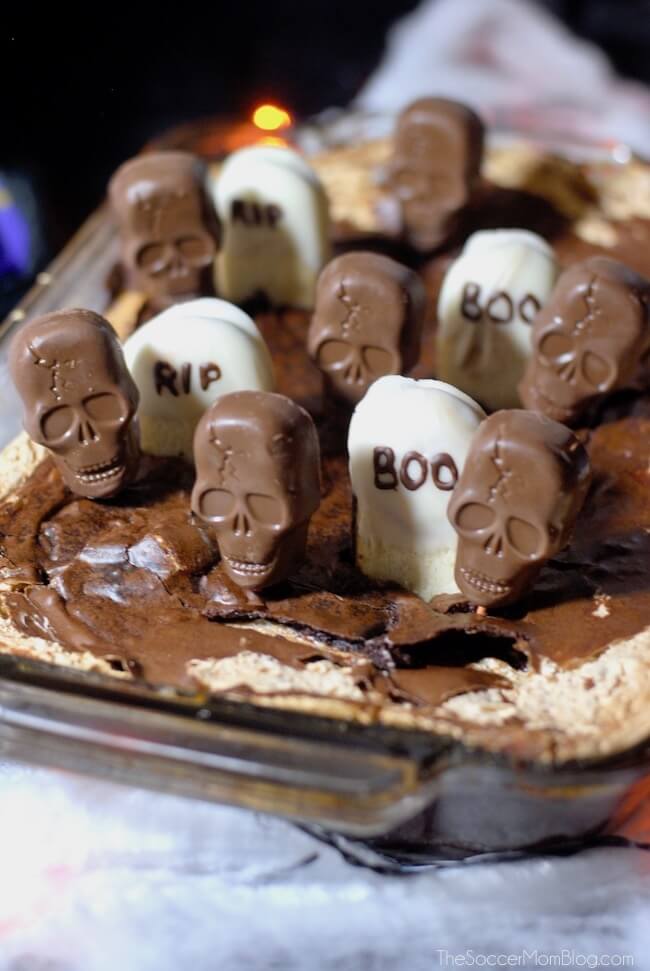
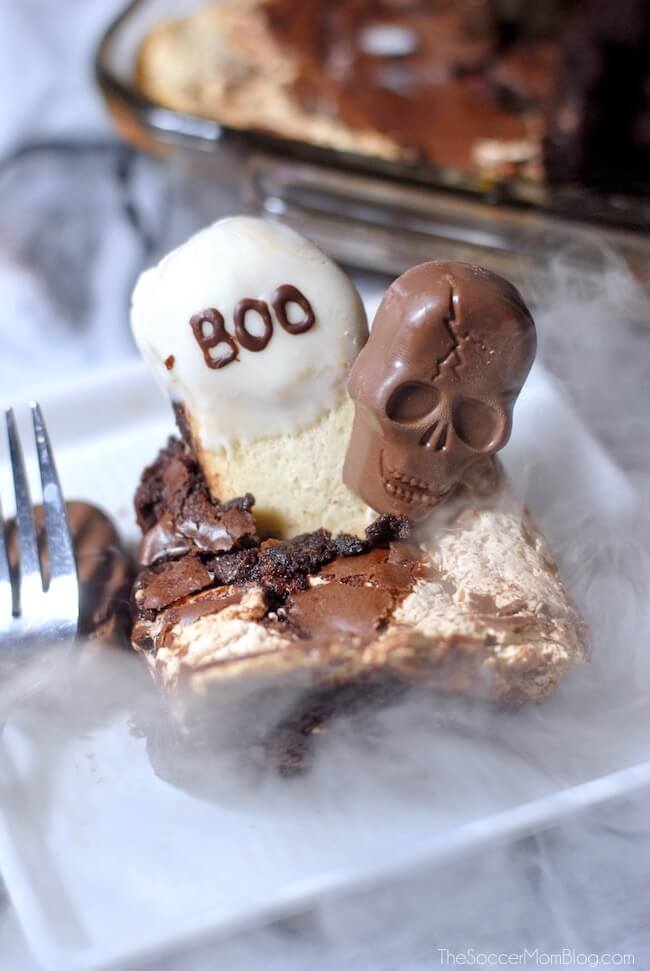
It is similar to a brownie earthquake cake — the marshmallow swirl reminded me of fog swirling through a cemetery.
The addition of candy and cookie tombstones and Butterfinger Peanut Butter Skulls makes it all come together. Spooky and delicious!
Related: Check out our Halloween Graveyard Pudding Cups too!
I couldn’t help but snack on some of the Butterfinger Peanut Butter Skulls while baking our graveyard cake. I’m a big peanut butter fan, so these are right up my alley! The crispety, crunchety, peanut-buttery taste is the stuff cravings are made of — I’m pretty obsessed (and may or may not have bought like 5 bags).
What You Need to Make Graveyard Brownies
- Butterfinger Peanut Butter Skulls — or similar chocolate Halloween candy
- Brownie mix — We used two boxes of pre-made mix + the ingredients listed on the box
- Marshmallow fluff — May also be called marshmallow creme
- Oval shaped cookies and/or fun-sized Butterfinger candy bars — to be the tombstones
- Melting chocolate (optional) — We used both white and dark chocolate to draw details on our tombstones
Kitchen Tools Used
- 9 x 13″ baking dish
- Large mixing bowl
- Whisk & spatula
- Non-stick cooking spray
How to Make Graveyard Cake
Preheat your oven to 325°F and prep a 9×13″ baking dish by coating with non-stick cooking spray.
Note: Oven temperature may vary depending on the brownie mix you’re using. Follow package directions.
In a large mixing bowl, prepare brownie mix according to directions on package.
Pour half of the brownie batter into the baking dish and spread evenly. Layer with marshmallow fluff, then the rest of the brownie batter.

TIP: It’s ok if some of the marshmallow fluff peeks through the top layer of brownie batter. When it cooks, some of the fluff may come to the surface anyway, much like an earthquake cake.
Bake for about an hour and fifteen minutes.
TIP: Exact cooking time may vary depending on the type of brownie mix used and your particular oven. After 45 minutes in the oven, check your cake every 5-10 minutes by inserting a butter knife in the middle. If the knife comes out clean, your cake is done.
While brownie cake is baking, prepare your cookie and candy tombstones.
To make these, we simply dipped half of an oval-shaped cookie in melted white chocolate and allowed to set. You can also use regular Fun-Size Butterfinger can bars, as they are the perfect shape. You’ll want to make 4-8 tombstones.
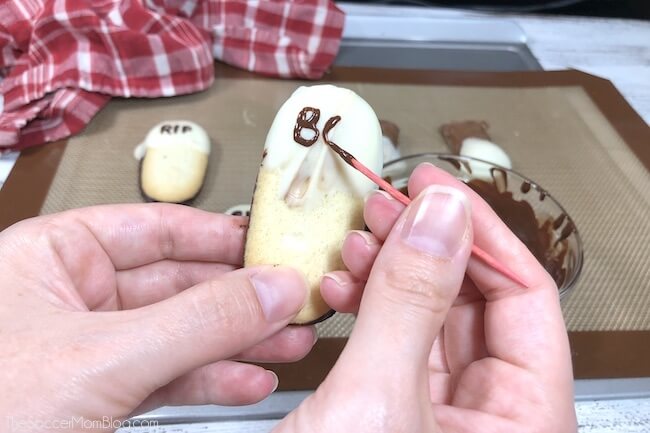
Once the white chocolate is set, use melted dark chocolate chips and a toothpick to write spooky words like “RIP” or “BOO” on the front of each of your tombstones. Allow to dry.
When brownies are done baking, remove from oven and allow to cool completely.
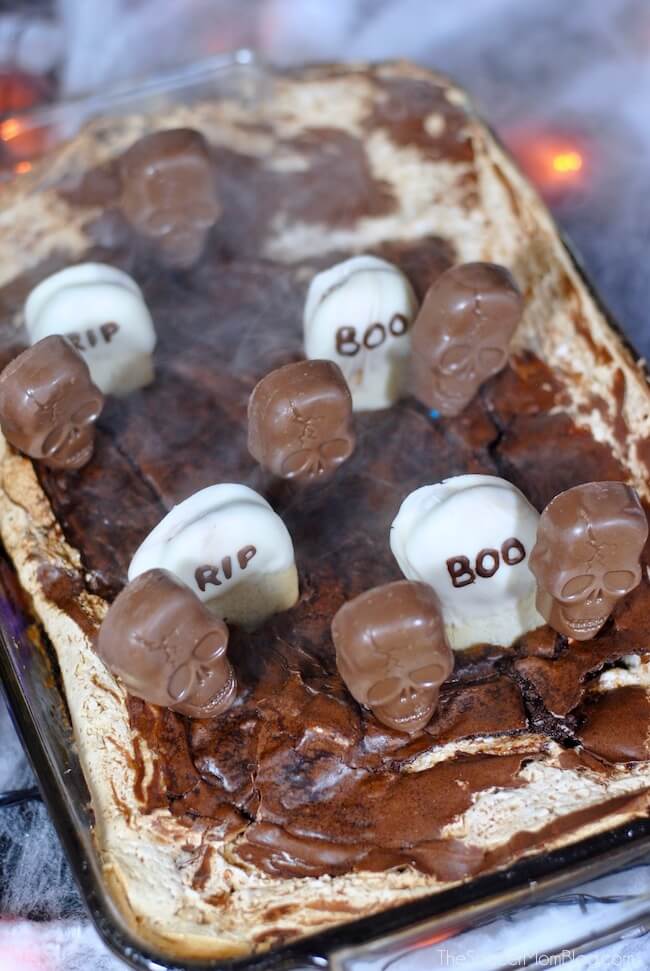
When cake is cool, place your candy and cookie tombstones halfway into the cake, spreading them evenly around the cake.
Last, but definitely not least, it’s time to place Butterfinger Peanut Butter Skulls on your graveyard cake. We used toothpicks to keep them secure.
Can I Use Cream Cheese Instead of Marshmallow Creme?
We used marshmallow creme for our swirl because it’s super easy and doesn’t require mixing in any other ingredients.
However, if you’re not a fan of marshmallows, you can substitute cream cheese for a more traditional earthquake cake recipe.
You’ll need:
- One 8oz block of cream cheese, softened
- 1/2 cup butter, softened
- 2 cups powdered sugar
Beat everything together until smooth, then swirl into the cake like you would the marshmallow fluff. Keep an eye while baking, as the cooking time may vary slightly since you’re using different ingredients.
A Note About Cooking Time
Since we’re using two boxes of brownie mix and adding marshmallow, this is a thick dessert! As such, it takes longer to cook than a normal brownie pan.
It took ours about an hour and a half to be set in the middle, but this could vary based on your oven temp and exactly how thick your cake is.
Keep an eye on your cake, starting at the 40 minute mark. If it looks wet in the middle, it’s probably still needing more time. If you’re unsure, do the knife in the middle test. If the knife comes out clean, take it out of the oven. If batter sticks to the knife, keep cooking.
More of our favorite Halloween dessert ideas:
- Jack Skellington Pull-Apart Cupcakes
- Spooky Slime Cookies
- Peanut Butter Candy Corn Treats
- Creamsicle Flavored Mini Halloween Cupcakes
- Spiderweb Cookies
- Frankenstein Halloween Cake Pops
- Hocus Pocus Halloween Cookies
Be sure to pin our Easy Halloween Graveyard Cake recipe on Pinterest:
Printable Graveyard Cake Recipe
Did your try this recipe? Let us know what you think in the comments below!
Want to Save This Recipe?
Enter your email & I'll send it to your inbox. Plus, get great new recipes from me every week!
By submitting this form, you consent to receive emails from The Soccer Mom Blog

Halloween Graveyard Cake
Ingredients
For the cake
- 8 Butterfinger Peanut Butter Skulls
- 2 boxes brownie mix
- 2 cups marshmallow fluff
For the tombstones
- 4-8 oval cookies and Butterfinger fun-sized bars
- 1 cup white melting chocolate
- 1/4 cup dark chocolate chips
Instructions
For the cake
- In a large mixing bowl, prepare brownie mix and preheat oven according to directions on package. Coat a 9x13" baking dish with non-stick cooking spray.
- Pour half of the brownie batter into the baking dish and spread evenly. Layer with marshmallow fluff, then cover with the other half of the brownie batter.
- Bake for about an hour and fifteen minutes, checking often after 45 minutes until a knife inserted in the middle of the cake comes out clean.
For the tombstones
- Dip half of an oval-shaped cookie and/or Fun-Sized Butterfinger candy bar in melted white chocolate and allowed to set. You'll want to make 4-8 tombstones.
- Once the white chocolate is set, use melted dark chocolate chips and a toothpick to write spooky words like "RIP" or "BOO" on the front of each of your tombstones. Allow to dry.
To decorate your cake
- When cake is completely cool, place your candy and cookie tombstones halfway into the cake, spreading them evenly around the cake.
- Last, but definitely not least, it's time to place Butterfinger Peanut Butter Skulls on your graveyard cake. We used toothpicks to keep them secure.
Video
Notes
Nutrition
More of our Favorite Halloween Party Ideas
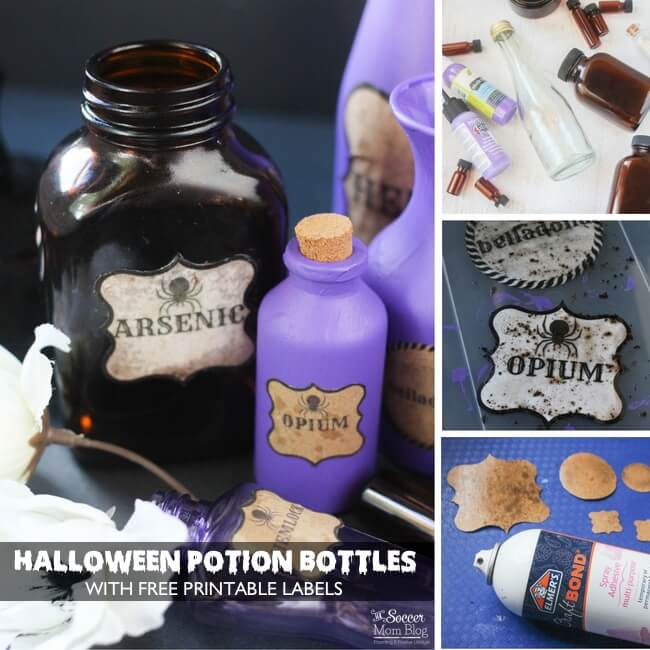
DIY Halloween Potion Bottles with Free Printable Labels

- Beach Day Rice Krispie Treats - June 23, 2026
- Pickled Jalapeños Recipe - June 15, 2026
- Homemade Nesquick Mix - June 11, 2026