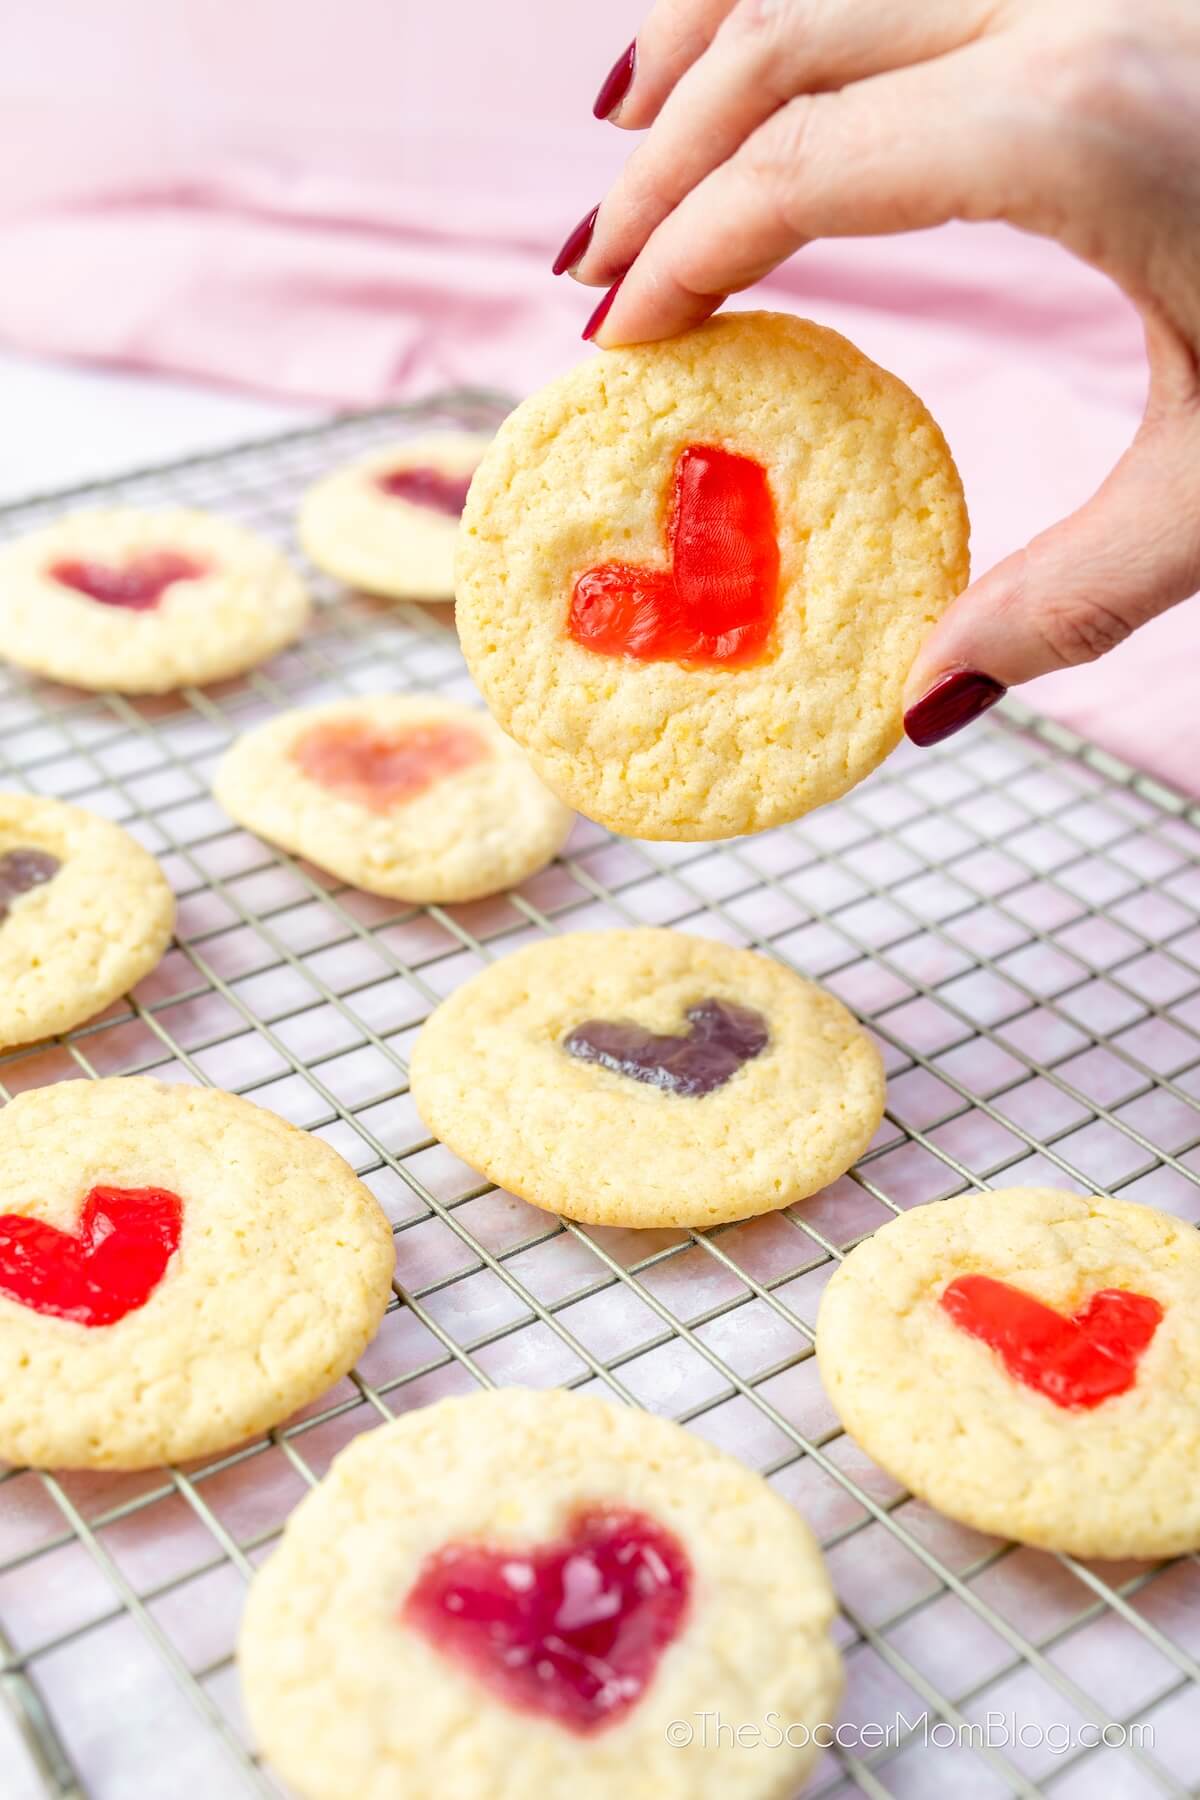
Gummy Bear Heart Cookies
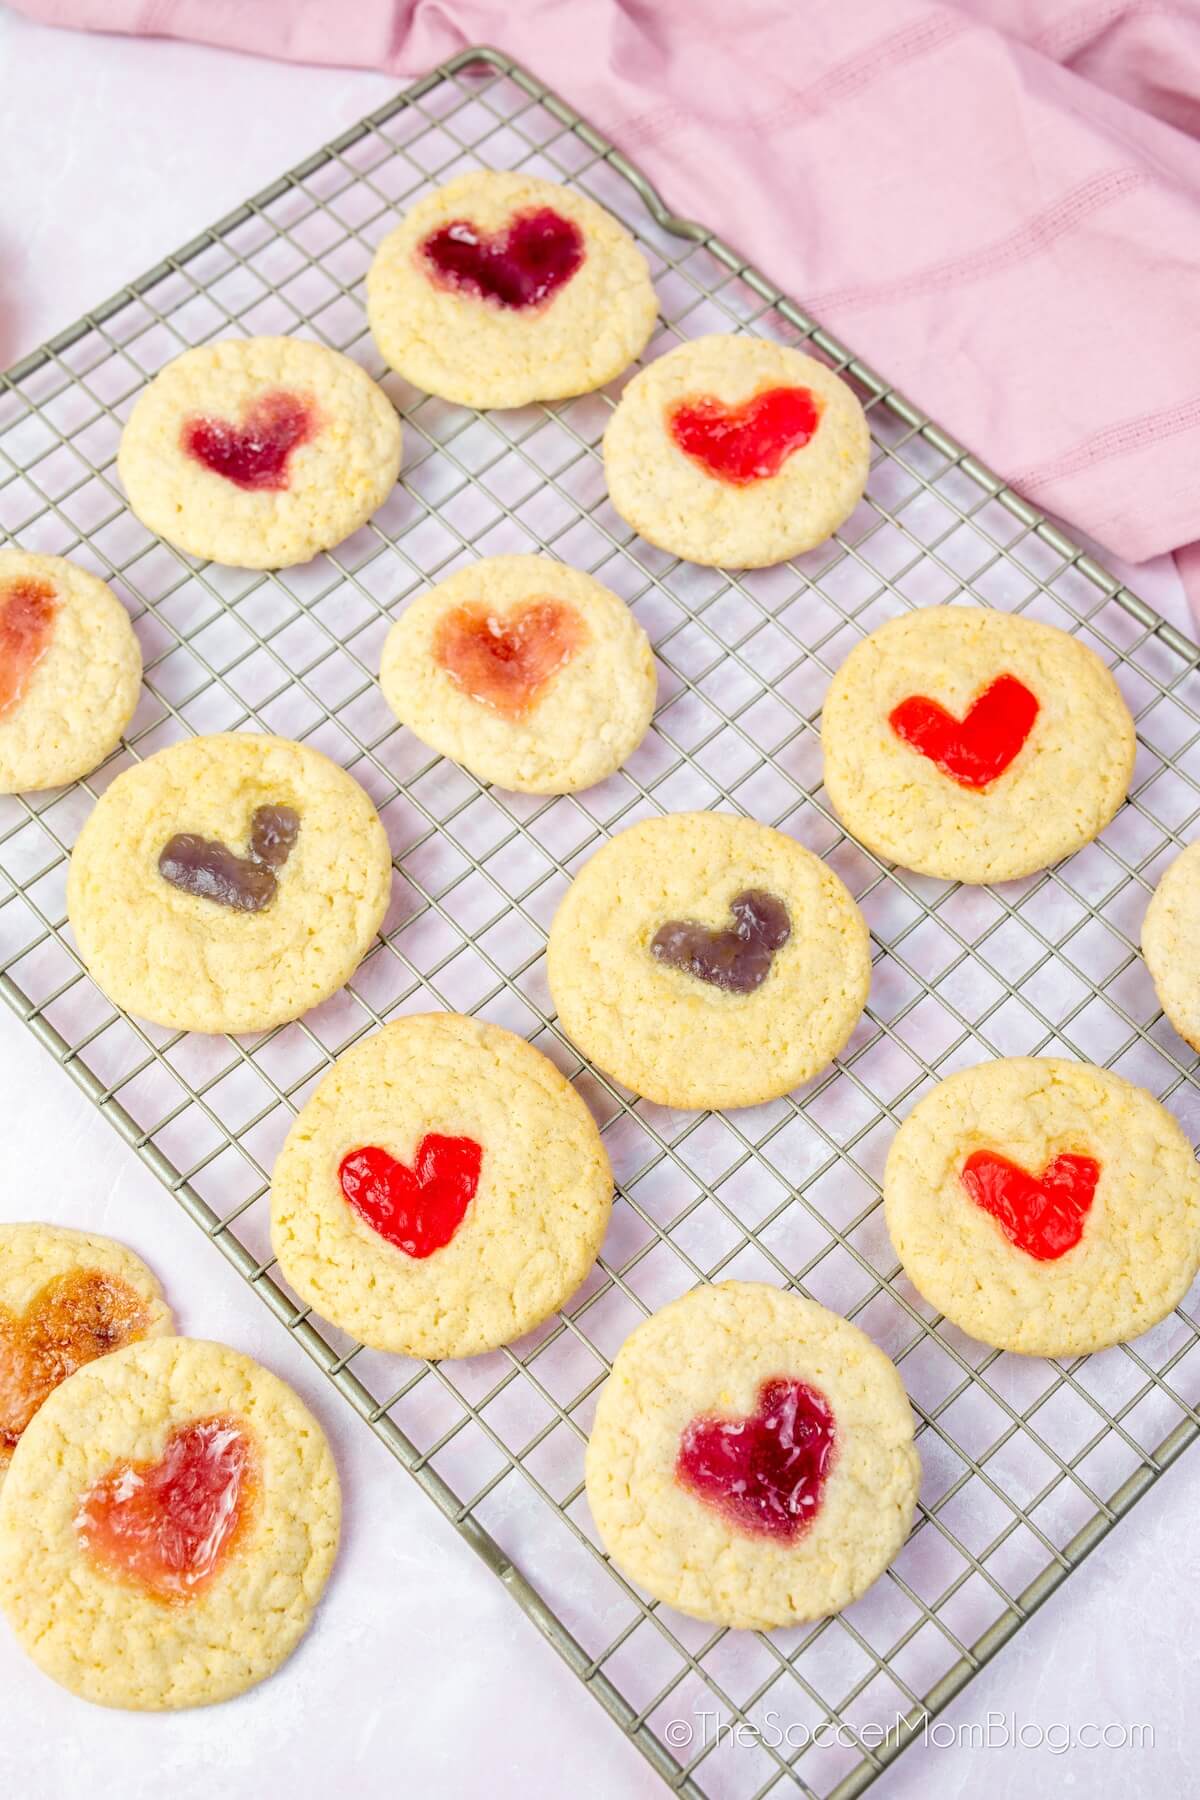
These Gummy Bear Heart Cookies are a cute and easy Valentine’s Day treat! The gummies melt into heart shape in the middle of the cookie! Just press and bake!

Gummy Filled Heart Thumbprint Cookies
Bake up some adorable treats with these Gummy Bear Heart Cookies. Watch colorful candies transform into gooey heart centers nestled inside soft, buttery dough. It’s Valentine’s Day baking fun for everyone, with sweetness guaranteed in every bite!
I’d never thought of using gummy bears in baked goods before — but they make the coolest “stained glass” effect! Plus they add a punch of fruity flavor to your basic sugar cookie.
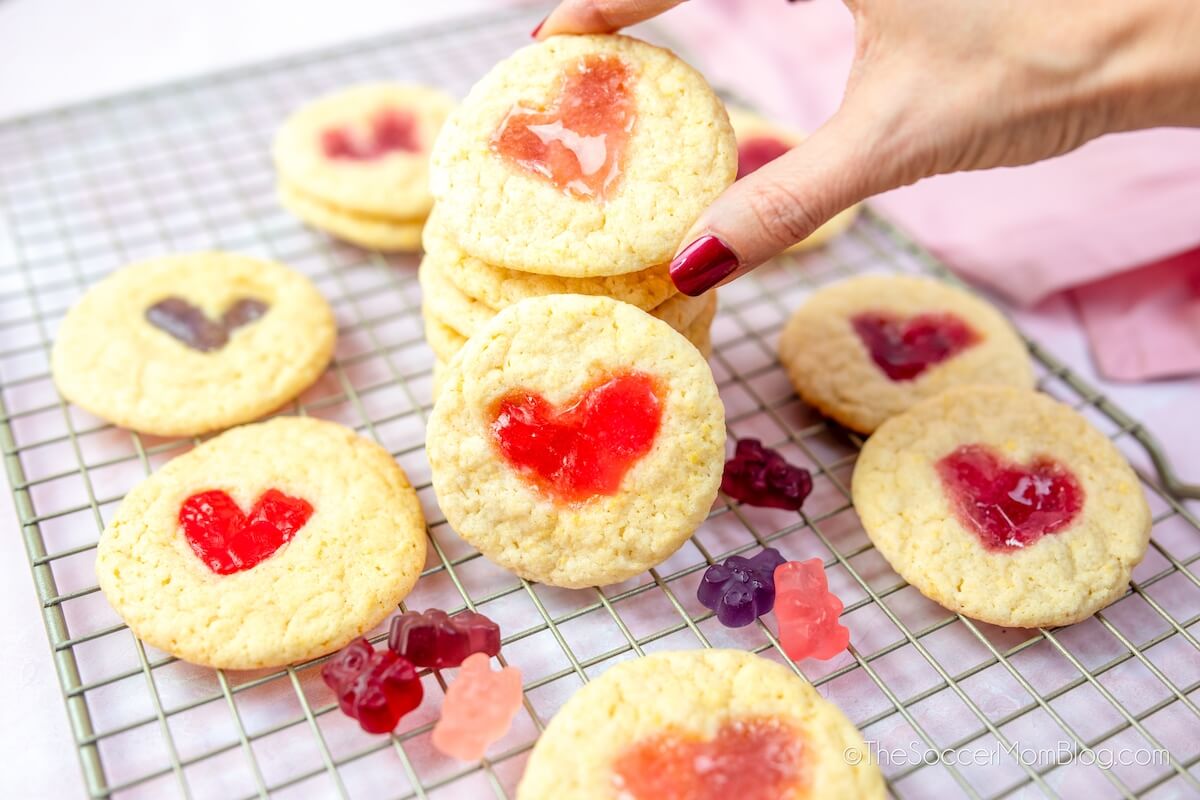
These Gummy Bear Heart Cookies are a super cute treat for Valentine’s Day. And the best part is that kids can help make them every step of the way! From creating the heart-shaped thumbprints, to filling them in with gummies, kids will love this recipe!
They’re similar to our Stained Glass Heart Cookies, except we used gummy bears instead of jelly this time.
We love to bake with our girls because it shows them practical applications for the math skills they learn at school. In fact, our oldest daughter attends Huntington Learning Center after school and baking is one of the at-home math practice activities they recommended.
Baking is definitely WAY more fun than worksheets!
Ingredients
For your convenience in re-creating our Gummy Bear Heart Cookies, I’ve included shop-able ad links to some of the products we used. Disclosure policy available here.
- Sugar Cookie Mix – Plus the ingredients listed in package directions, such as eggs and oil. Or you can use our family’s sugar cookie recipe below.
- Gummy Bears – You’ll need one gummy bear per cookie.
Homemade Sugar Cookies Ingredients
- 1 cup butter
- 1 1/2 cup sugar
- 2 eggs
- 1 1/2 tsp vanilla extract
- 3 1/2 cups all-purpose flour
- 1 tsp baking powder
- 1/2 tsp salt
Kitchen Supplies Used
Instructions
To Prep: Line a large cookies sheet with parchment paper.
- Prepare the sugar cookie mix according to directions on package. For homemade dough, cream together butter and sugar first, then add eggs and vanilla. Whisk together the dry ingredients, then add to dough a cup at a time until combined.
- Slightly flatten each cookie, then gently press down with your index or pinky finger into the center of each cookie, forming a “v” or heart shape. Place dough in freezer for 30 minutes to chill.
- Cut gummy bears in half lengthwise. You’ll need one gummy bear per cookie. Preheat oven to 375°F for homemade dough or to the temperature listed on the package for a mix.
- Place one half of the red gummy bear into each of the two sections of the heart shape on each cookie. Bake the cookies for 8-11 minutes until they are cooked through, and the gummy bears have melted in the center.
Video Demo:
Prep Tips
- Chilling the Dough – This step is very important, so don’t skip it! Chilling the dough helps solidify the fats in the butter, allowing the dough to keep its shape better. If you don’t chill the dough, the cookies may spread out or lose their shape during baking.
- Making the Fingerprint – When creating your heart-shaped indention, try to create the shape first by pressing gently, then going back and pressing down with the tip of your finger. Just be careful not to push too far through the bottom of the cookie.
- Gummies – We used gummy bears because they are just the right size for our heart-shaped cookie indentions, but you could use any gummy candy you have on hand. Simply trim to fit.
- Melting – If your gummy bears are not completely melted and your cookies are done, you can use a toothpick to stir the gummy around to distribute the gummy candy around the heart shape on each cookie.

More Valentine Treats To Try:
- Ladybug Oreo Valentine Truffles
- Strawberry Ladybugs
- Valentine Pretzel Treats
- Valentine Teddy Bear Oreos
- “Queen of Hearts” Strawberry Pop Tarts
- Strawberry Champagne Cookies
- Valentine Popcorn
- Cupid Crunch (Valentine Puppy Chow)
- Valentine Fudge
- Valentine Swirl Cookies
- Valentine’s Pink Hot Chocolate
Gummy Bear Heart Cookies Recipe (Printable Recipe Card)
If you like this recipe, rate it! We’d also love to hear your thoughts in the comments below.
Want to Save This Recipe?
Enter your email & I’ll send it to your inbox. Plus, get great new recipes from me every week!
By submitting this form, you consent to receive emails from The Soccer Mom Blog

Gummy Bear Heart Cookies
Equipment
- Cookie sheet lined with parchment paper
- Mixing bowl
Ingredients
- 1 package Sugar cookie mix (plus ingredients listed on package)
- 12 Red gummy bears
Homemade Sugar Cookie Dough
- 1 cup butter
- 1 1/2 cup sugar
- 2 eggs
- 1 1/2 tsp vanilla extract
- 3 1/2 cups all-purpose flour
- 1 tsp baking powder
- 1/2 tsp salt
Instructions
- Preheat oven to 375°F for homemade sugar cookie dough, or to the temperature listed on sugar cookie mix.
- Prepare the sugar cookie mix according to directions on package. For homemade dough, cream together butter and sugar first, then add eggs and vanilla. Whisk together the dry ingredients in a separate bowl, then add to dough a cup at a time until combined.
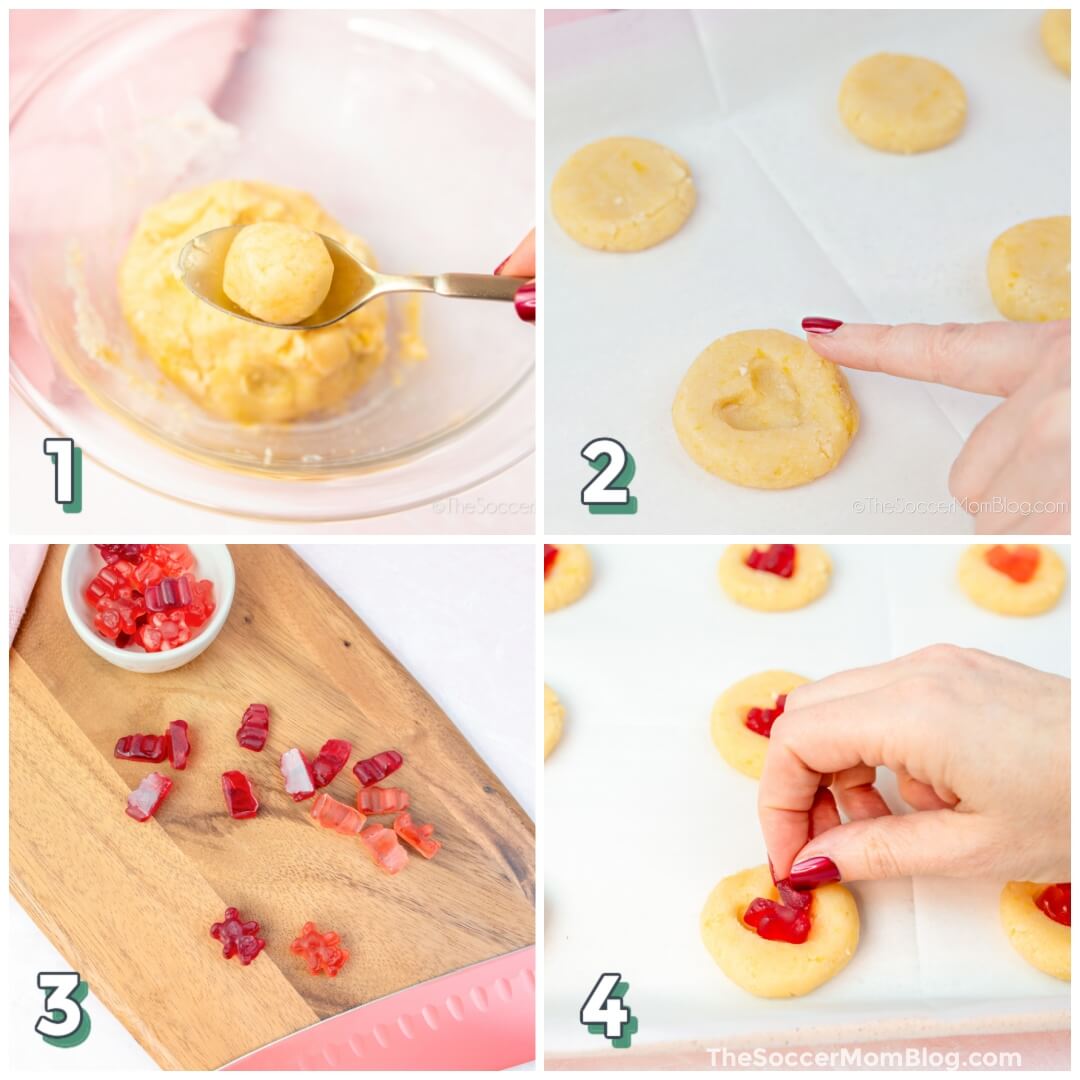
- Use about a Tablespoon of sugar cookie batter to form balls, then slightly flatten onto a prepared cookie sheet.
- Gently press down with your index or pinky finger into the center of each cookie, forming a “v” or heart shape. These cookies turn out better if you can create a fairly deep indent by going back and pressing down with the tip of your finger, but be careful not to push too far through the bottom of the cookie.
- Cut the red gummy bears in half lengthwise. You will need one gummy bear for each cookie.
- Place cookie sheet in freezer for about 30 minutes before baking. This helps cookies keep their shape.
- Place one gummy bear half inside each half of the heart indention.
- Bake the cookies for 8-11 minutes until they are cooked through, and the gummy bears have melted in the center.
- If your gummy bears are not completely melted, you can take a toothpick, and swirl them around to finish melting them and distribute the gummy candy around the heart shape on each cookie.
- Let the cookies cool, and serve.
Video
Notes
- Chilling the Dough – This step is very important, so don’t skip it! Chilling the dough helps solidify the fats in the butter, allowing the dough to keep its shape better. If you don’t chill the dough, the cookies may spread out or lose their shape during baking.
- Making the Fingerprint – When creating your heart-shaped indention, try to create the shape first by pressing gently, then going back and pressing down with the tip of your finger. Just be careful not to push too far through the bottom of the cookie.
- Gummies – We used gummy bears because they are just the right size for our heart-shaped cookie indentions, but you could use any gummy candy you have on hand. Simply trim to fit.
- Melting – If your gummy bears are not completely melted and your cookies are done, you can use a toothpick to stir the gummy around to distribute the gummy candy around the heart shape on each cookie.
Nutrition
Pin our Gummy Filled Heart Thumbprint Cookies on Pinterest:

You might also like:
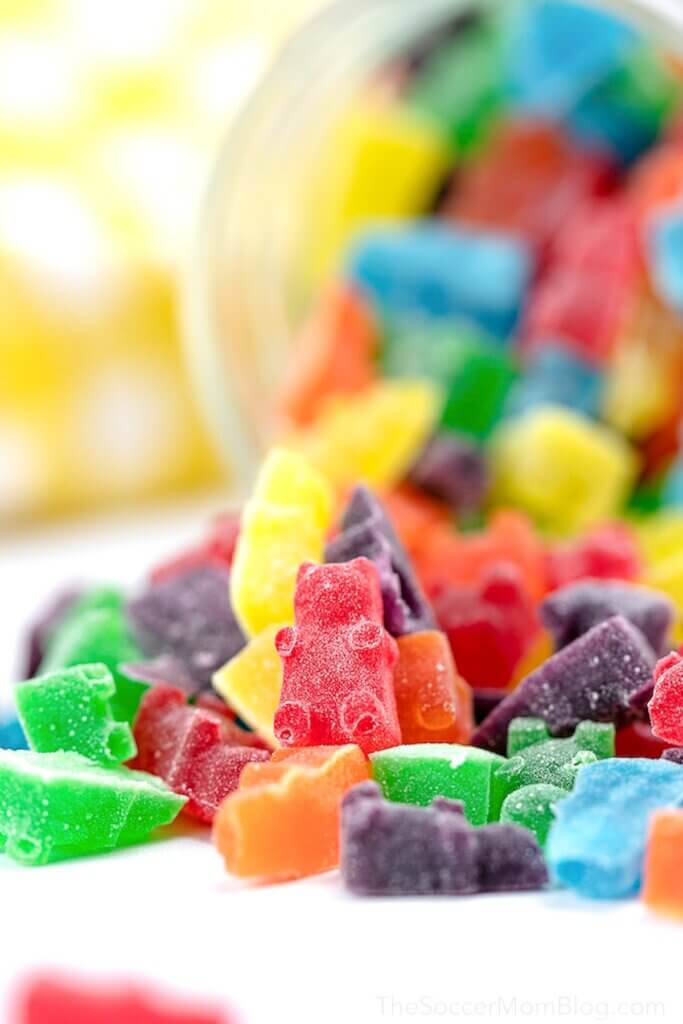
Homemade Gummy Bears (Made with JELLO)

- Beach Day Rice Krispie Treats - June 23, 2026
- Pickled Jalapeños Recipe - June 15, 2026
- Homemade Nesquick Mix - June 11, 2026