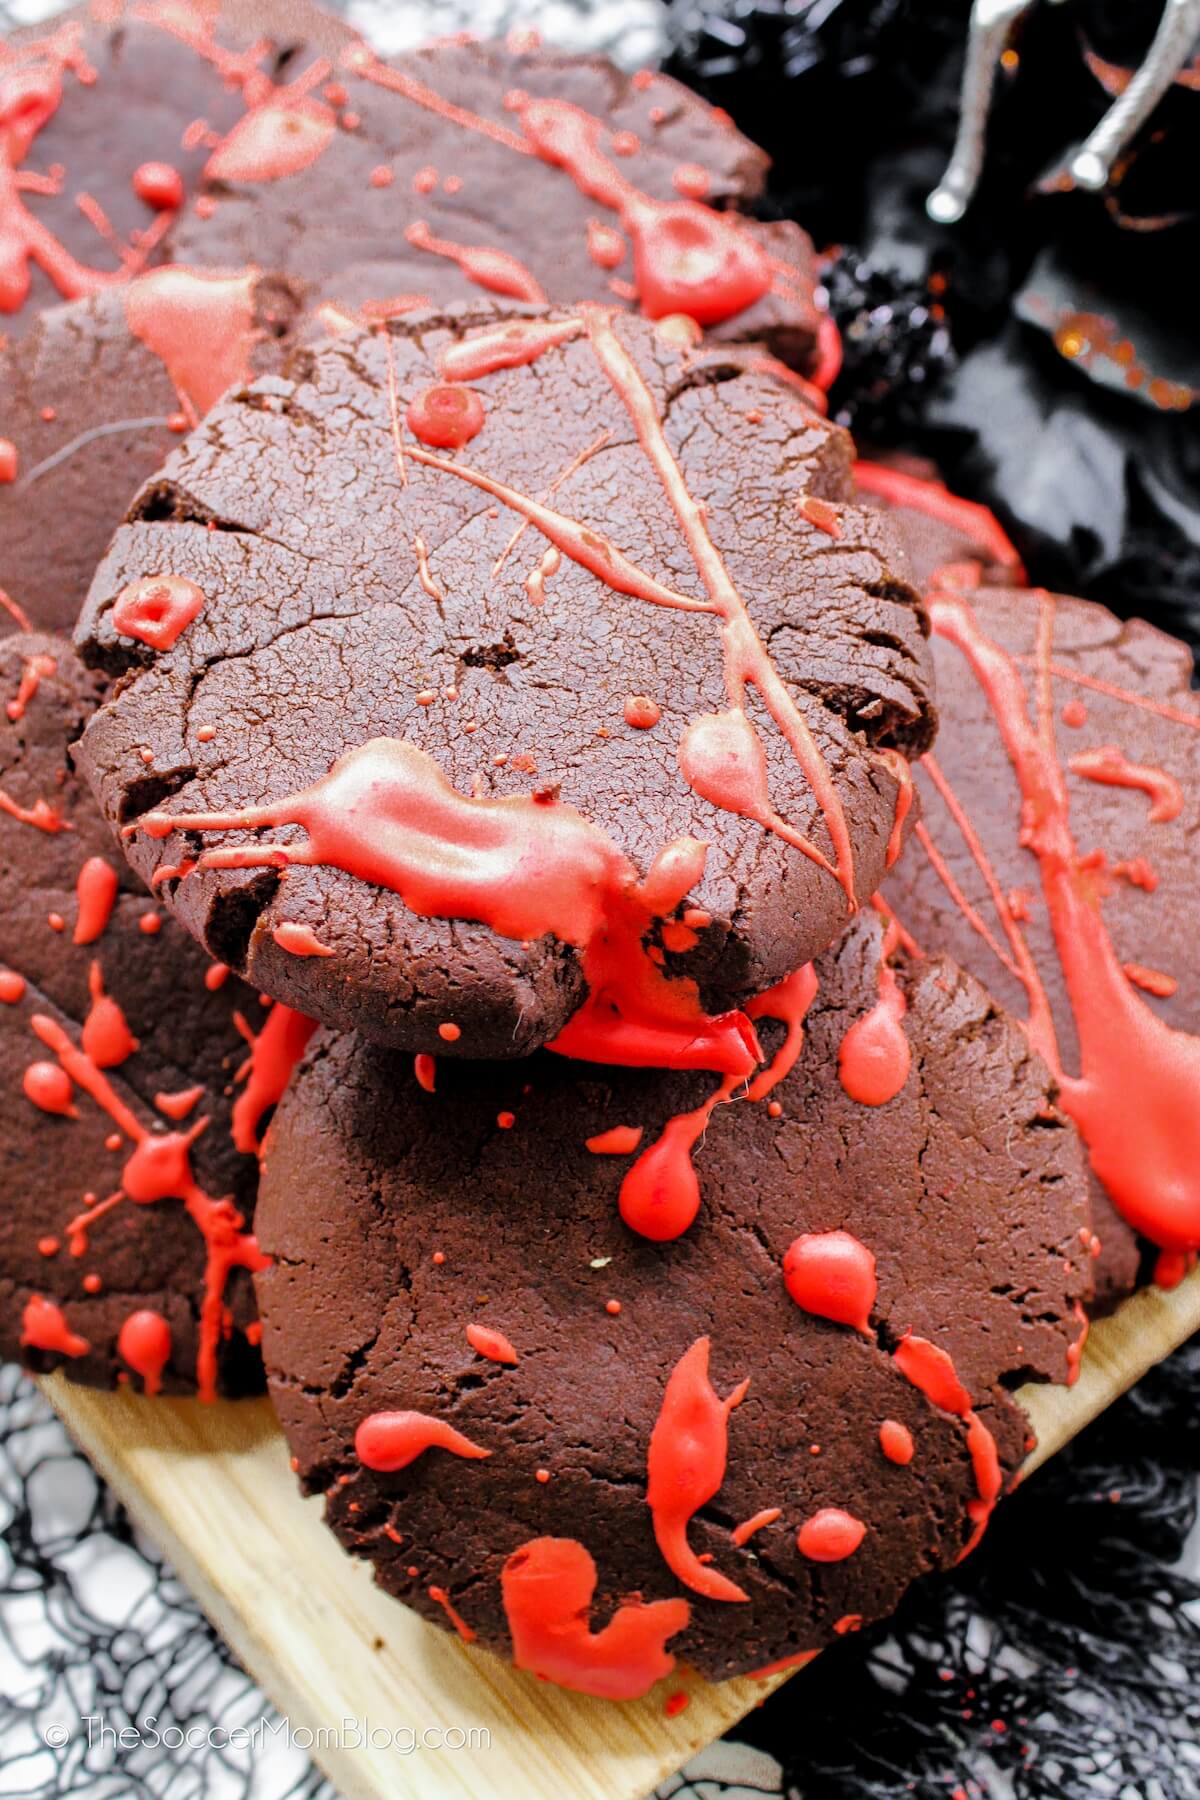
These blood splatter cookies are a truly creepy treat that’s the perfect addition to a Halloween party or movie night! Plus they’re super fun to make!
Blood Spatter Cookies
Ok, I am usually not a fan of gory things, but these blood splatter cookies are just TOO cool! Like, really creepy cool!!
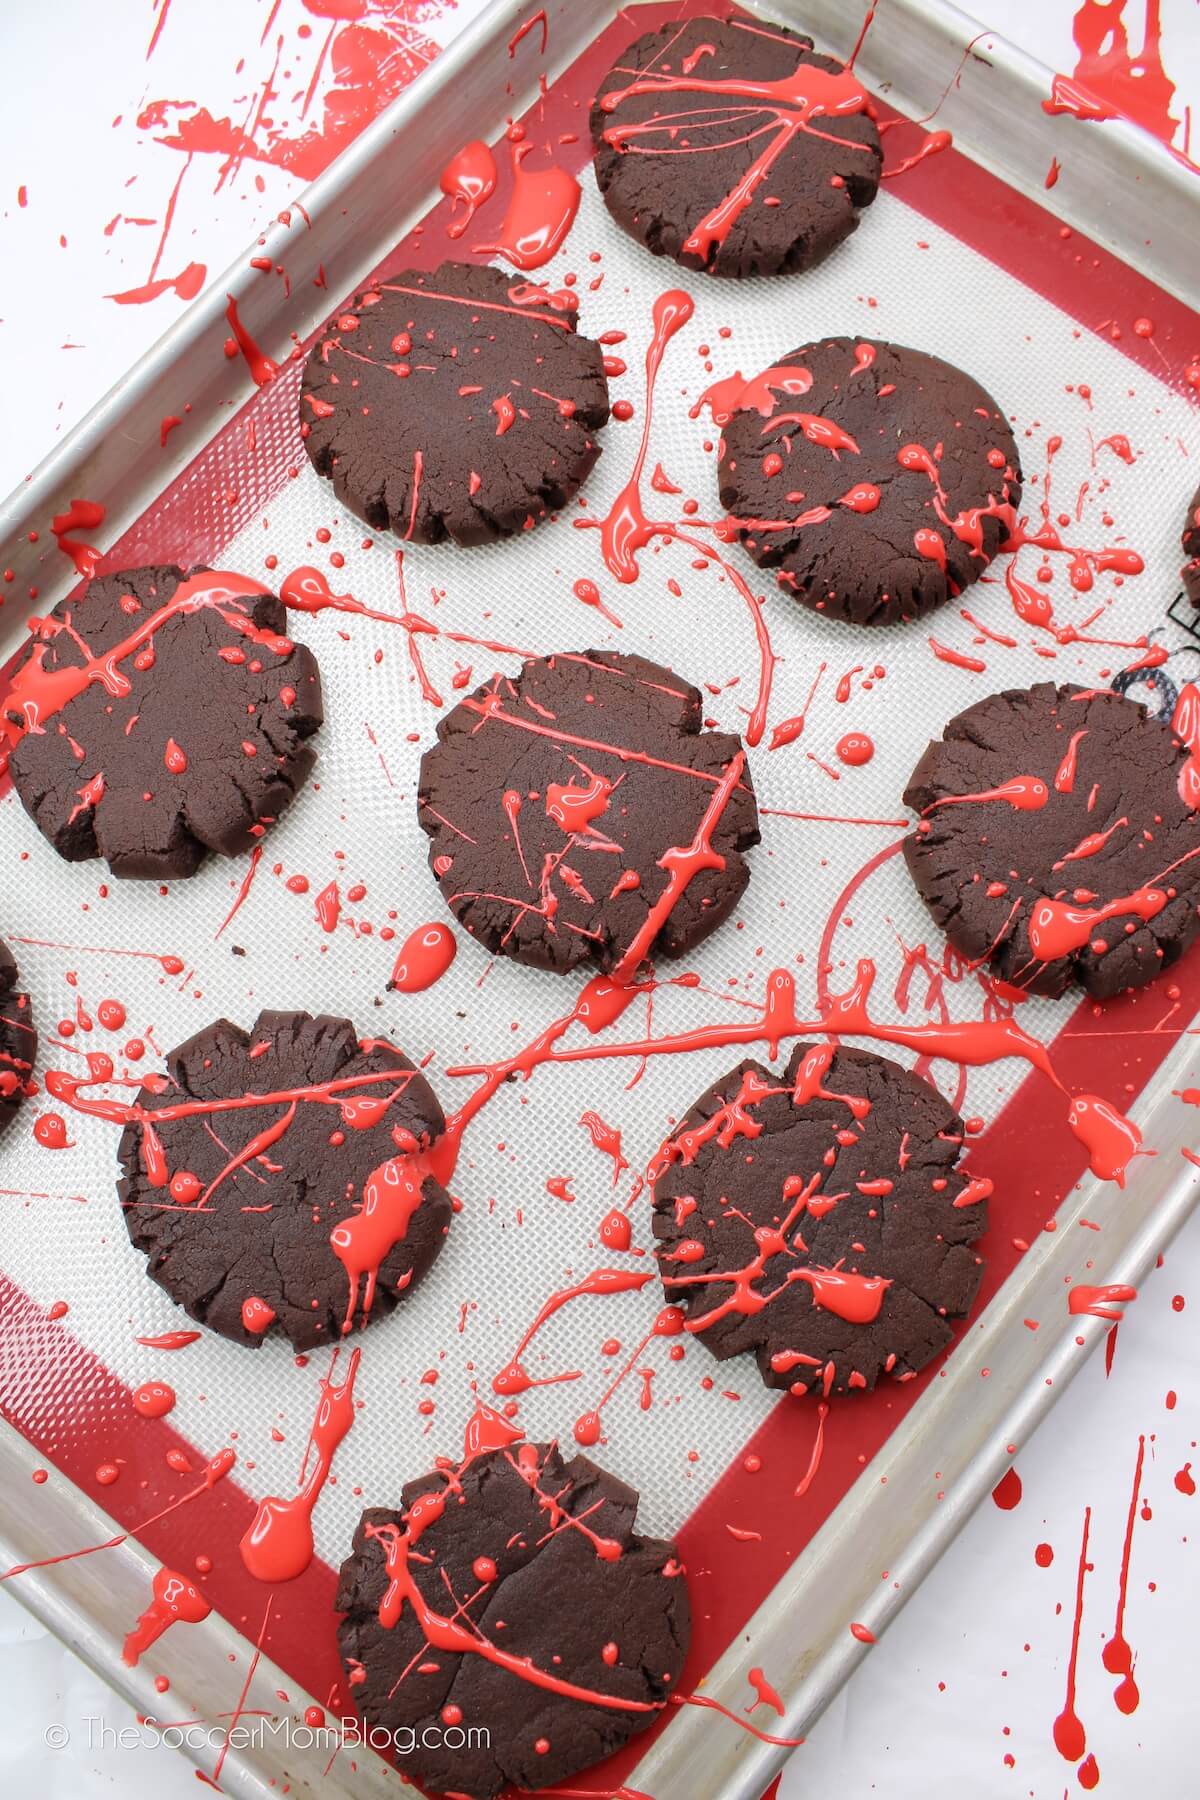
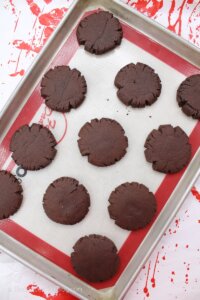
First, we took a chocolate cookie and then we splattered them with red frosting so it looks like a Halloween nightmare. This is one recipe that is a guilty pleasure to make because you get to fling frosting everywhere! (But I did include a less messy way to decorate your cookies in the prep tips section of the post).
If you’re planning a Halloween party or a scary movie night, these bloody cookies are JUST the kind of devilish dessert you need! Party guests and trick or treaters alike are gonna love them!!
Ingredients
This is a quick list of shop-able ad links (whenever possible) to help you find the products used to make our Hocus Pocus Cookies. (Disclosure policy here)
- 1 1/2 cups unsalted sweet cream butter, softened
- 1 1/2 cups light brown sugar
- 1/2 cup sugar (granulated)
- 3 large eggs
- 2 Tablespoons light corn syrup
- 1 Tablespoon vanilla extract
- 4 cups flour
- 1 cup dark cocoa powder
- 1 Tablespoon cornstarch
- 2 teaspoons baking soda
- 1 teaspoon kosher salt
Red Royal Icing
- 3 large egg whites
- 1 teaspoon cream of tartar
- 2 1/2 cups powdered sugar
- Red gel food coloring
- 1 teaspoon vanilla extract
Yield: 16-18 cookies
Kitchen Supplies Used
- Non-slip mixing bowls
- Electric stand mixer or hand mixer
- Cookie sheet
- Parchment paper or non-stick silicone baking mat
Instructions
To Prep: Preheat oven to 350 degrees and line two cookie sheets with a silicone mat or parchment paper.
To Make the Cookies
- Using a standing mixer with paddle attachment (or electric hand mixer with a large bowl), beat together the butter, white sugar, light brown sugar, eggs, corn syrup, and vanilla, on medium speed until light and fluffy.
- In a separate medium bowl, whisk together the flour, cocoa powder, cornstarch, salt and baking soda.
- Slowly pour the dry ingredients into the bowl of wet ingredients, mixing as you add, until a cohesive dough forms.
- Use a medium cookie scoop to portion out the dough, rolling into balls. If you don’t have a cookie scoop, you’ll want to use about 1 1/2 Tablespoons of cookie dough for each ball.
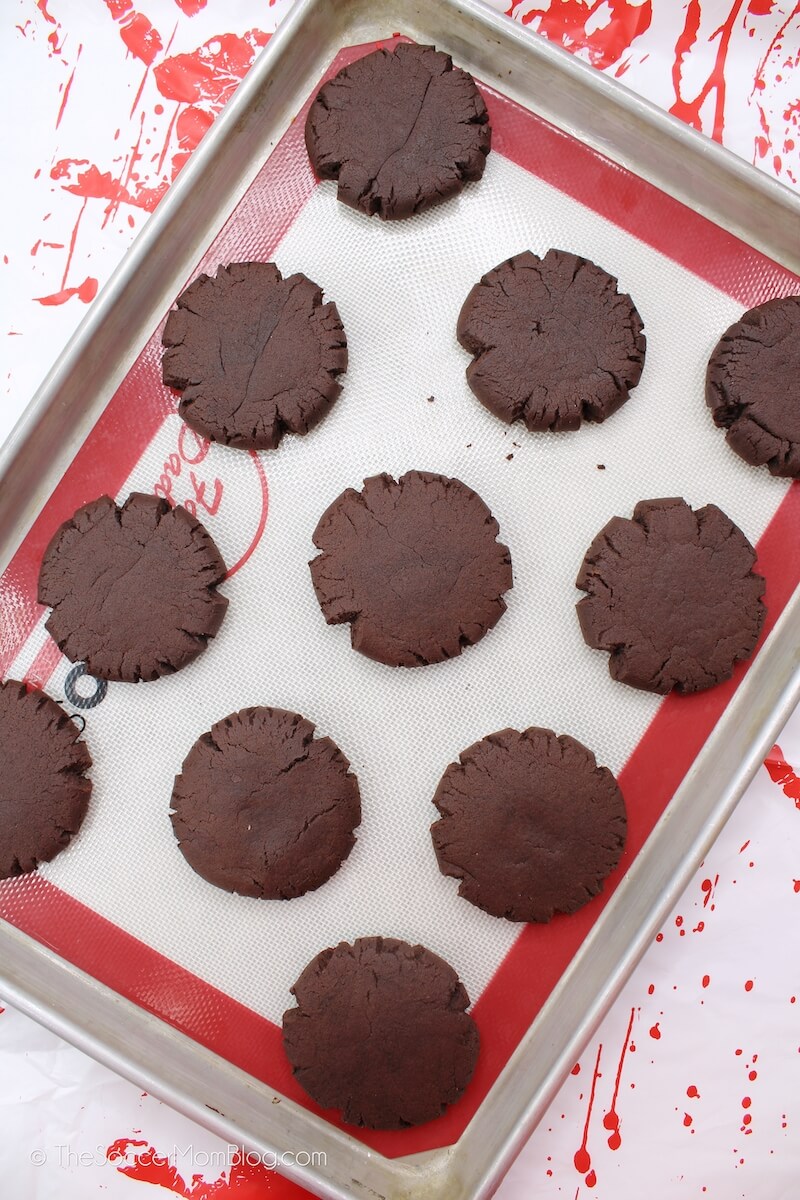
- Line up the balls of dough on your two prepared baking sheets. Gently press each ball of dough down to form a thick disk.
- Bake for 15-18 minutes, or until the edges of each cookie are firm.
To Make the Icing
- Beat together the egg whites, cream of tartar, powdered sugar, and vanilla until well combined and the mixture holds a soft peak, or about 5 – 7 minutes.
- Once the icing is white in color and holds a peak, mix in 5-7 drops of bright red food coloring.
- After you have your desired color, mix in 2 Tablespoons of water to thin out the icing. You want it to hold its shape somewhat, but still be able to drip off a spoon.
To Decorate
Warning: This step can be messy! Make sure to cover your work surface or work in an area that’s easy to clean if some of the spatters miss the cookies. But trust me, the spatter bit is the best part of making this recipe!
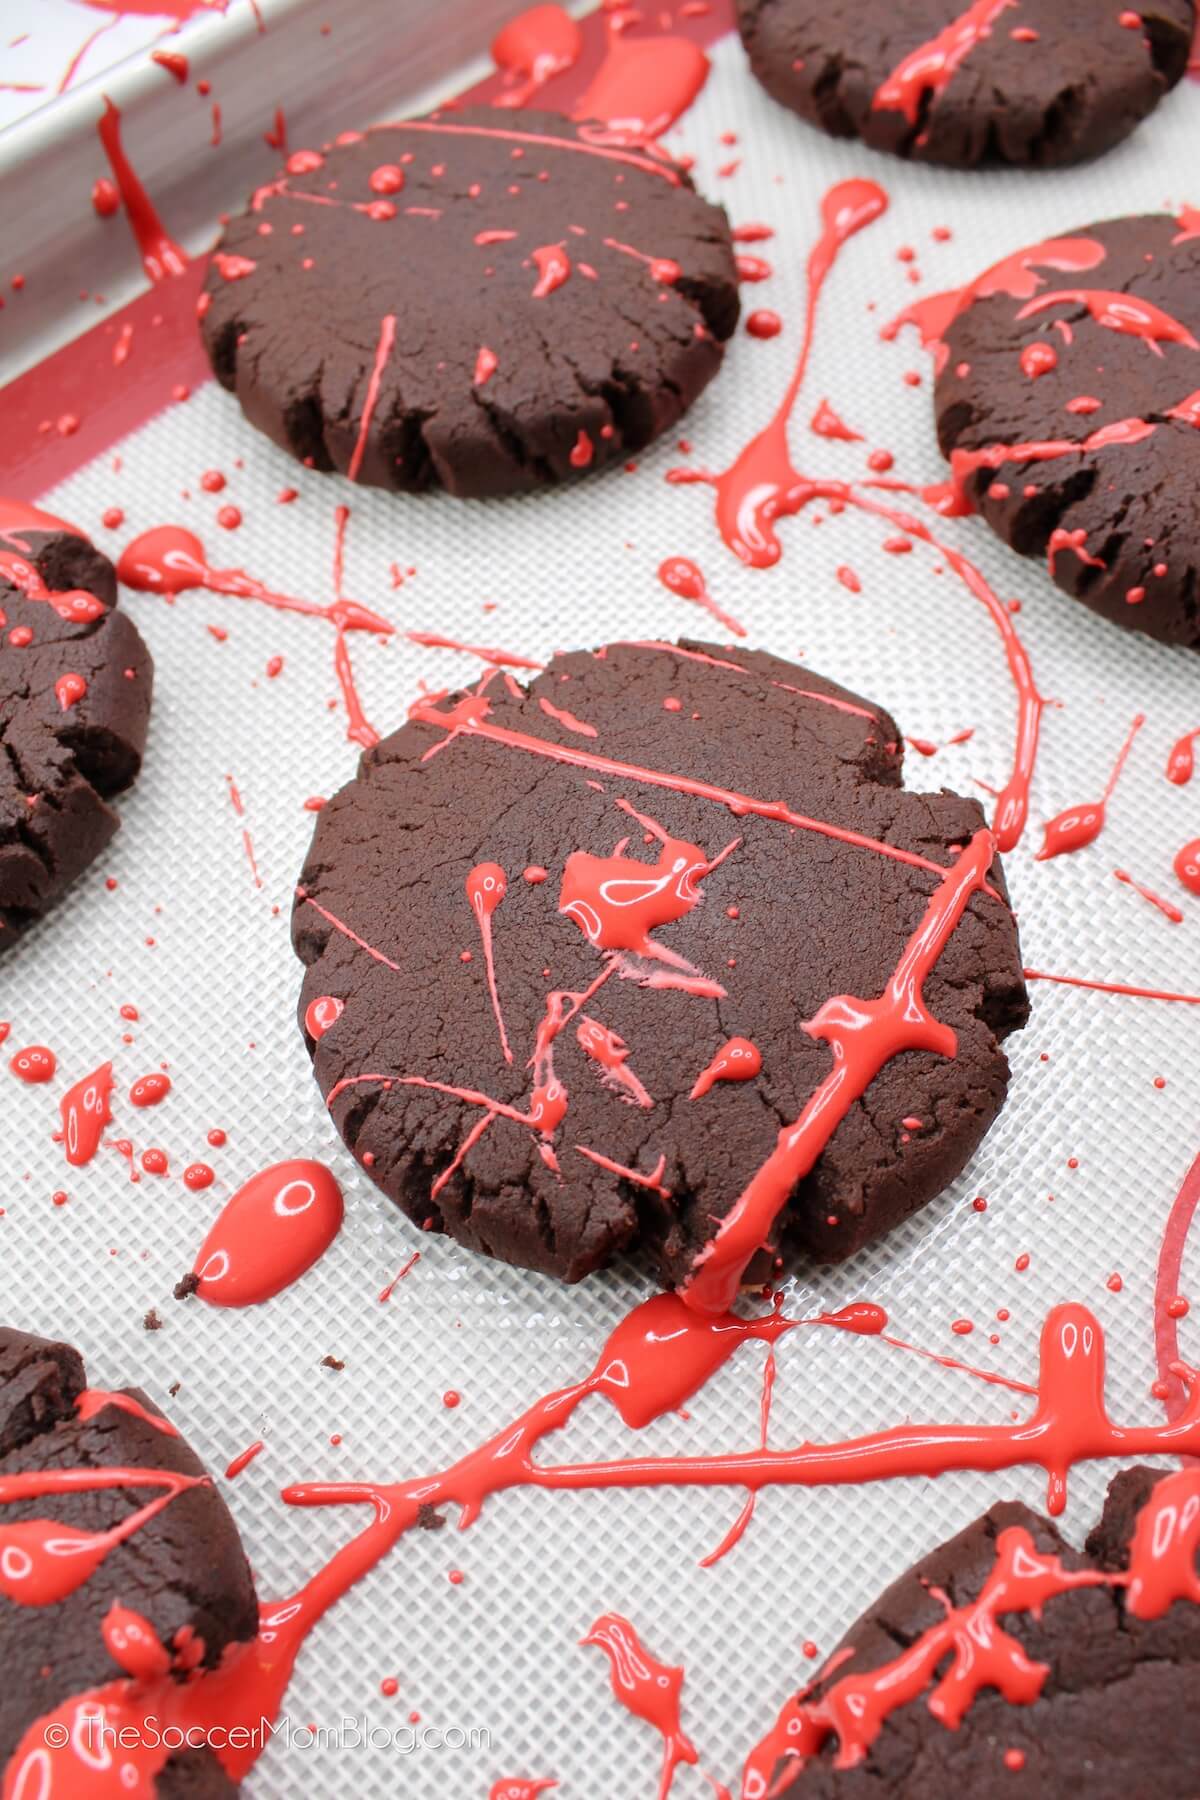
- Dip a fork into the icing, then use it to fling the icing on top of the cookie disks, while they are still on a cookie tray. You can use as much or as little icing as you like, and the cookies should look a bit messy.
- Aim for the center of the cookies, so you’ll get the icing to cover more of the surface. Since you have two pans of cookies, you may want to work in batches, but make sure you get all of the remaining cookies coated before the remaining icing starts to harden.
- Allow the icing to dry fully before serving or storing, this will take about an hour.
Prep Tips
- When making the icing, if it seems to be too runny and is yellow in color (before adding food coloring), you’ll want to mix in another 1/4 – 1/2 cup of powdered sugar until you have a slightly thicker consistency.
- Don’t be shy with the food coloring! The icing is supposed to look like blood spatters, so it needs to be dark.
- Flinging the icing gets the best “splatter” look, but for a less messy method, you can use a squeeze bottle or piping bottle for the icing instead. Another option is a piping bag with a small round nozzle or writing nozzle. Keep in mind, this won’t look exactly the same, but it should still have a similar effect.
- To make the icing set faster, you can put the cookies in the fridge for 20 minutes or so.
More Halloween Party Recipes:
- Halloween S’Mores Kits
- Halloween Sprinkle Cookies
- Easy Halloween Dirt Cups
- Jack Skellington Pull-Apart Cupcakes
- Peanut Butter Candy Corn Treats
- Creamsicle Flavored Mini Halloween Cupcakes
- Spiderweb Cookies
- Pumpkin Pretzels
- Hot Dog Mummies
- Halloween Monster Cookies
- “Poison Apple” Halloween Fudge
Blood Splatter Cookies Recipe (Printable Recipe Card)
If you tried this recipe and liked it, please rate it!
Want to Save This Recipe?
Enter your email & I'll send it to your inbox. Plus, get great new recipes from me every week!
By submitting this form, you consent to receive emails from The Soccer Mom Blog
Halloween Blood Splatter Cookies
Equipment
- 2 Baking Sheets
- 2 Mixing bowls
- Electric mixer
Ingredients
- 1 1/2 cups Butter softened
- 1 1/2 cups Light brown sugar
- 1/2 cup Granulated Sugar
- 3 Eggs
- 2 Tablespoons Light corn syrup
- 1 Tablespoon Vanilla extract
- 4 cups All-purpose Flour
- 1 cup Cocoa powder
- 1 Tablespoon Cornstarch
- 2 teaspoons Baking soda
- 1 teaspoon Salt
Red Royal Icing
- 3 Egg whites
- 1 teaspoon Cream of tartar
- 2 1/2 cups Powdered sugar
- Red gel food coloring
- 1 teaspoon Vanilla extract
Instructions
- To Prep: Preheat oven to 350 degrees and line two cookie sheets with a silicone baking mat or parchment paper.
To Make the Cookies
- Using a standing mixer (or electric hand mixer), beat together the butter, white sugar, light brown sugar, eggs, corn syrup, and vanilla, until light and fluffy.
- In a separate mixing bowl, whisk together the flour, cocoa powder, cornstarch, salt and baking soda.
- Slowly pour the dry ingredients into the bowl of wet ingredients, mixing as you add, until a cohesive dough forms.
- Use a medium cookie scoop to portion out the dough, rolling into balls. If you don't have a cookie scoop, you'll want to use about 1 1/2 Tablespoons of cookie dough for each ball.
- Line up the balls of dough on your two prepared baking sheets. Gently press each ball of dough down to form a thick disk.
- Bake for 15-18 minutes, or until the edges of the cookies are firm.
To Make the Icing
- Beat together the egg whites, cream of tartar, powdered sugar, and vanilla until well combined and the mixture holds a soft peak, or about 5 - 7 minutes.
- Once the icing is white in color and holds a peak, mix in 5-7 drops of bright red food coloring.
- After you have your desired color, mix in 2 Tablespoons of water to thin out the icing. You want it to hold its shape somewhat, but still be able to drip off a spoon.
To Decorate
- Dip a fork into the icing, then use it to fling the icing on top of the cookies. You can use as much or as little icing as you like, and the cookies should look a bit messy.
- Allow the icing to dry fully before serving or storing, this will take about an hour.
Notes
Nutrition
Pin our Bloody Halloween Cookies on Pinterest:
You might also like:
- Paper Chain Octopus Craft - April 24, 2024
- Amish Sugar Cookies - April 19, 2024
- Marshmallow Playdough - April 18, 2024







Leave a Reply