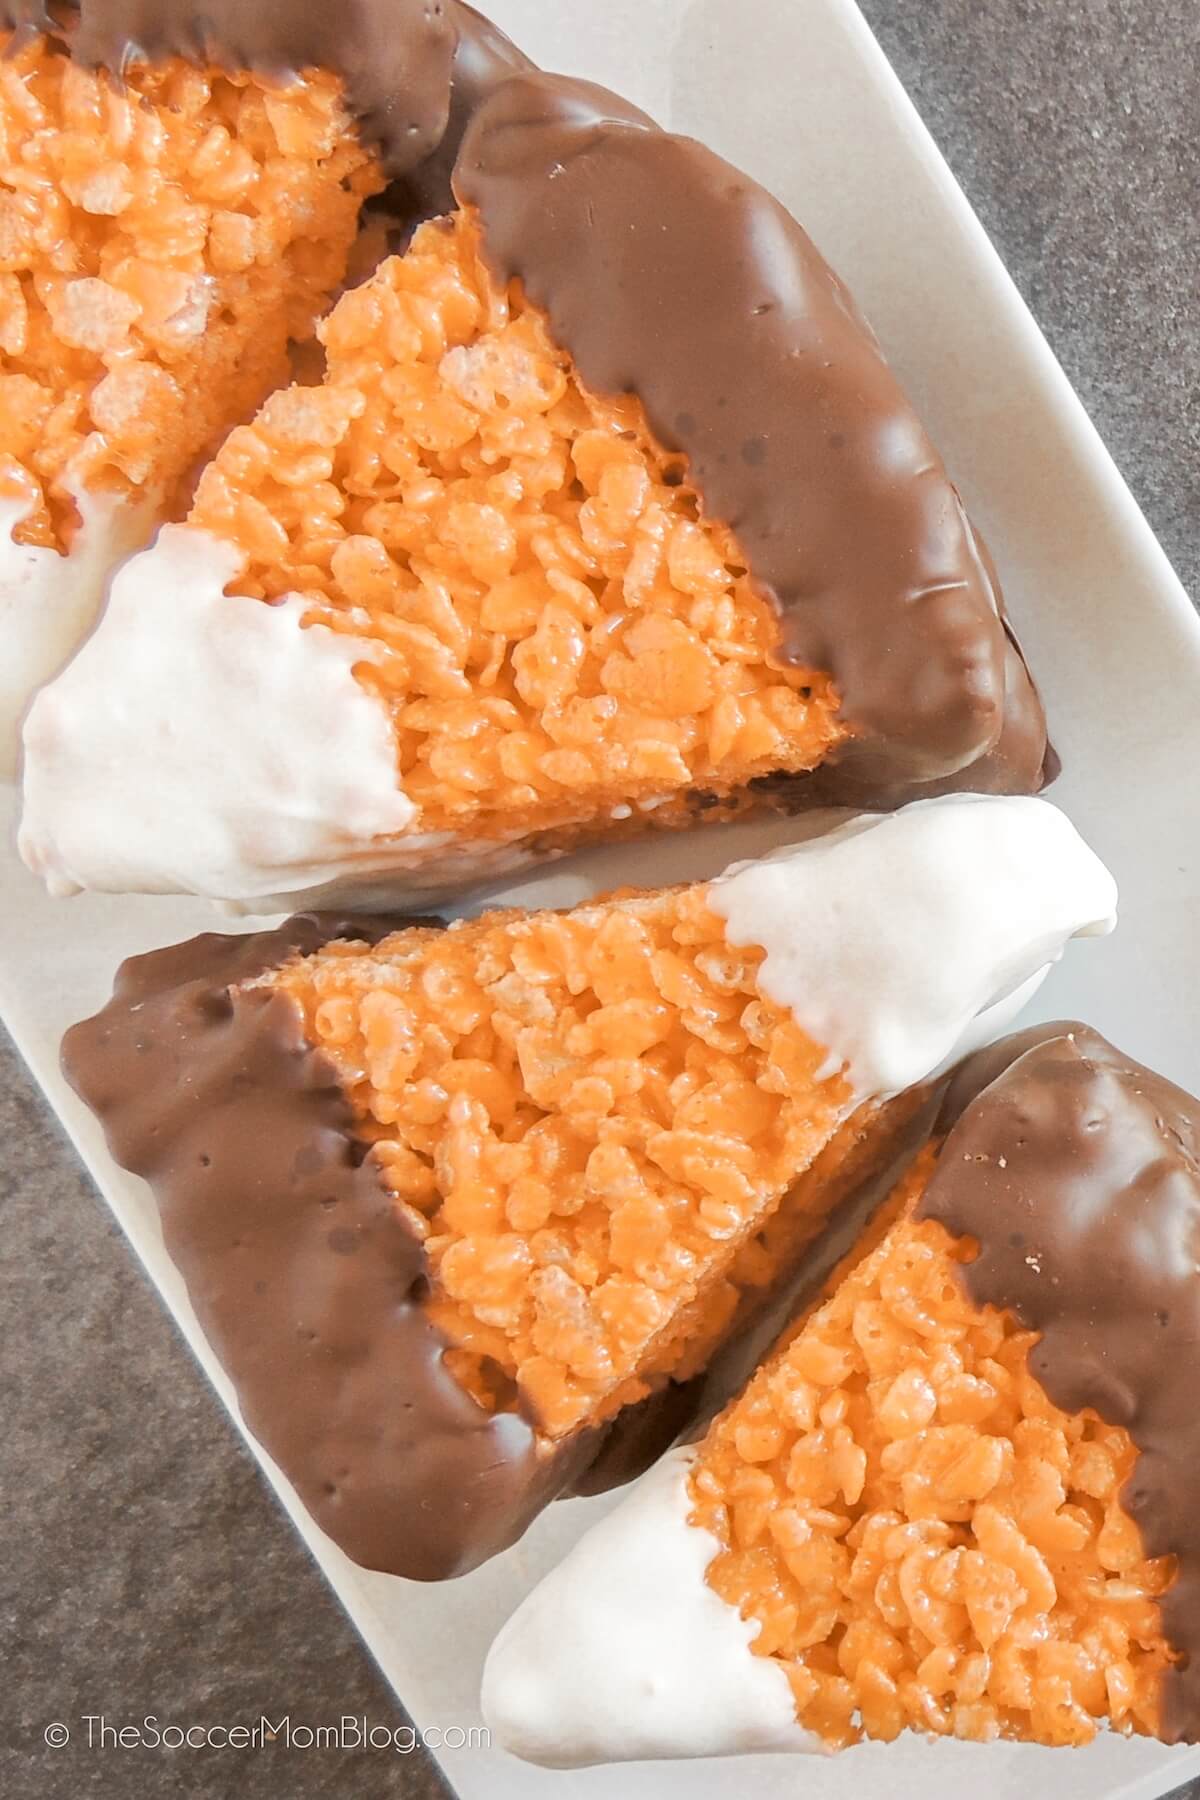
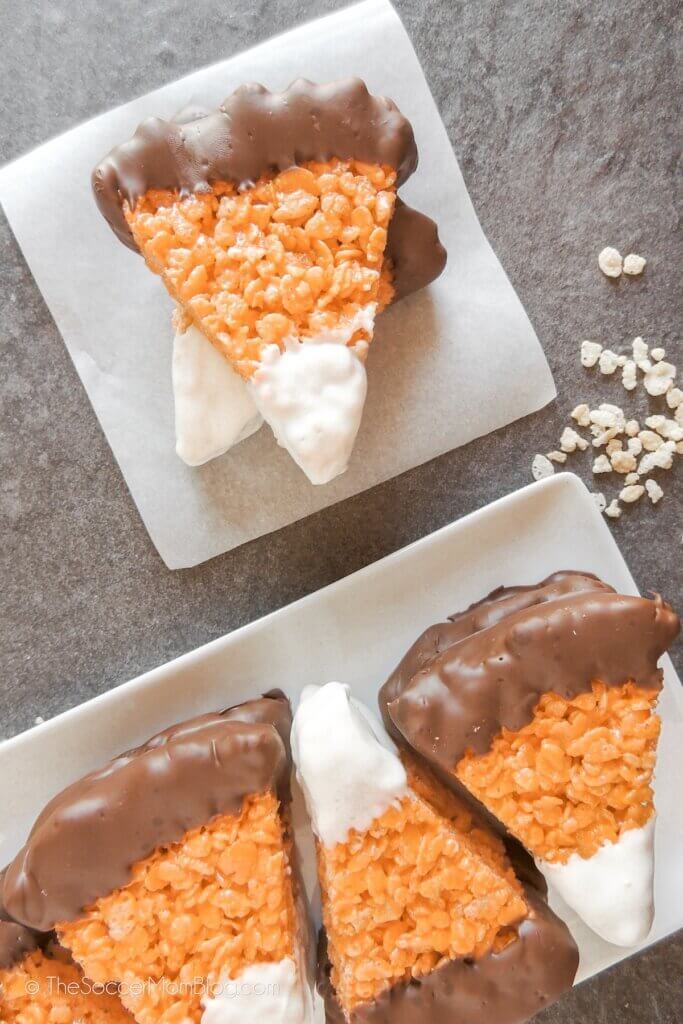
These festive Candy Corn Rice Krispie Treats look just like the classic fall candy! They’re easy to make and tasty too!
Easy Candy Corn Rice Krispie Treats
Kids love rice krispie treats!
And who am I kidding…..I love them too!
Rice krispie treats have been a favorite for generations because they’re so easy to make. They can also be customized with different toppings and mix-ins for any occasion.
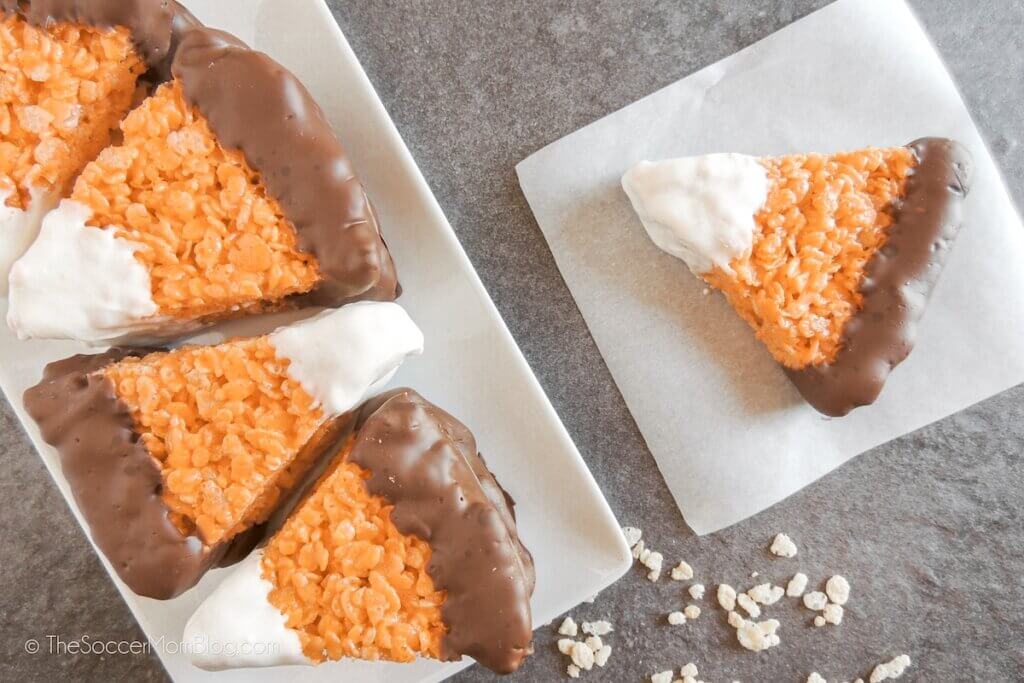
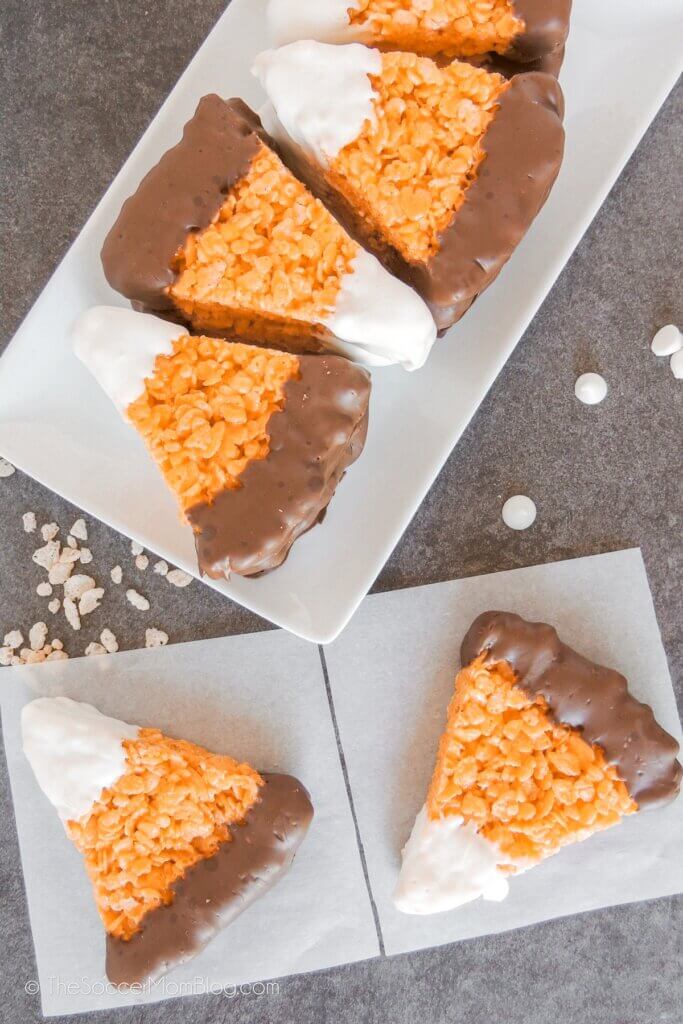
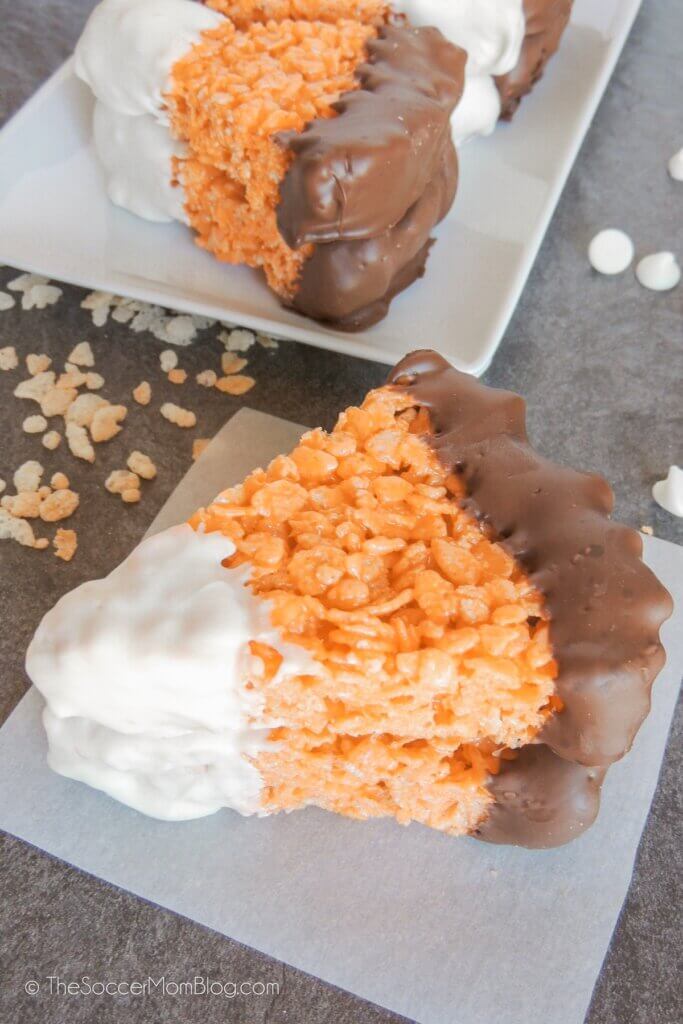
These Candy Corn Rice Krispie Treats are perfect for fall or a Halloween party. They’re so cute and they taste delicious too! Especially since they are coated into two kinds of chocolate!
Plus, don’t they look just like a real candy corn?!
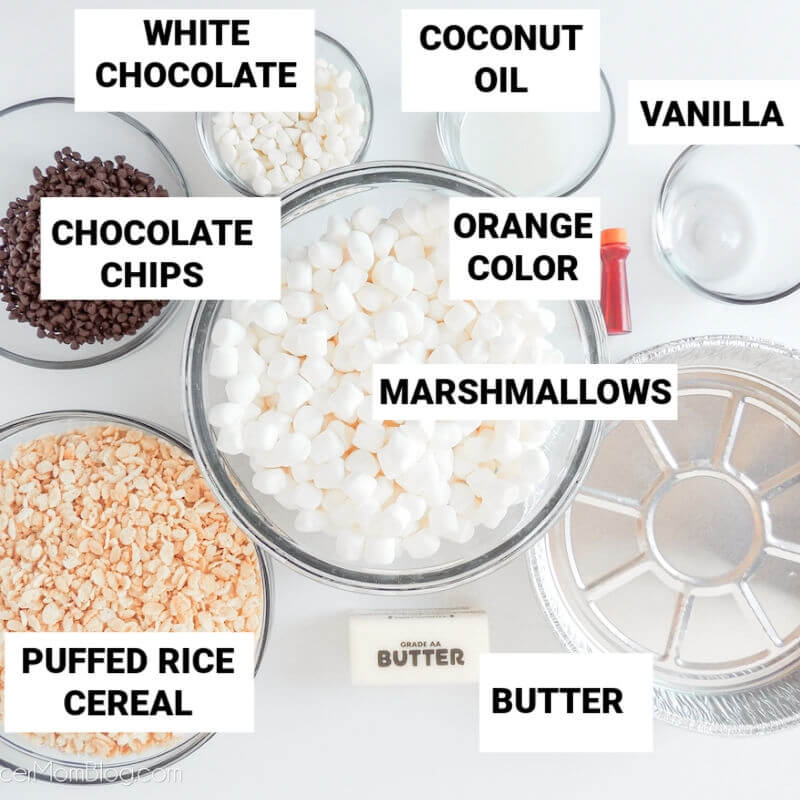
All you need are a handful of simple ingredients: cereal, white and milk chocolate, butter, food coloring, and marshmallows. You might already have most of these on hand in the pantry!
This easy, no-bake treat is a guaranteed crowd pleaser!
Related: For another no bake candy corn treat, try our Mini Candy Corn Cheesecakes!
Ingredients
Note: For your convenience in re-creating this recipe, I’ve listed shop-able ad links below, where available. Disclosure policy here.
- 6 cups crispy rice cereal, such as Rice Krispie cereal
- 10 oz mini marshmallows
- 1/2 cup butter
- 1 teaspoon vanilla extract
- 2 cups milk or dark chocolate chips
- 1 cup white chocolate chips or white candy melts
- 2 teaspoons coconut oil, separated
- Orange food coloring, a few drops as needed
Kitchen Tools Used
- 2 disposable pie pans
- Large saucepan
- Baking sheet lined with parchment paper
- Non-stick spray
Prep Time: 10 Minutes
Cook Time: 10 Minutes
Total Time: 2 hours
Instructions
To Prep: Coat each of your pie pans with non-stick cooking spray and set aside.
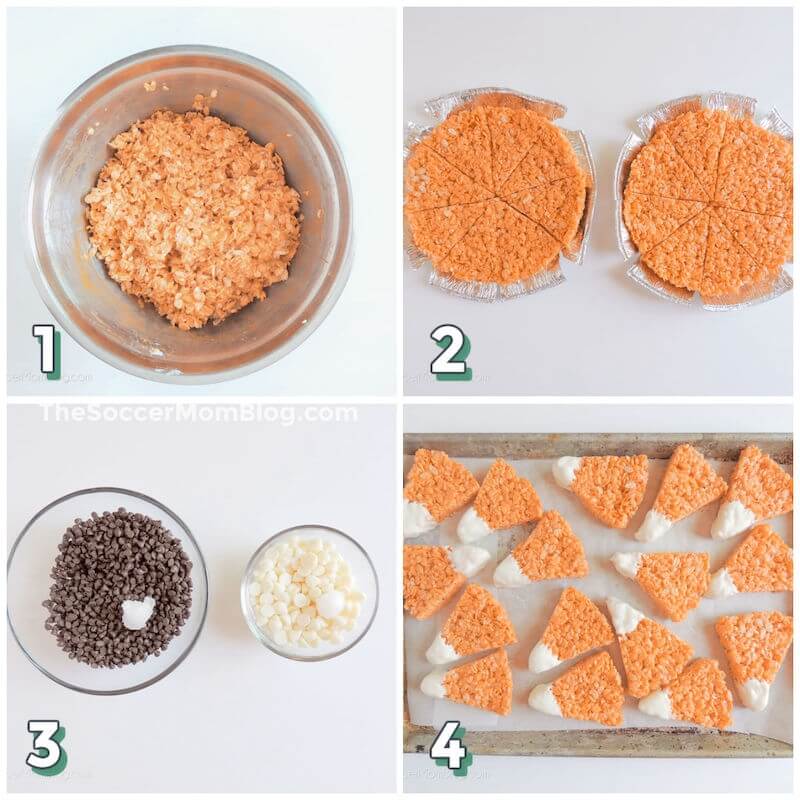
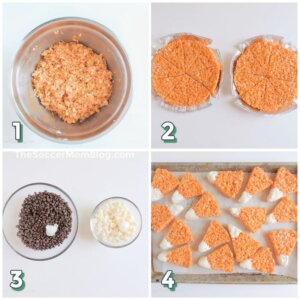
- Add marshmallows and butter to a large saucepan and cook over low heat until melted, stirring frequently. Stir in a few drops of orange food coloring and the vanilla extract. Pour this mixture into a large bowl containing the rice cereal. Mix until well combined.
- Divide the marshmallow mixture in half and scoop into two disposable pie pans. Place in the fridge to set for 1-2 hours. When the treats have set, cut each pie pan of rice krispie treats into 8 even triangular-shaped slices.
- Place the white chocolate chips into a microwave safe bowl and the milk chocolate chips into a separate microwave-safe bowl. Heat for 1 minute, stir, then continue heating in 15-second intervals until melted. Stir in 1 teaspoon of coconut oil into each type of melted chocolate, until smooth. (If using white candy melts, you don’t need to add coconut oil).
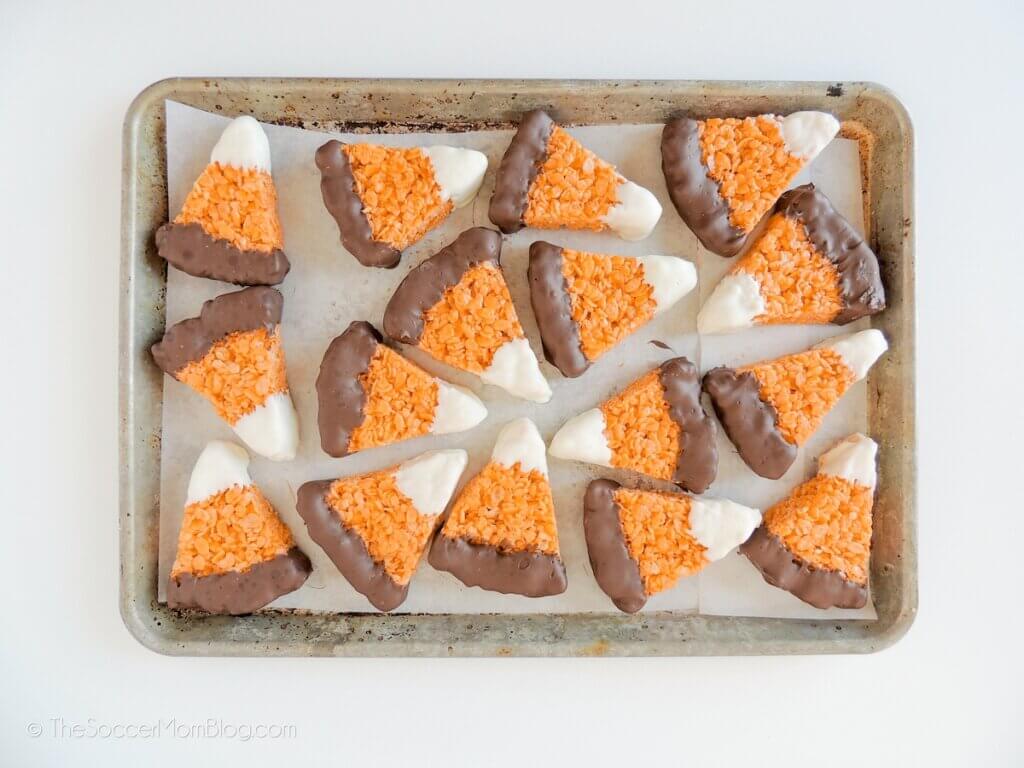
- Dip the tip of each rice krispie treat into the white chocolate and place on a baking sheet lined with parchment paper to dry. Repeat with all of the treats. When the white chocolate is dry, dip the opposite end of the rice krispie treats in the milk chocolate.
Frequently Asked Questions
Do Rice Krispie Treats Need To Be Refrigerated?
No, rice krispie treats do not need to be refrigerated — they can be stored in an airtight container at room temperature. Be sure to keep away from any heat or light sources that could melt the chocolate coating. They will stay fresh at room temp for 2-3 days.
If you’d like to make this dessert in advance, you can freeze your rice krispie treats. Wrap individually and place into a large freezer bag. They’ll keep in the freezer for up to 2 months.
Why Do You Add Coconut Oil To the Melted Chocolate?
Coconut oil helps make your chocolate coating melt smoothly and dry evenly. You don’t have to use it, but without this added touch, the chocolate coating may look dry or splotchy.
If you don’t have coconut oil on hand or have any allergy concerns, you could also use shortening for this step.
What is the Difference Between White Chocolate Chips and White Candy Melts?
Interestingly, candy melts are not technically chocolate at all, but they melt and taste like white chocolate! You can use either, but if you use candy melts, you won’t need to add coconut oil (because candy melts are already formulated to melt smoothly). Also, if you use bright white candy melts, it will be different shade than the white chocolate chips, which are usually a bit off-white in color. Either will work though! So feel free to use what you have on hand or whichever is a better deal at the store!
More of our most popular kids Halloween treats:
- Easy Halloween Pudding Cups
- Jack Skellington Pull-Apart Cupcakes
- Spooky Slime Cookies
- Spiderweb Cookies
- Halloween Spiderweb Topped Cupcakes
- “Hocus Pocus” Halloween Cookies
- Creamsicle Flavored Mini Orange Cupcakes
- Halloween Marshmallow Pops
- Candy Corn Halloween Veggie Platter
Candy Corn Rice Krispies Treat Recipe (Printable Recipe Card)
If you tried this recipe and loved it, please rate it! We’d love to hear your thoughts!
Want to Save This Recipe?
Enter your email & I'll send it to your inbox. Plus, get great new recipes from me every week!
By submitting this form, you consent to receive emails from The Soccer Mom Blog
Candy Corn Rice Krispie Treats
Equipment
- 2 disposable pie pans
Ingredients
- 6 cups rice krispies cereal
- 10 oz mini marshmallows
- 1/2 cup butter (1 stick)
- 1 teaspoon vanilla extract
- 2 cups chocolate chips
- 1 cup white chocolate chips
- 2 teaspoon coconut oil separated
- Orange food coloring as needed
Instructions
- Add marshmallows and butter to a large saucepan and heat until melted. Stir in the orange food coloring and vanilla extract.
- Pour marshmallow mixture into a large mixing bowl with the cereal and mix until well incorporated.
- Divide the mixture evenly among two disposable pie pans. Allow to chill until set (1-2 hours). Cut each of the pans of rice krispie treats into 8 even slices.
- Heat the white chocolate in a microwave-safe bowl for 1 minute, stir, then heat in 15 second intervals until melted. Stir in coconut oil until smooth. Repeat this process for the milk chocolate.
- Dip the tips of each triangle rice krispie in melted white chocolate and set for 10 min on parchment paper. Dip the opposite ends of the treats into the milk chocolate.
- Allow to dry completely.
Notes
Nutrition
Pin our Candy Corn Rice Krispies on Pinterest:
You might also like:
Peanut Butter Candy Corn Squares
- Homemade Fruit Leather Recipe - April 17, 2024
- 7-Layer Dip Cups - April 16, 2024
- No Bake Cherry Cheesecake - April 15, 2024



Leave a Reply