
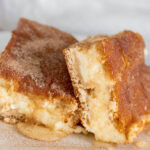
Churro Cheesecake Bars
These churro cheesecake bars reinvent the classic Mexican sweet: creamy cheesecake layered between flaky croissant dough, topped with cinnamon, sugar & honey.
Easy Churro Cheesecake Bars
This is one of the most-requested dessert recipes in our family! My husband started making this almost 15 years ago for special occasions – he called it “Sopapilla Cheesecake” – and it is still a favorite celebration treat!
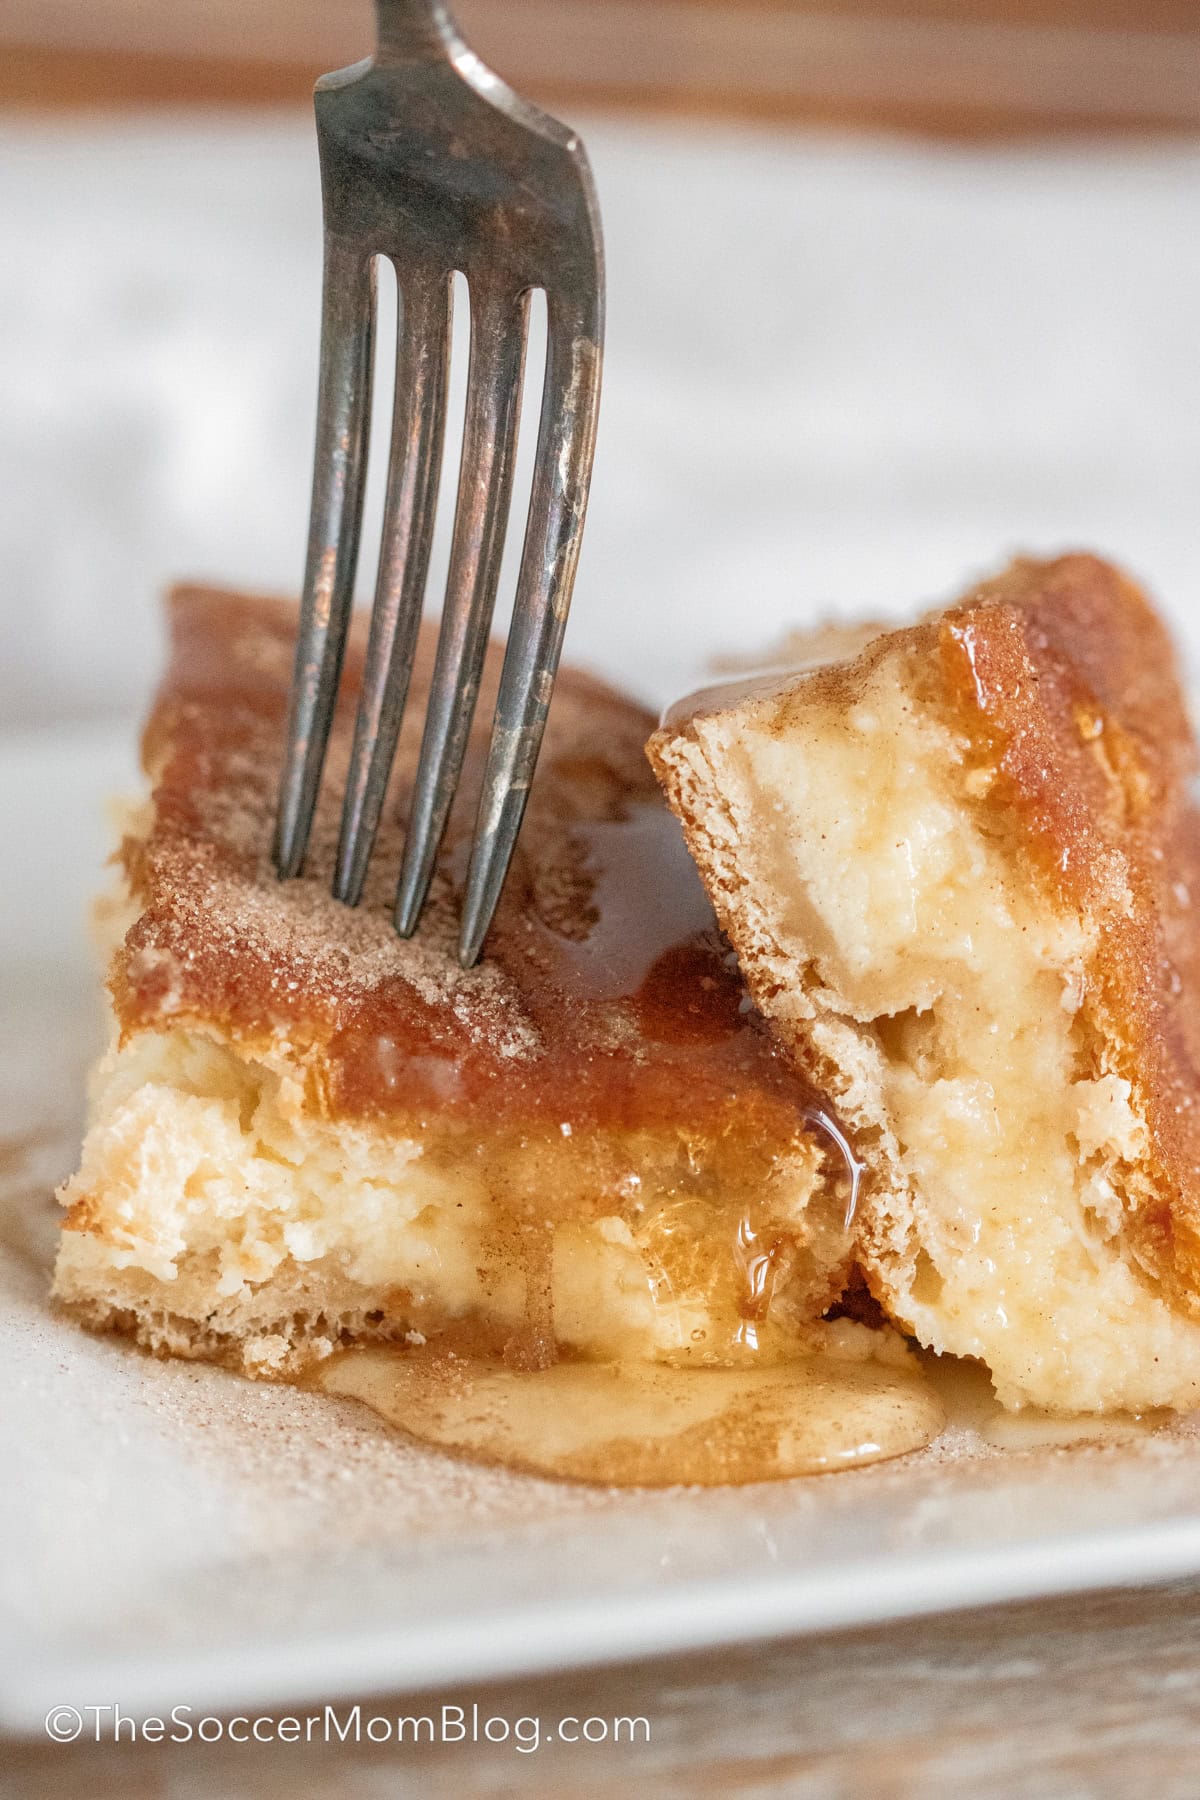
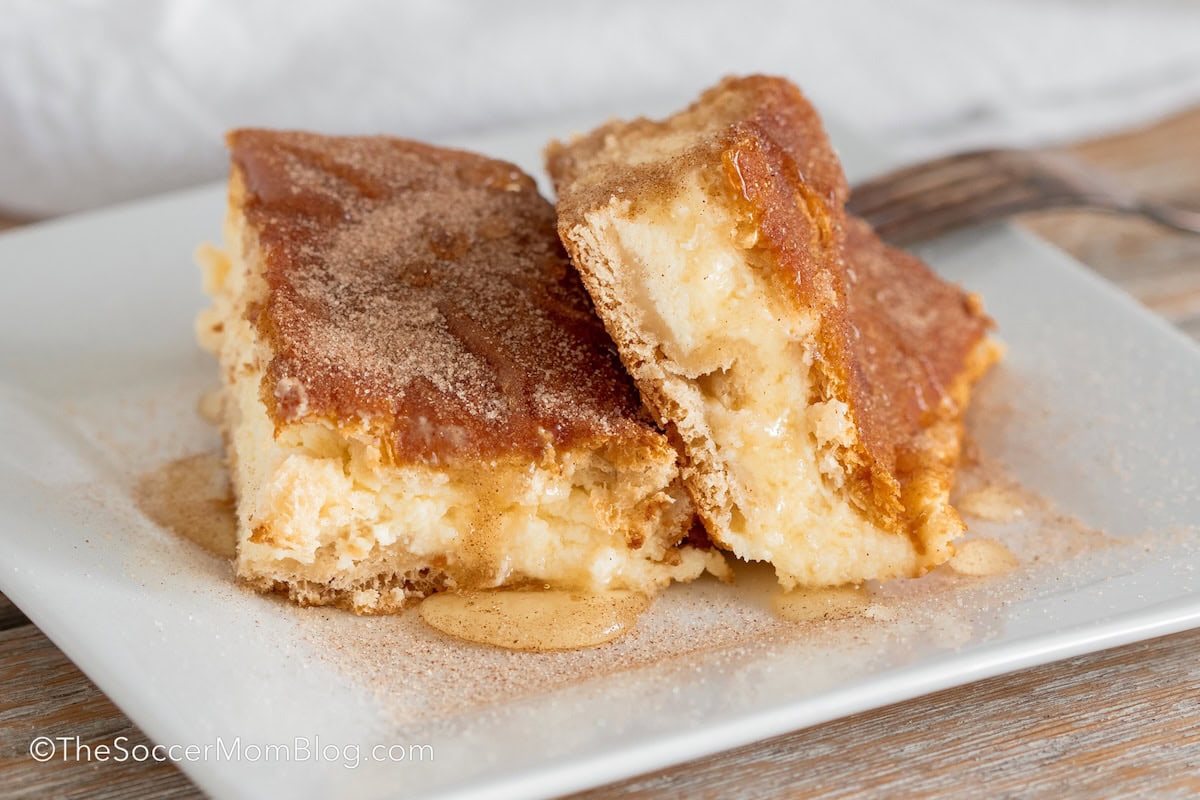
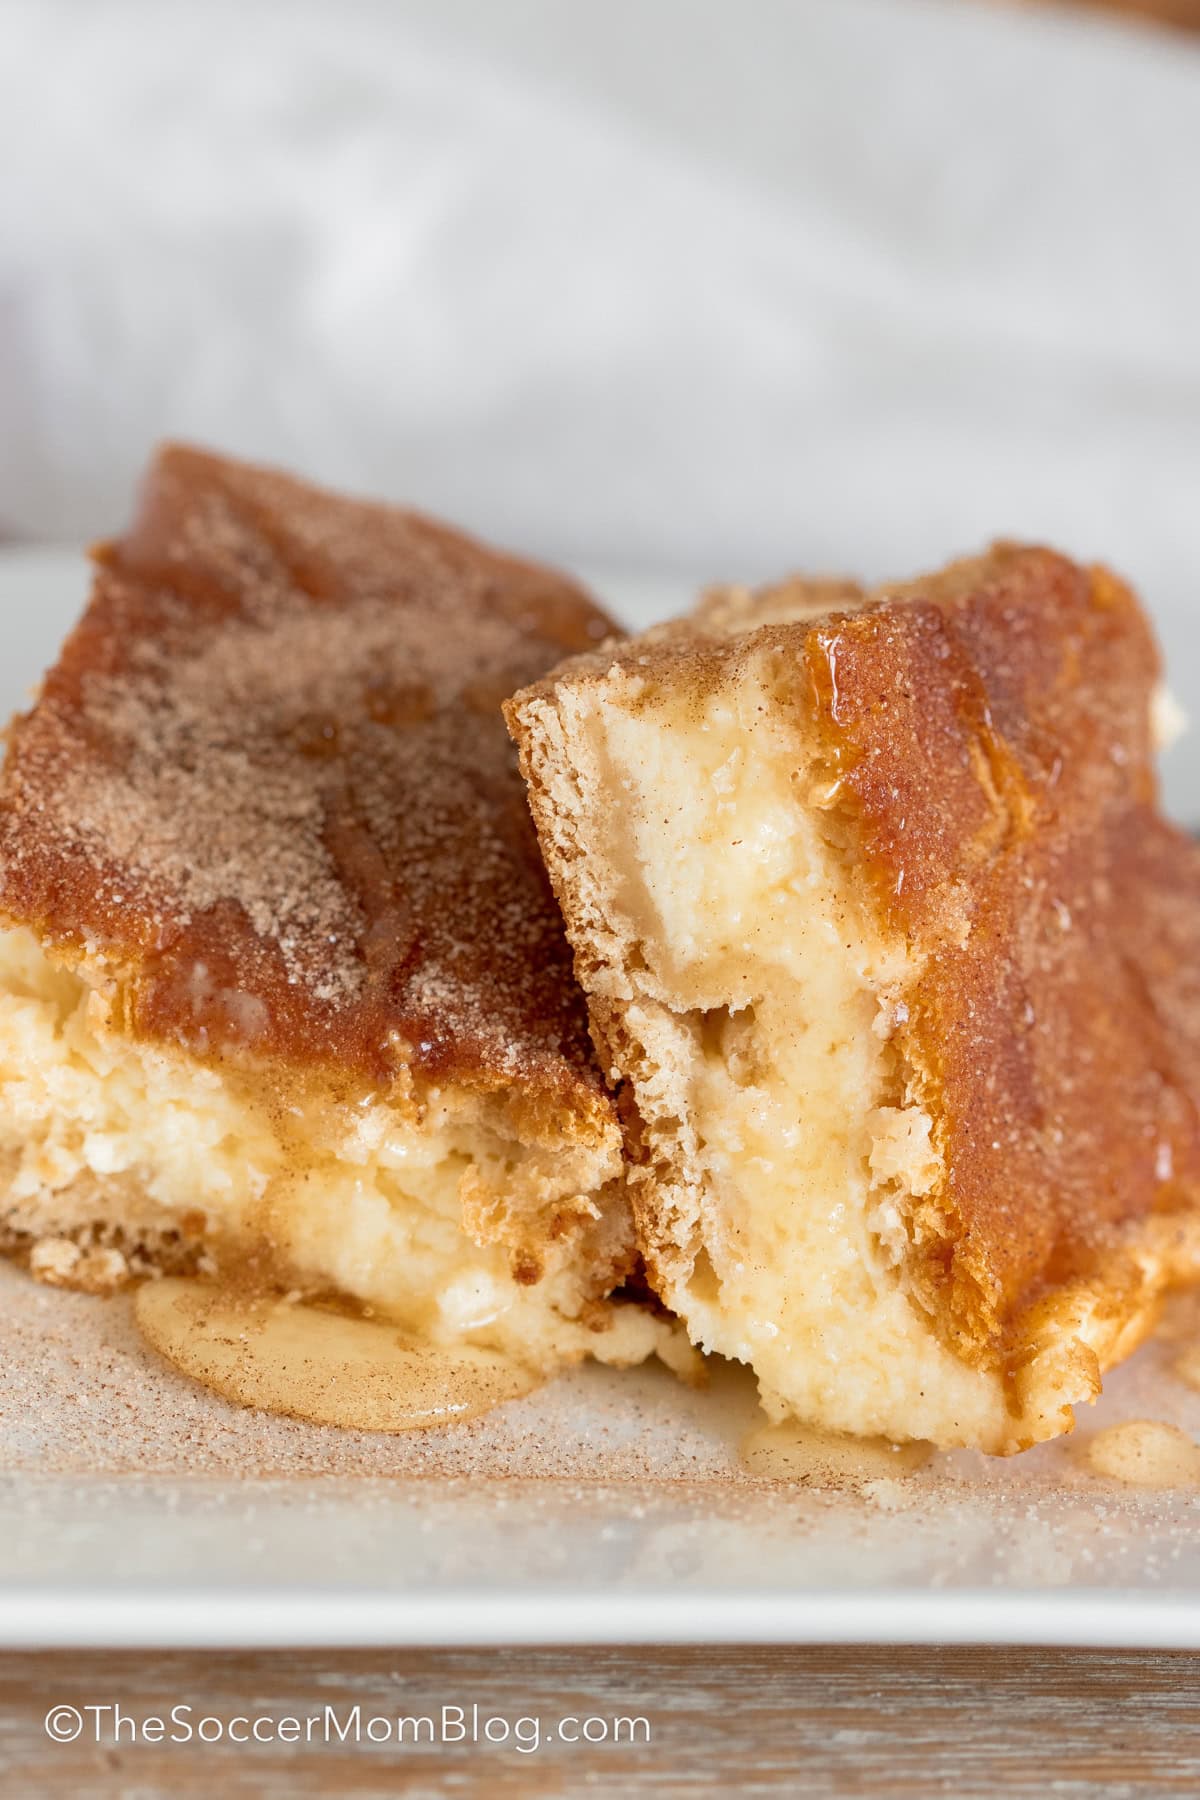
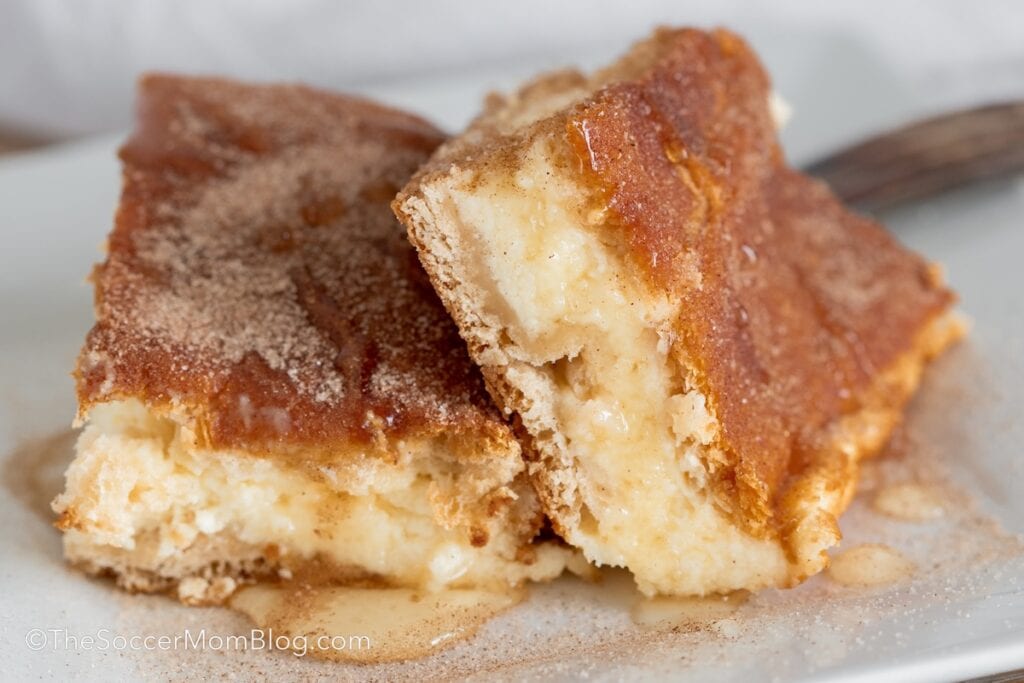
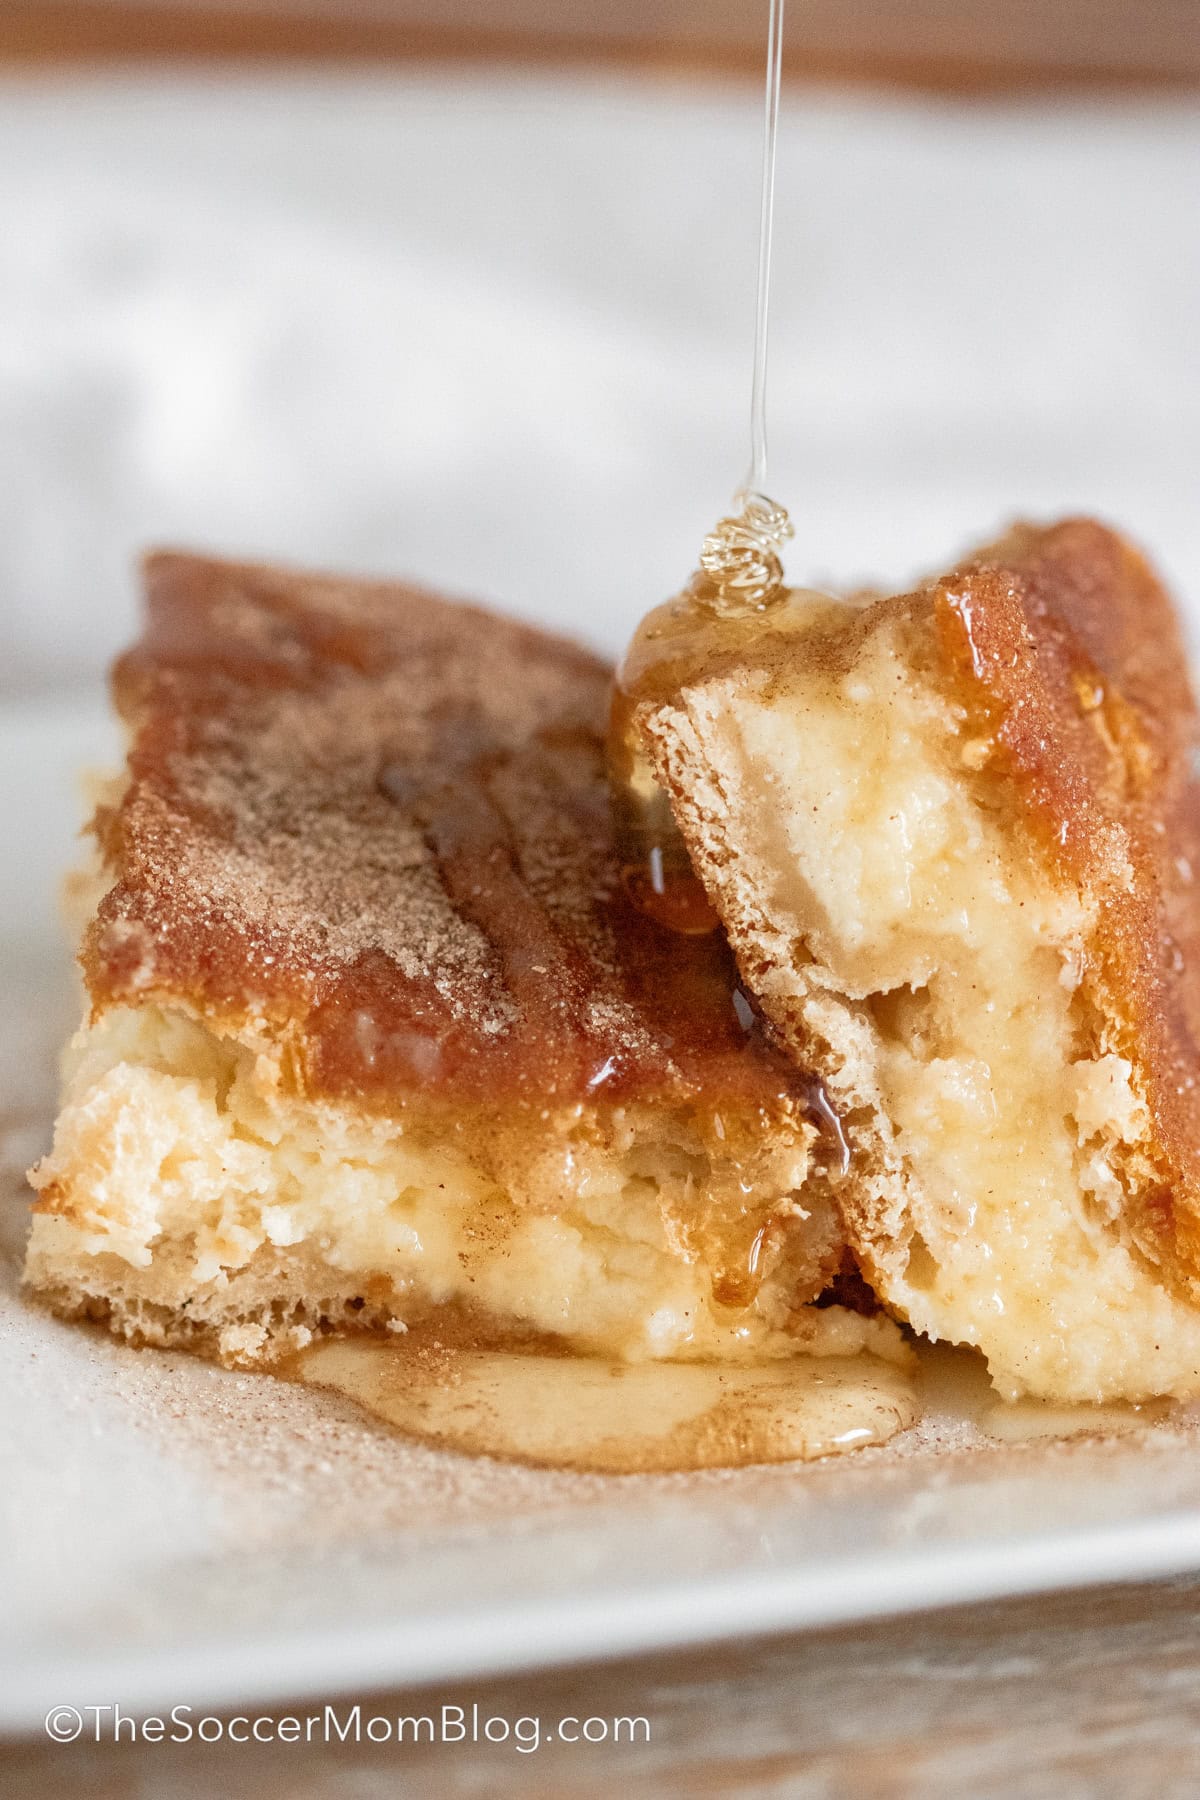
Here’s the scoop: Real, creamy cheesecake, layered between flaky croissant dough, baked until golden brown on the outside, and topped with cinnamon, sugar, and honey. It’s easy to see why there are never any leftovers with this one!
Around the holidays, my husband might make five cheesecakes at a time! Our friends and family just can’t get enough!
One taste and you’ll see why it is one of our all-time favorite desserts ever!!
Why You’ll Love It:
As far as cheesecakes go, this one is relatively easy to make. However, unlike a lot of so-called “easy cheesecake” recipes you find online that are no more than cream cheese mixed with sugar, our creamy cheesecake filling is a real cheesecake!
You’ll drool over this creamy, yet light and fluffy cheesecake, sandwiched between layers of cinnamon-y dough. These churro cheesecake bars taste just like a cream-filled churro!
Honestly, I don’t think my descriptions do this one justice, so I’ll let the photos do the talking!
Ingredients
- Dairy – Cream cheese, heavy cream, sour cream
- Refrigerated – Crescent roll dough, eggs
- Pantry – All-purpose flour, granulated sugar, ground cinnamon, honey, vanilla extract
Helpful Kitchen Tools
For your convenience, I’ve included shop-able ad links to some of the products used to make this recipe. Disclosure policy available here.
Instructions
To Prep: Preheat oven to 325°F and coat the bottom and sides of your baking pan with non-stick cooking spray.
- Make the Bottom Crust – Unroll one can of crescent dough in the bottom of the baking dish. If needed, pinch together the seams or perforations to seal them so you have one layer of dough that covers the entire bottom of the pan.
- Prepare the Cheesecake – In the bowl of a stand mixer (or in a large mixing bowl with an electric hand mixer), beat together the softened cream cheese and granulated sugar. Add the heavy cream, flour, sour cream, and vanilla extract. Add the eggs one at a time, mixing until combined.
- Add the Top Crust – Pour the cheesecake batter on top of the crescent dough. Open the second can of dough, unroll it, and place on top of the cream cheese layer.
- Finish and Bake – Whisk together 1/2 cup sugar and 1/4 cup cinnamon in a small bowl. Sprinkle half of this mixture on top of the dough before placing into preheated oven. Bake at 325°F for 40 minutes.

Video Demo:
Prep Tips
- Freezing the Dough – To make the crescent dough easier to handle and less sticky, freeze it for 10 minutes before making this dish.
- Crescent Dough – When we originally published this recipe almost 10 years ago, one can of crescent dough was enough for the entire recipe. However, readers have let me know since then that the size of the cans has changed and this may not be the case anymore. You will probably need two cans of crescent dough, so I would make sure to have enough on hand just in case!
- Gluten-Free Version – Believe it or not, when making them for me, my husband makes these sopapilla cheesecake bars gluten free! All you have to do is use almond flour where this recipe calls for flour and purchase gluten-free crescent dough.
- Substitutions – If you can’t find crescent dough sheets, you can use crescent rolls and unroll them and piece them together like a puzzle to form each of the two layers of dough.
- Serving – Allow cheesecake to cool completely before cutting and serving, so everything will set. After plating each piece, drizzle with honey and finish with the remaining cinnamon sugar.
- Storage – Because this is a real cheesecake, made with dairy products, you’ll definitely want to store any leftovers in the fridge. While it’s ok to leave out on the counter while serving, be sure to place in the fridge after 30 minutes to an hour. This dessert should keep for 2-3 days in a covered container in the refrigerator.
More Unique Cheesecake Recipes To Try:
- Pink Lemonade Mini Cheesecakes
- Chocolate Peanut Butter Cheesecake
- Instant Pot Red White and Blue Cheesecake
- No Bake Lemon Cheesecake
- Instant Pot Godiva Cheesecake
- No Bake Piña Colada Cheesecake
- Funfetti Swirl Cheesecake
- Guava Cheesecake
- Tropical Fruit Cheesecake Bites
- No Bake Cherry Cheesecake
Churro Cheesecake Bars Recipe (Printable Recipe Card)
If you love this recipe, please rate it!
Want to Save This Recipe?
Enter your email & I’ll send it to your inbox. Plus, get great new recipes from me every week!
By submitting this form, you consent to receive emails from The Soccer Mom Blog
Churro Cheesecake Bars
Equipment
- 9×13 inch baking dish
Ingredients
Cheesecake Ingredients
- 2 cans crescent dough sheets
- 3 blocks cream cheese 8oz each, at room temperature
- 3/4 cup heavy cream
- 1 cup sour cream
- 4 eggs
- 1/4 cup all purpose flour
- 1 cup granulated sugar
- 1 Tablespoon vanilla extract
Toppings
- 1/4 cup ground cinnamon
- 1/2 cup granulated sugar
- 1/4 cup honey
Instructions
- To Prep: Preheat oven to 325°F and coat a 9×13 inch baking dish with non-stick spray.
- With an electric mixer, beat together softened cream cheese and 1 cup sugar until light and fluffy.
- Add heavy cream, flour, sour cream, and vanilla extract.
- Mix in eggs one at a time, just enough to combine with the batter. Set aside.
- Unroll one can of crescent dough and place in the bottom of the prepared pan, so the bottom is covered.
- Pour cheesecake batter over the first layer of crescent dough.
- Use the second can of crescent dough to cover completely the cheesecake batter.
- In a small bowl, toss together 1/2 cup sugar and 1/4 cup cinnamon. Use half of this mixture to coat the top of the cheesecake.
- Bake at 325°F for 40 minutes. Remove from oven and allow to cool for half an hour. Refrigerate for at least 2 hours to fully set.
- Before serving, drizzle with honey and dust with remaining cinnamon sugar.
Video
Notes
- Dough Tip: Freeze crescent dough 10 minutes to reduce stickiness.
- Crescent Dough: Use 2 cans if needed, as can sizes may vary.
- Substitutions: Use crescent rolls (pressed together) if sheets aren’t available.
- Gluten-Free: Use gluten-free crescent dough and swap flour for almond flour.
- Serving: Cool completely before slicing; drizzle with honey and cinnamon sugar.
- Storage: Refrigerate leftovers in a covered container 2-3 days.
Nutrition
Pin our Easy Churro Cheesecake Bars on Pinterest:

More of our favorite cheesecake recipes:
No Bake Cookie Monster Cheesecake

- Beach Day Rice Krispie Treats - June 23, 2026
- Pickled Jalapeños Recipe - June 15, 2026
- Homemade Nesquick Mix - June 11, 2026


1/4 Cup of cinnamon?
Yes, this will be mixed with sugar for the topping
I would recommend changing the ingredients to clarify 1 jumbo can of crescent dough or 2 cans of the regular size (don’t think your typical stores carry Croissant dough). I’ve got everything started and the dough is only going to work on the bottom (as I see mentioned above). Wish I had known that, for now I have to stop and go back to the store.
Can’t wait to make it, just think this is an important detail.. Thanks!
Thanks for the feedback! This is an older recipe and it’s possible that product contents have changed…thanks shrinkflation! 🙁 I’ll take a look at it.